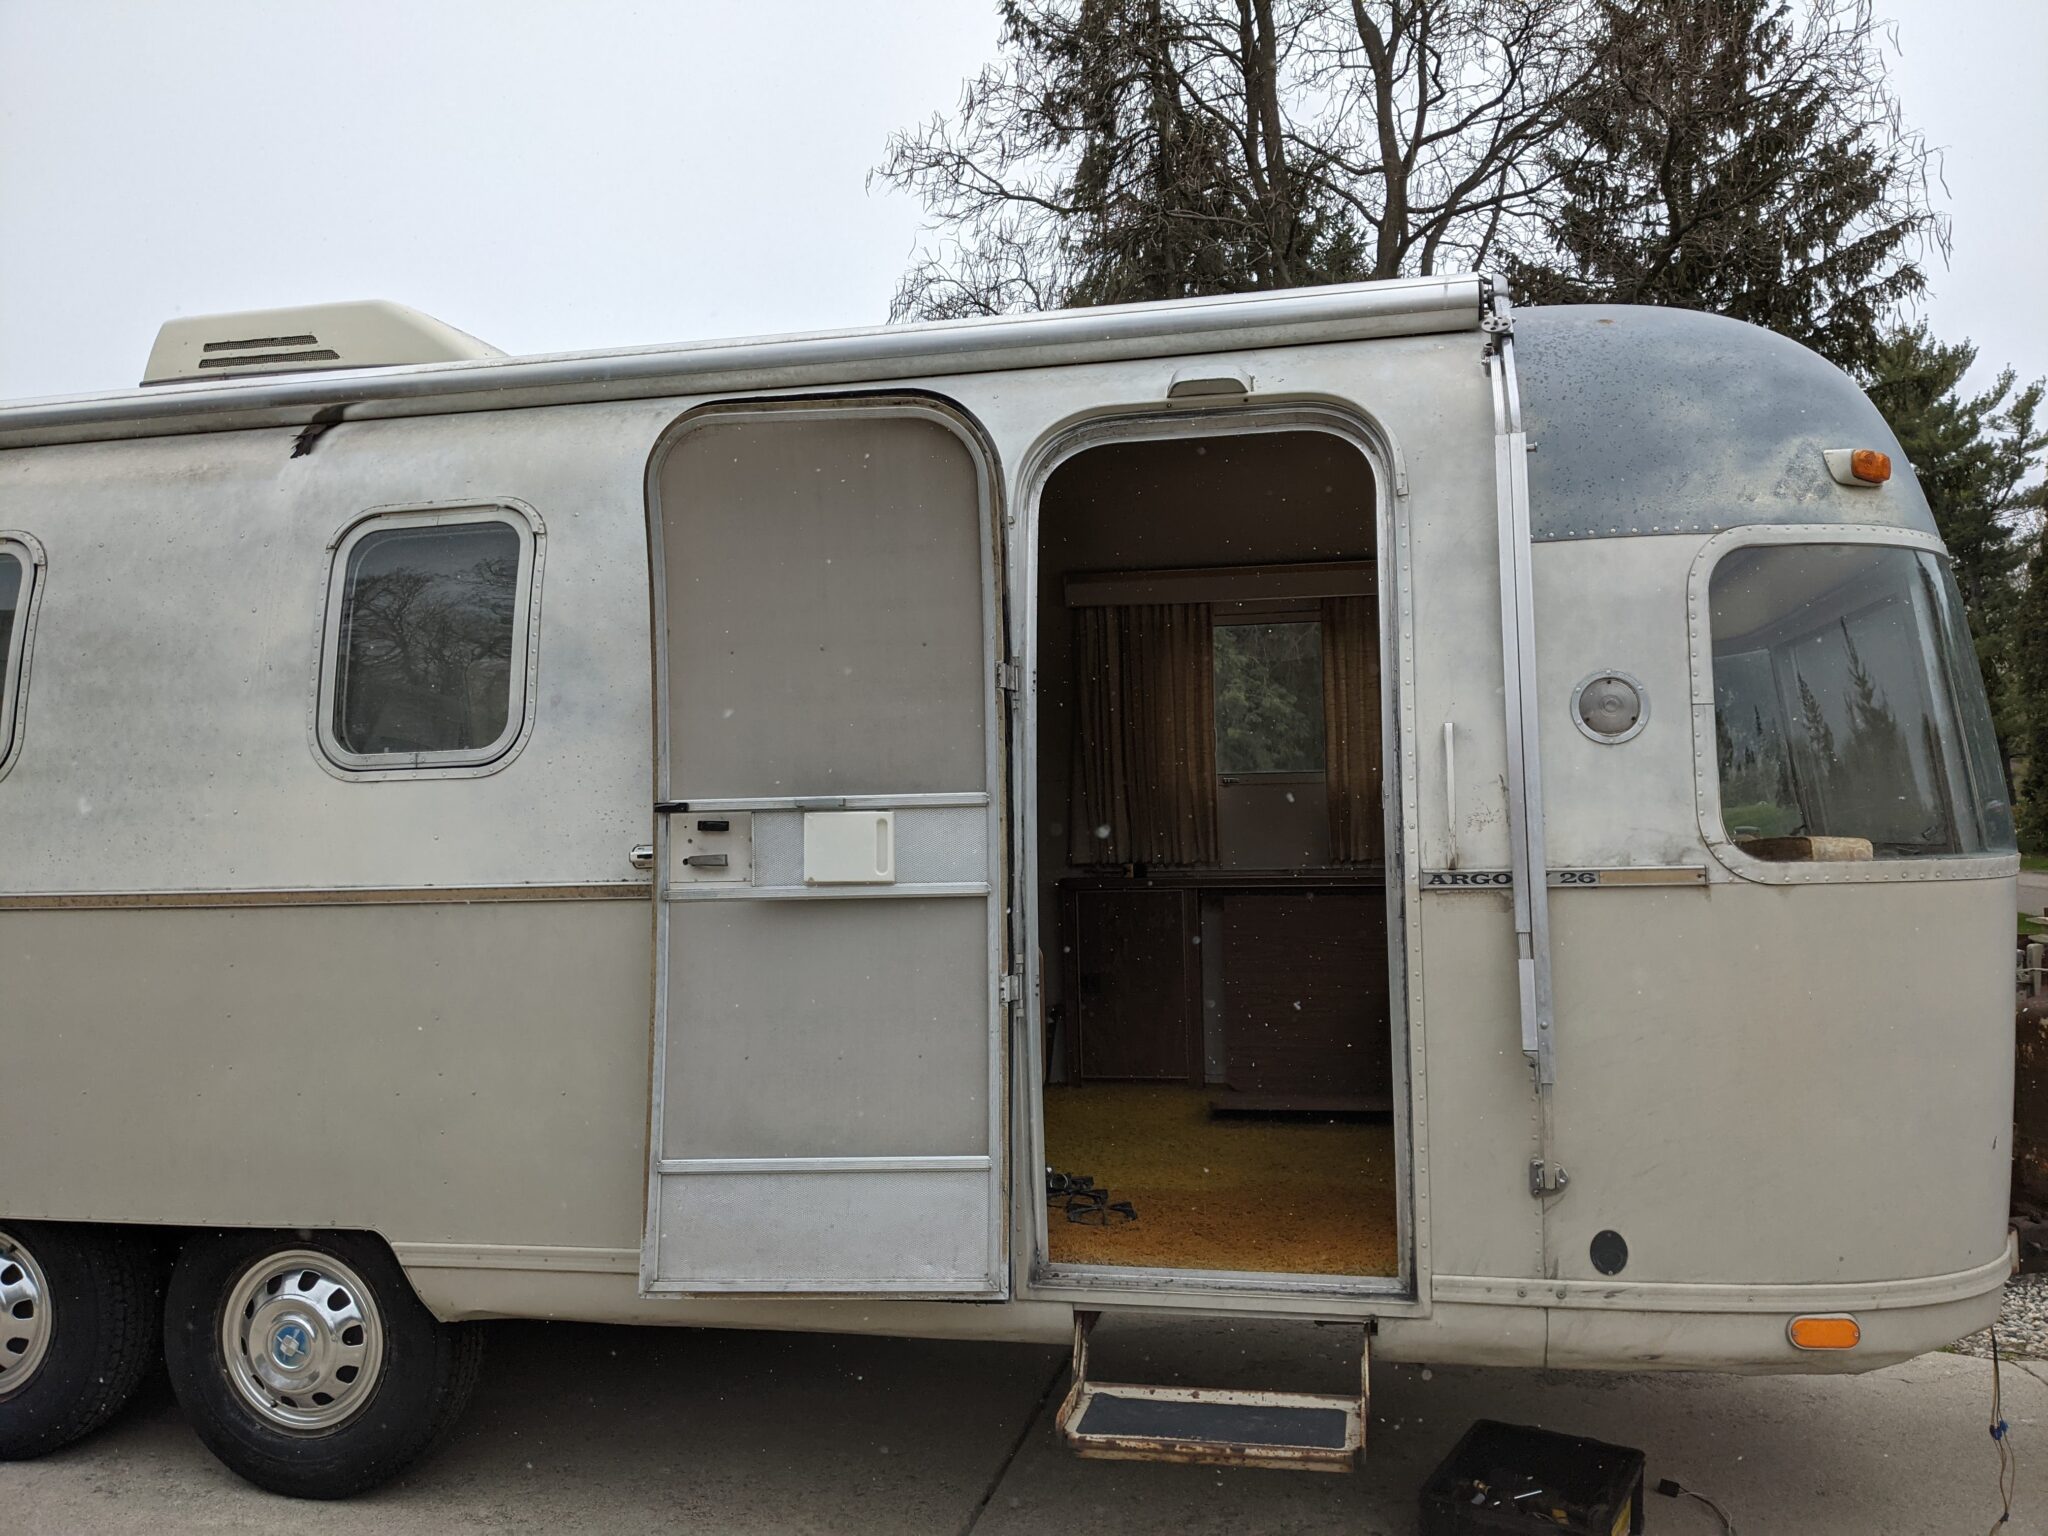
Airstream Argosy
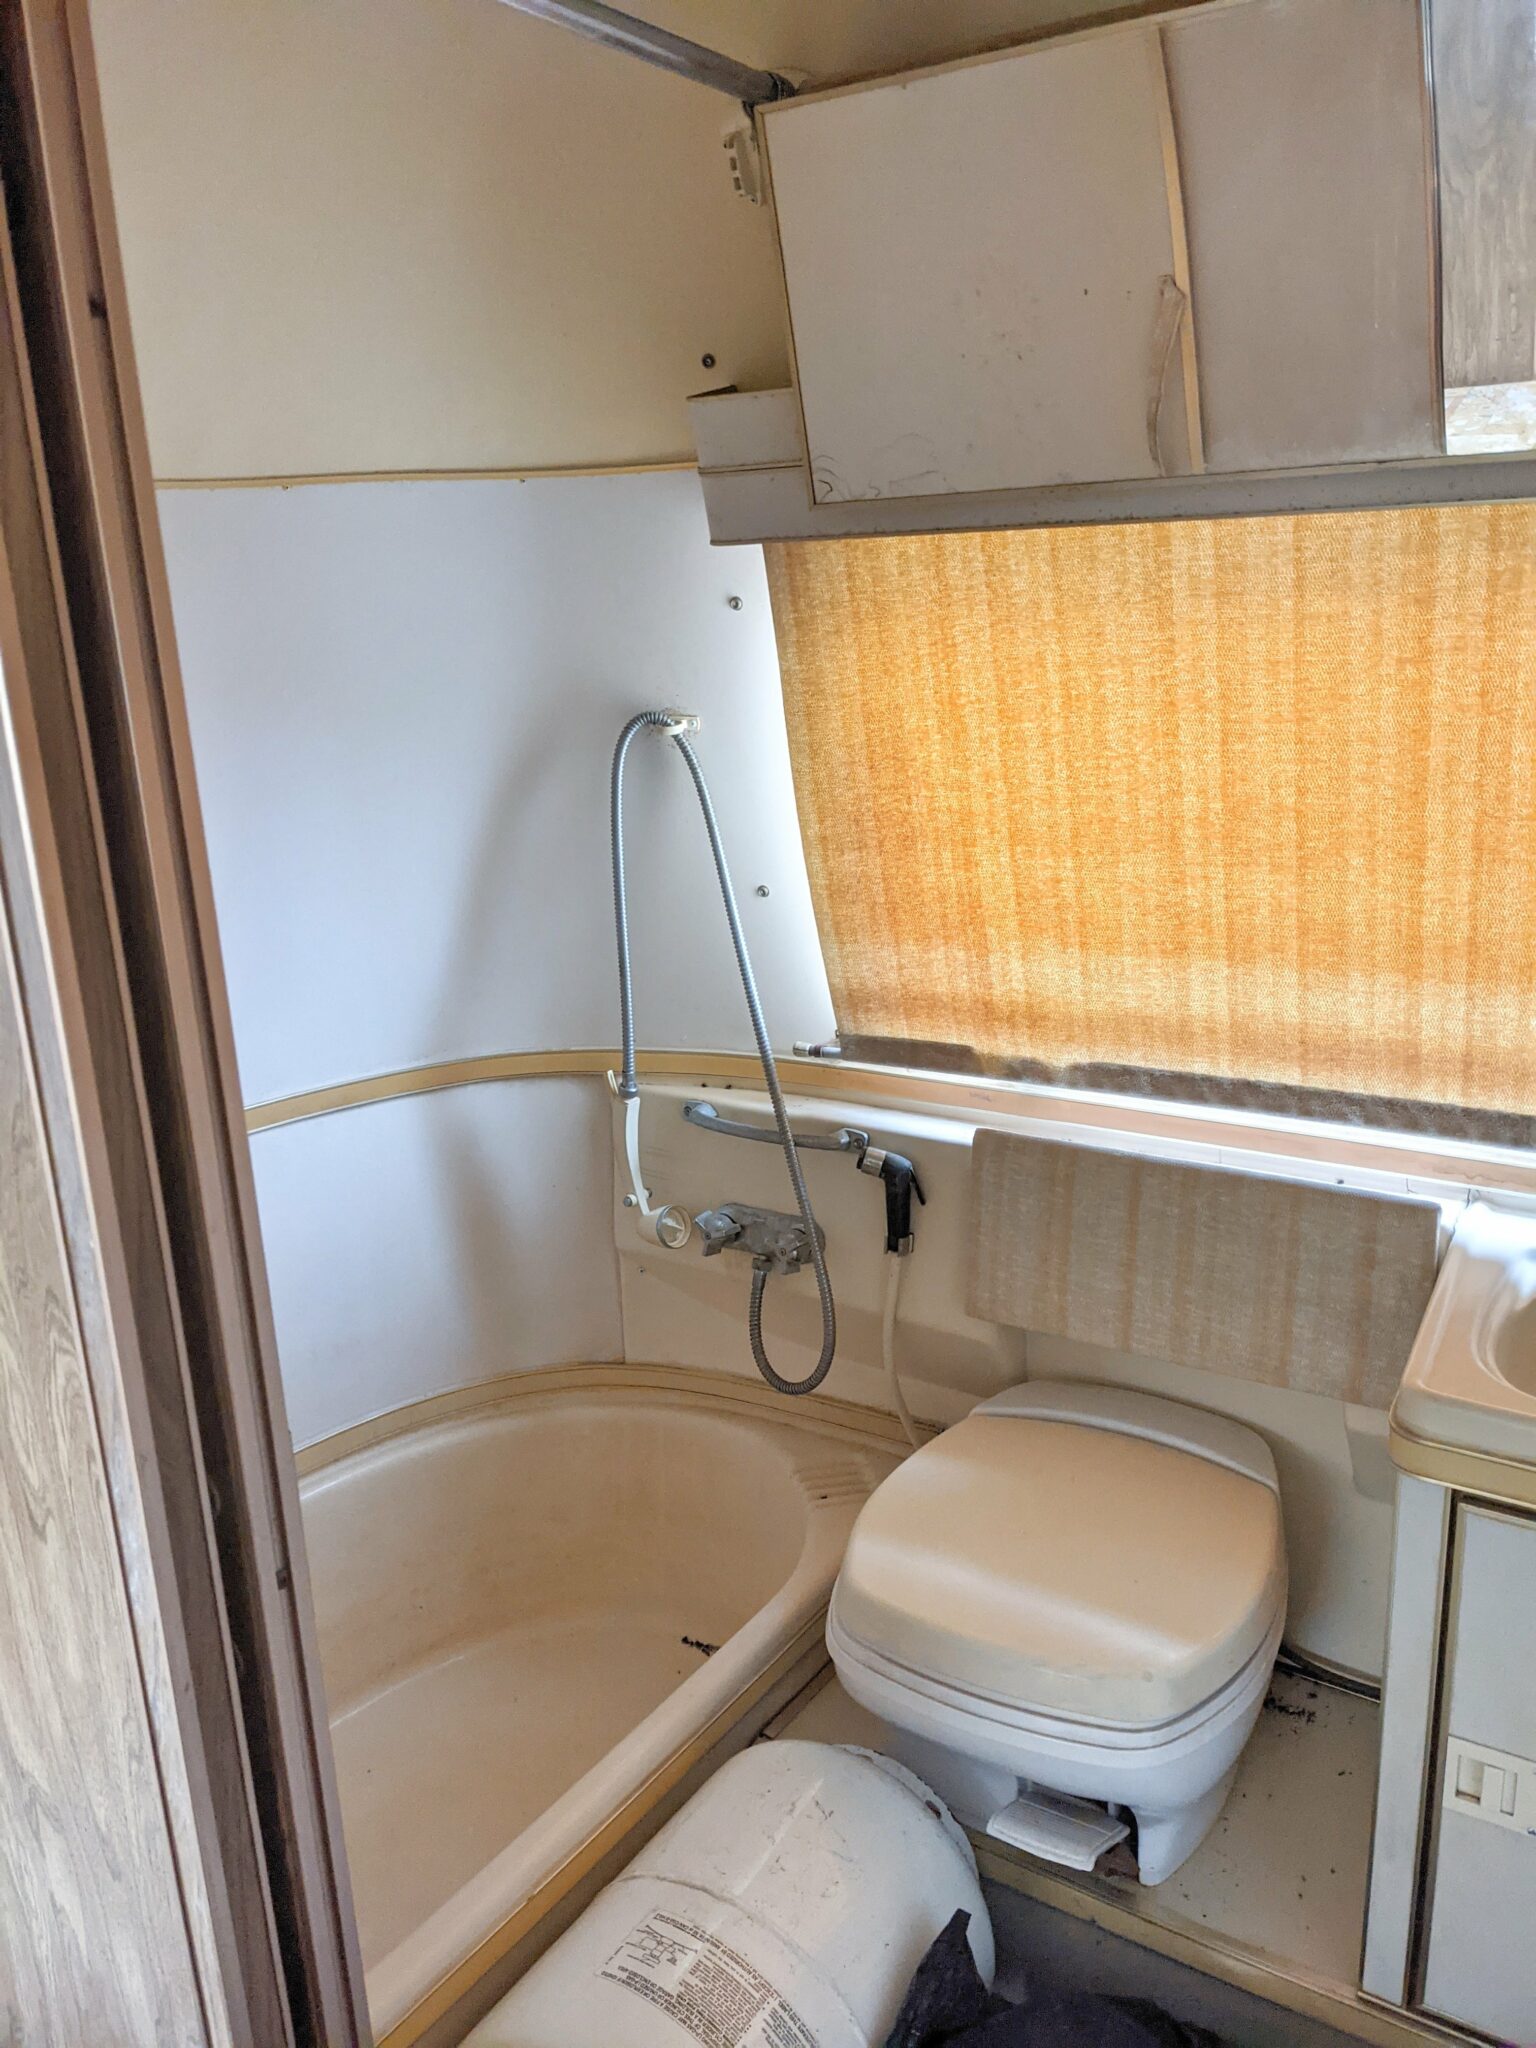
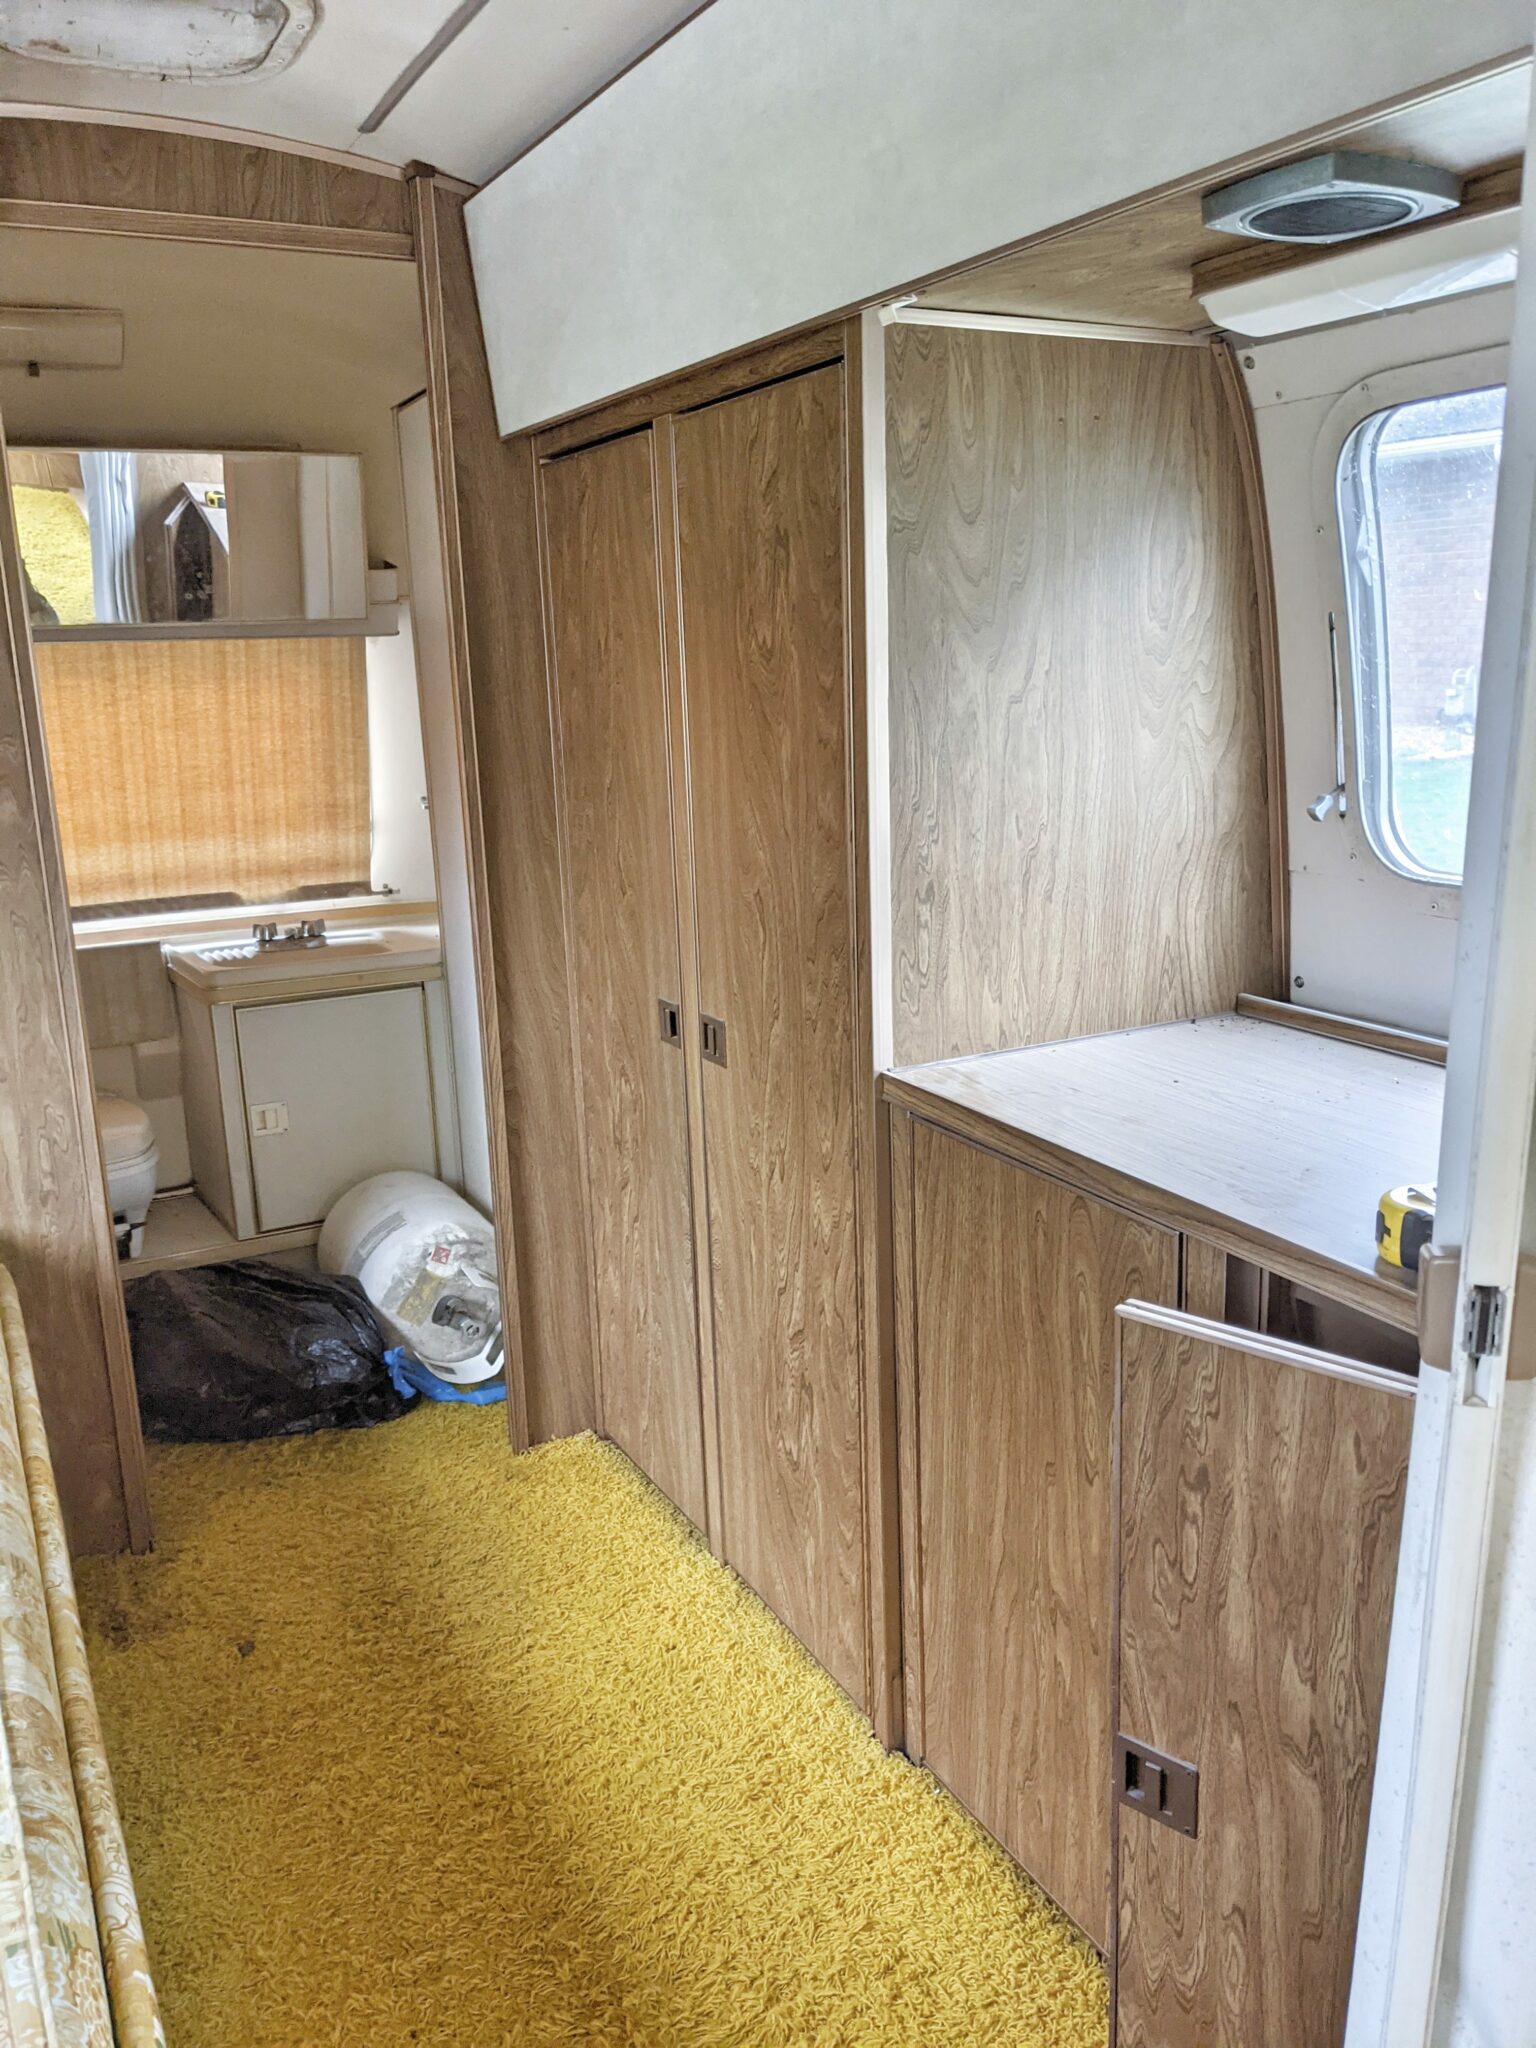
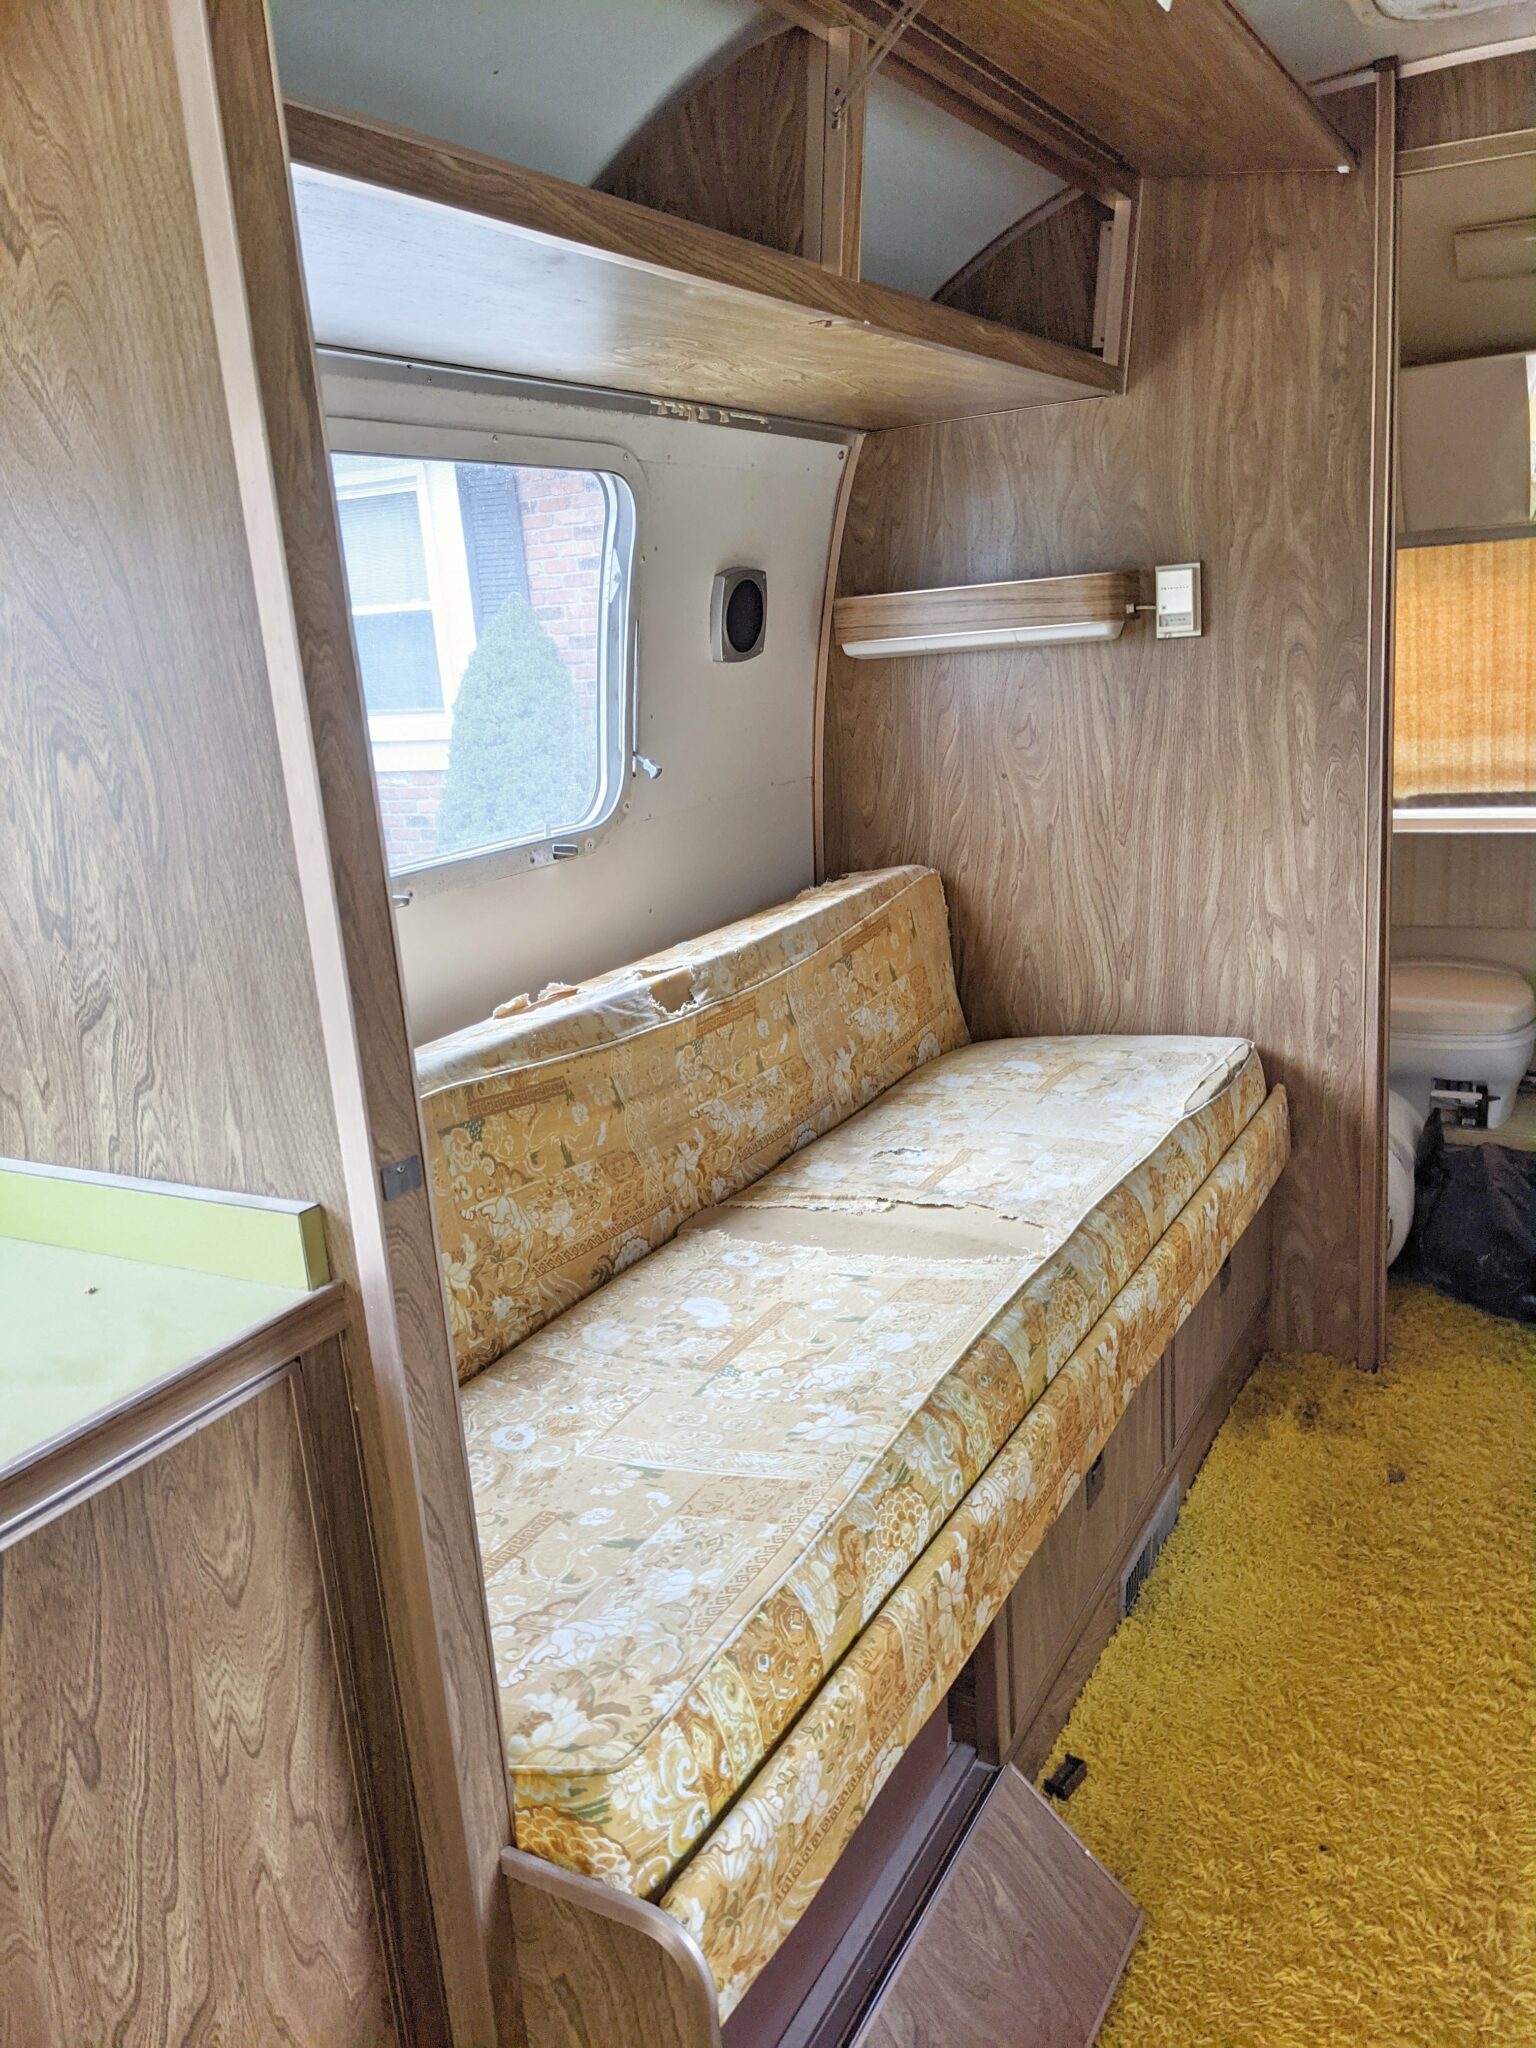
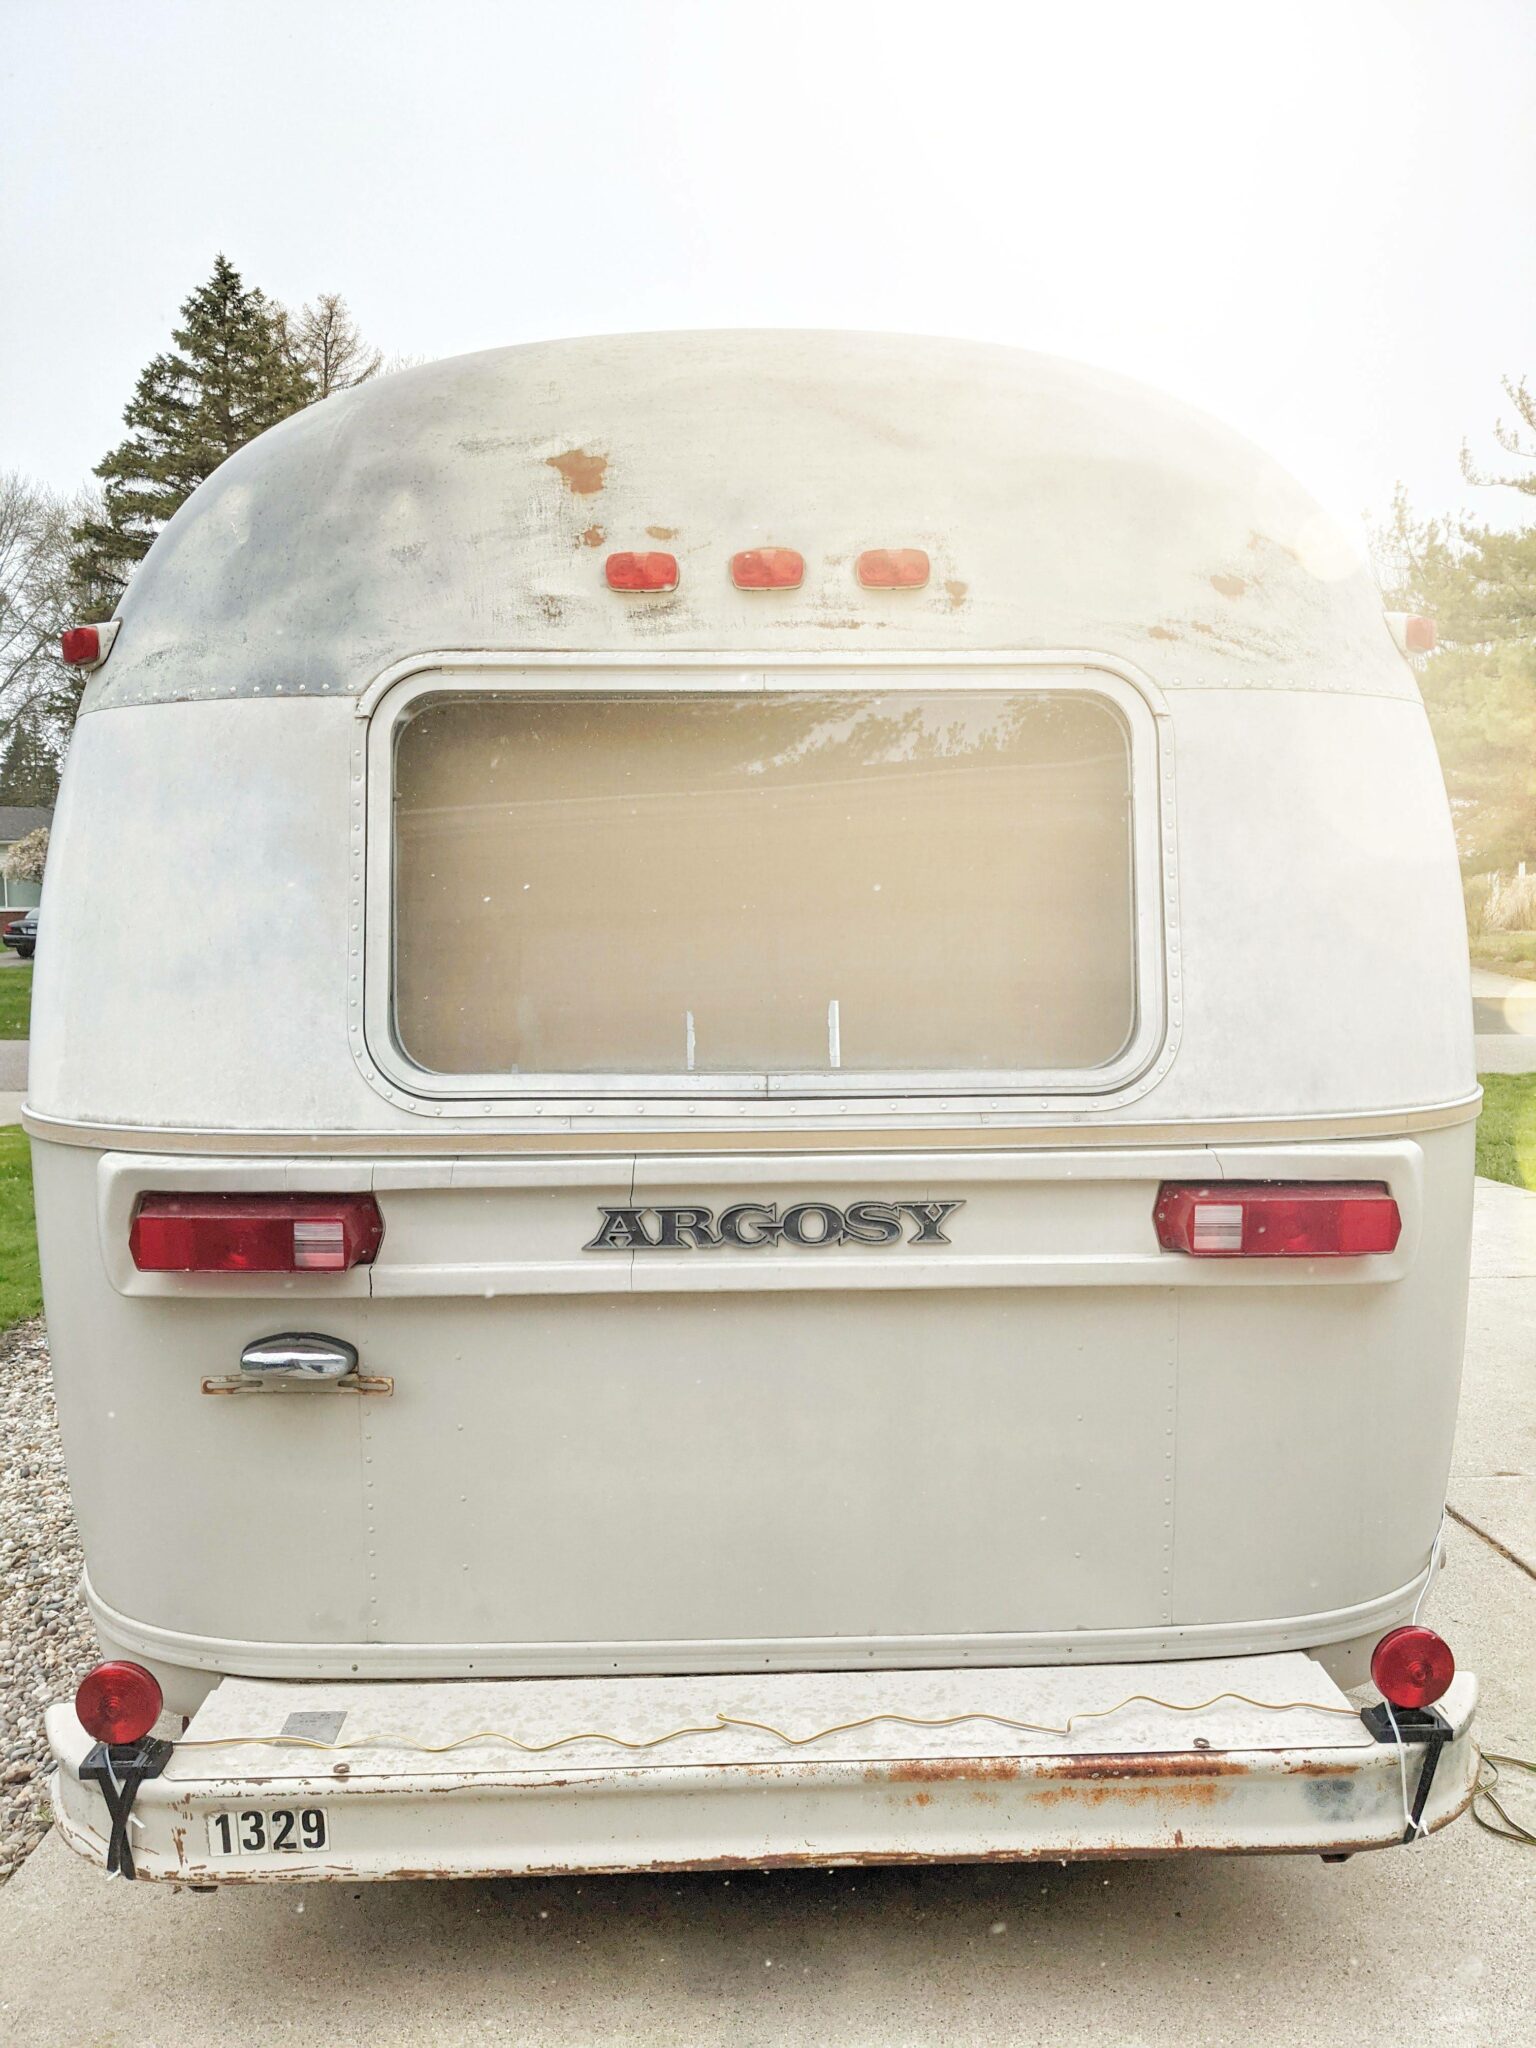
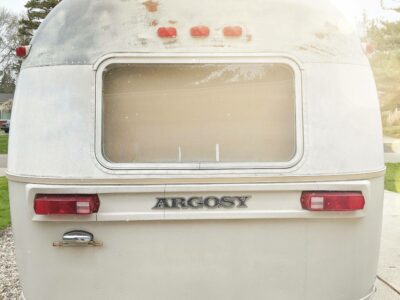
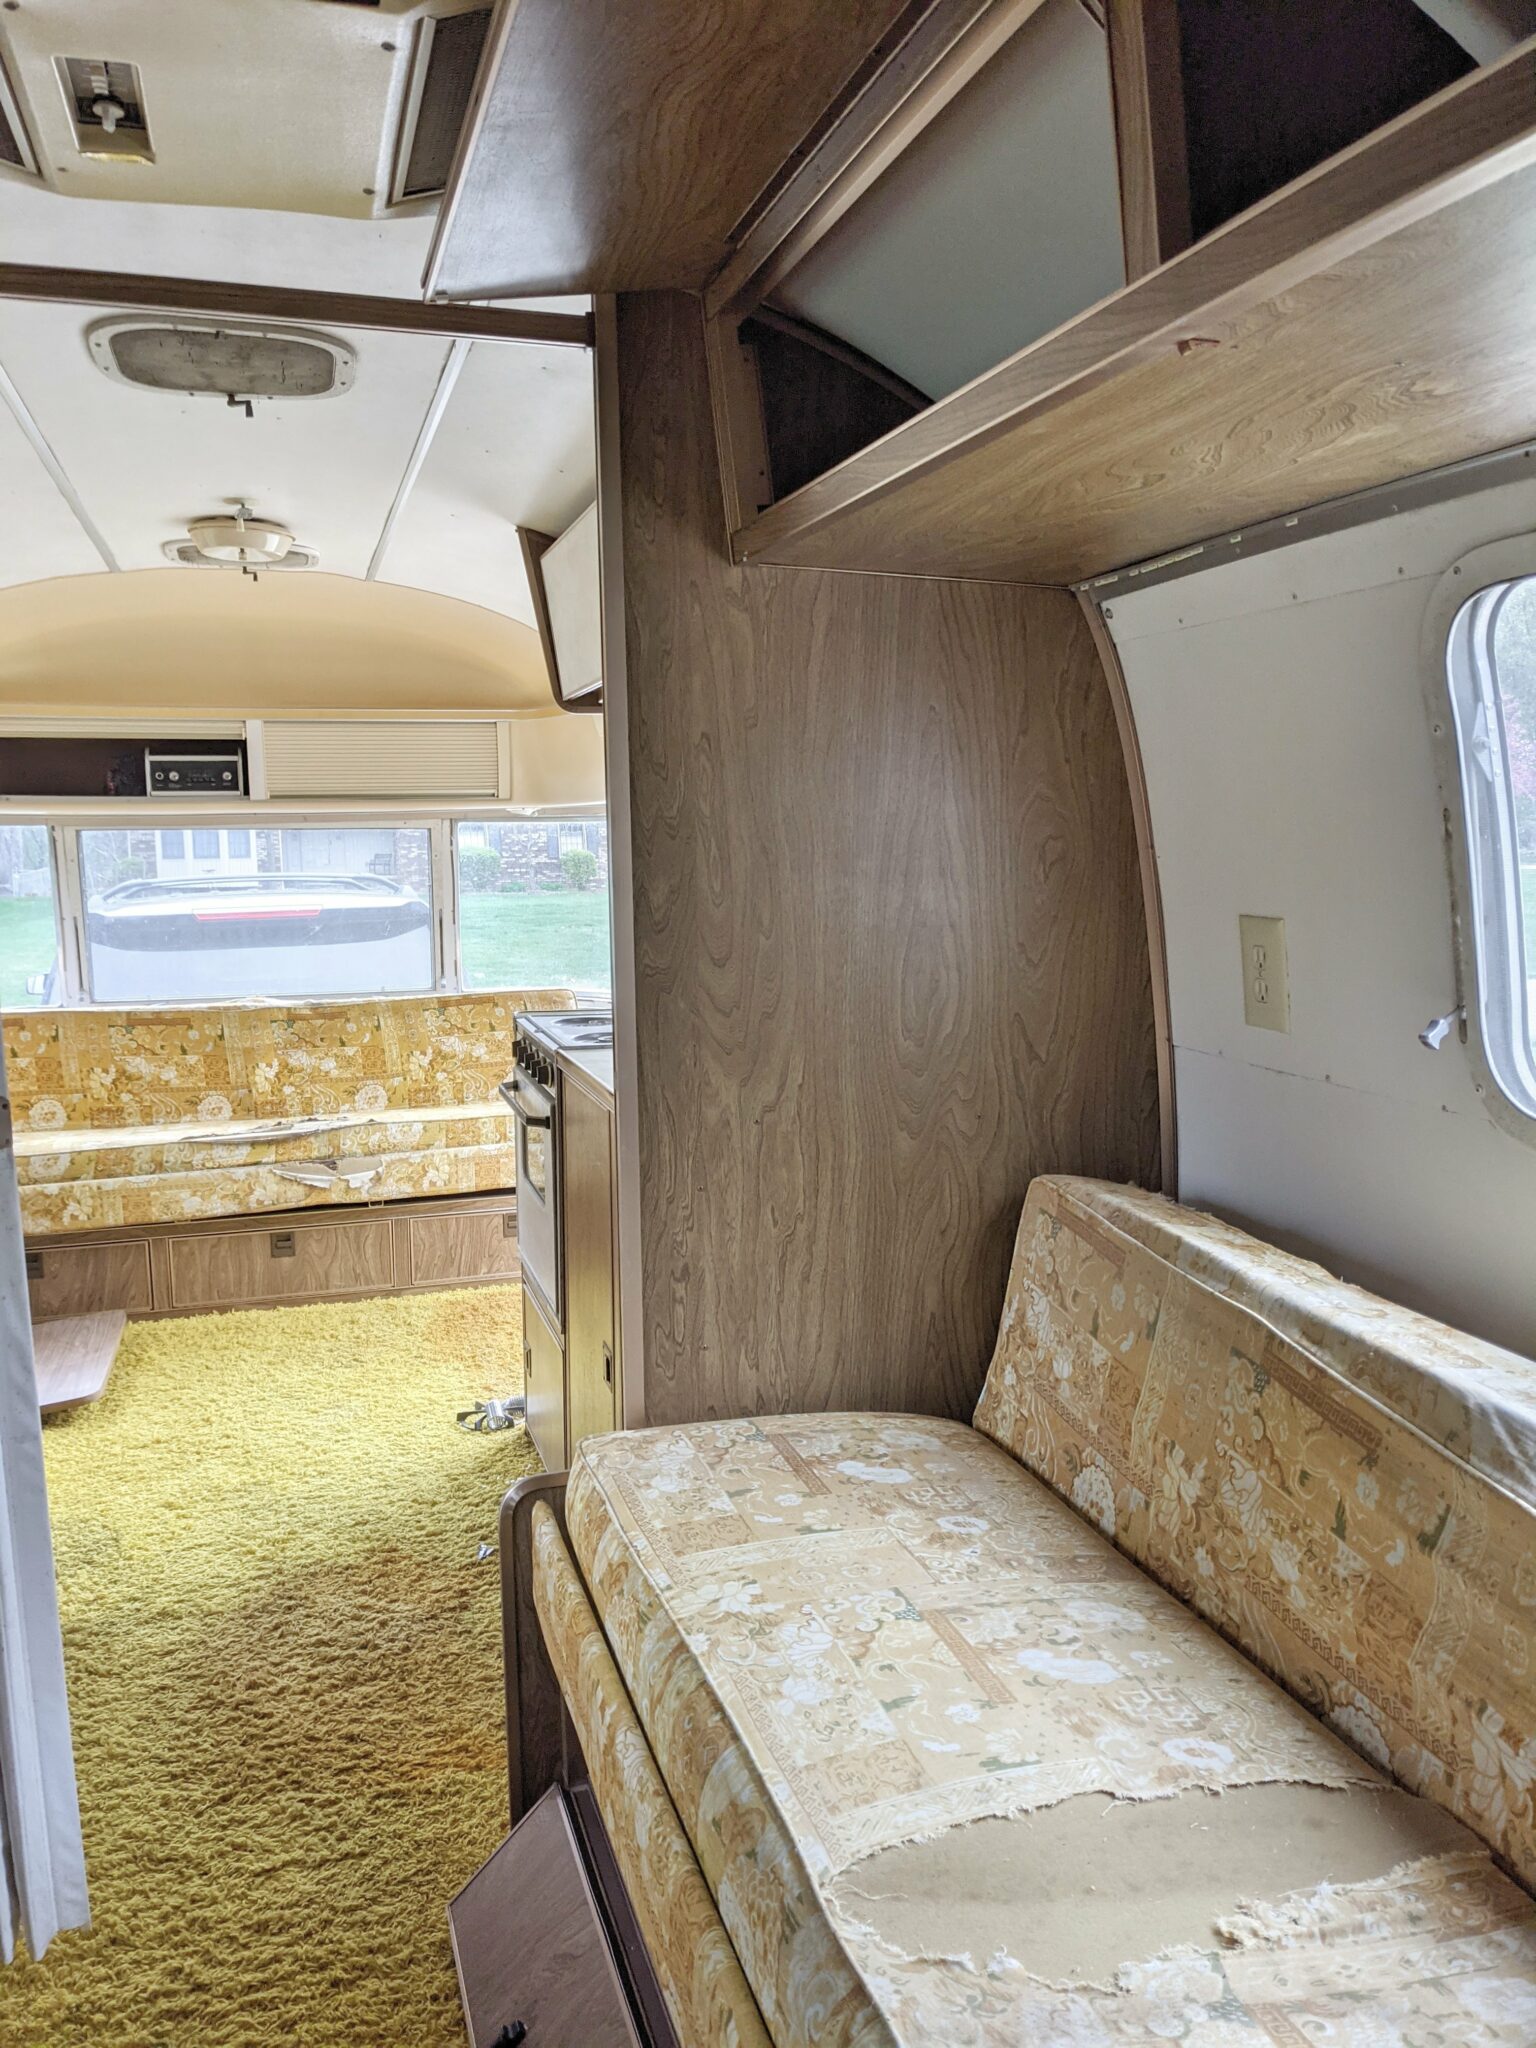
Today I am sharing all the before pictures of our Argosy project! If you follow me on Instagram, you know that we have already made quite a bit of progress, I’m just trying to catch up here on the blog.
I am so excited to be going back to a vintage camper project! Ever since we said goodbye to Gidget, our tiny 16′ vintage trailer, I’ve longed for a vintage model that would fit our family. I’ve fixed up a few different models over the years and really couldn’t picture them working well for our family of 7. I even owned an Airstream for a little while and just couldn’t see it working either. I love the idea of an Airstream, but also love the painted look of a vintage canned ham. Enter the Argosy!
A Little History of the Argosy
The Argosy was known as the “painted Airstream.” A very limited number of these painted trailers were manufactured by Airstream in the 70’s. They started making them in 1973 until the plant was closed in 1979. A redesigned Argosy was produced between ’86 and ’89 with a different shape and look. They were marketed to the public as a more affordable “almost” Airstream.
“They shared the aerodynamic aluminum structural design and featured an identical axle. “Argosy, above all means value,” the brochures proclaimed. “Built by the pioneers of the trailering industry.”
Many of the differences were in the shell itself and the paint applied externally. The company used lower-grade aluminum as a cost-saving measure. The paint job sometimes hid scratched and dented aluminum sent over from the Airstream plant, and cost-effective steel formed the front and rear dome segments.”
Read more on the Airstream website: History of the Painted Airstream
The Plan
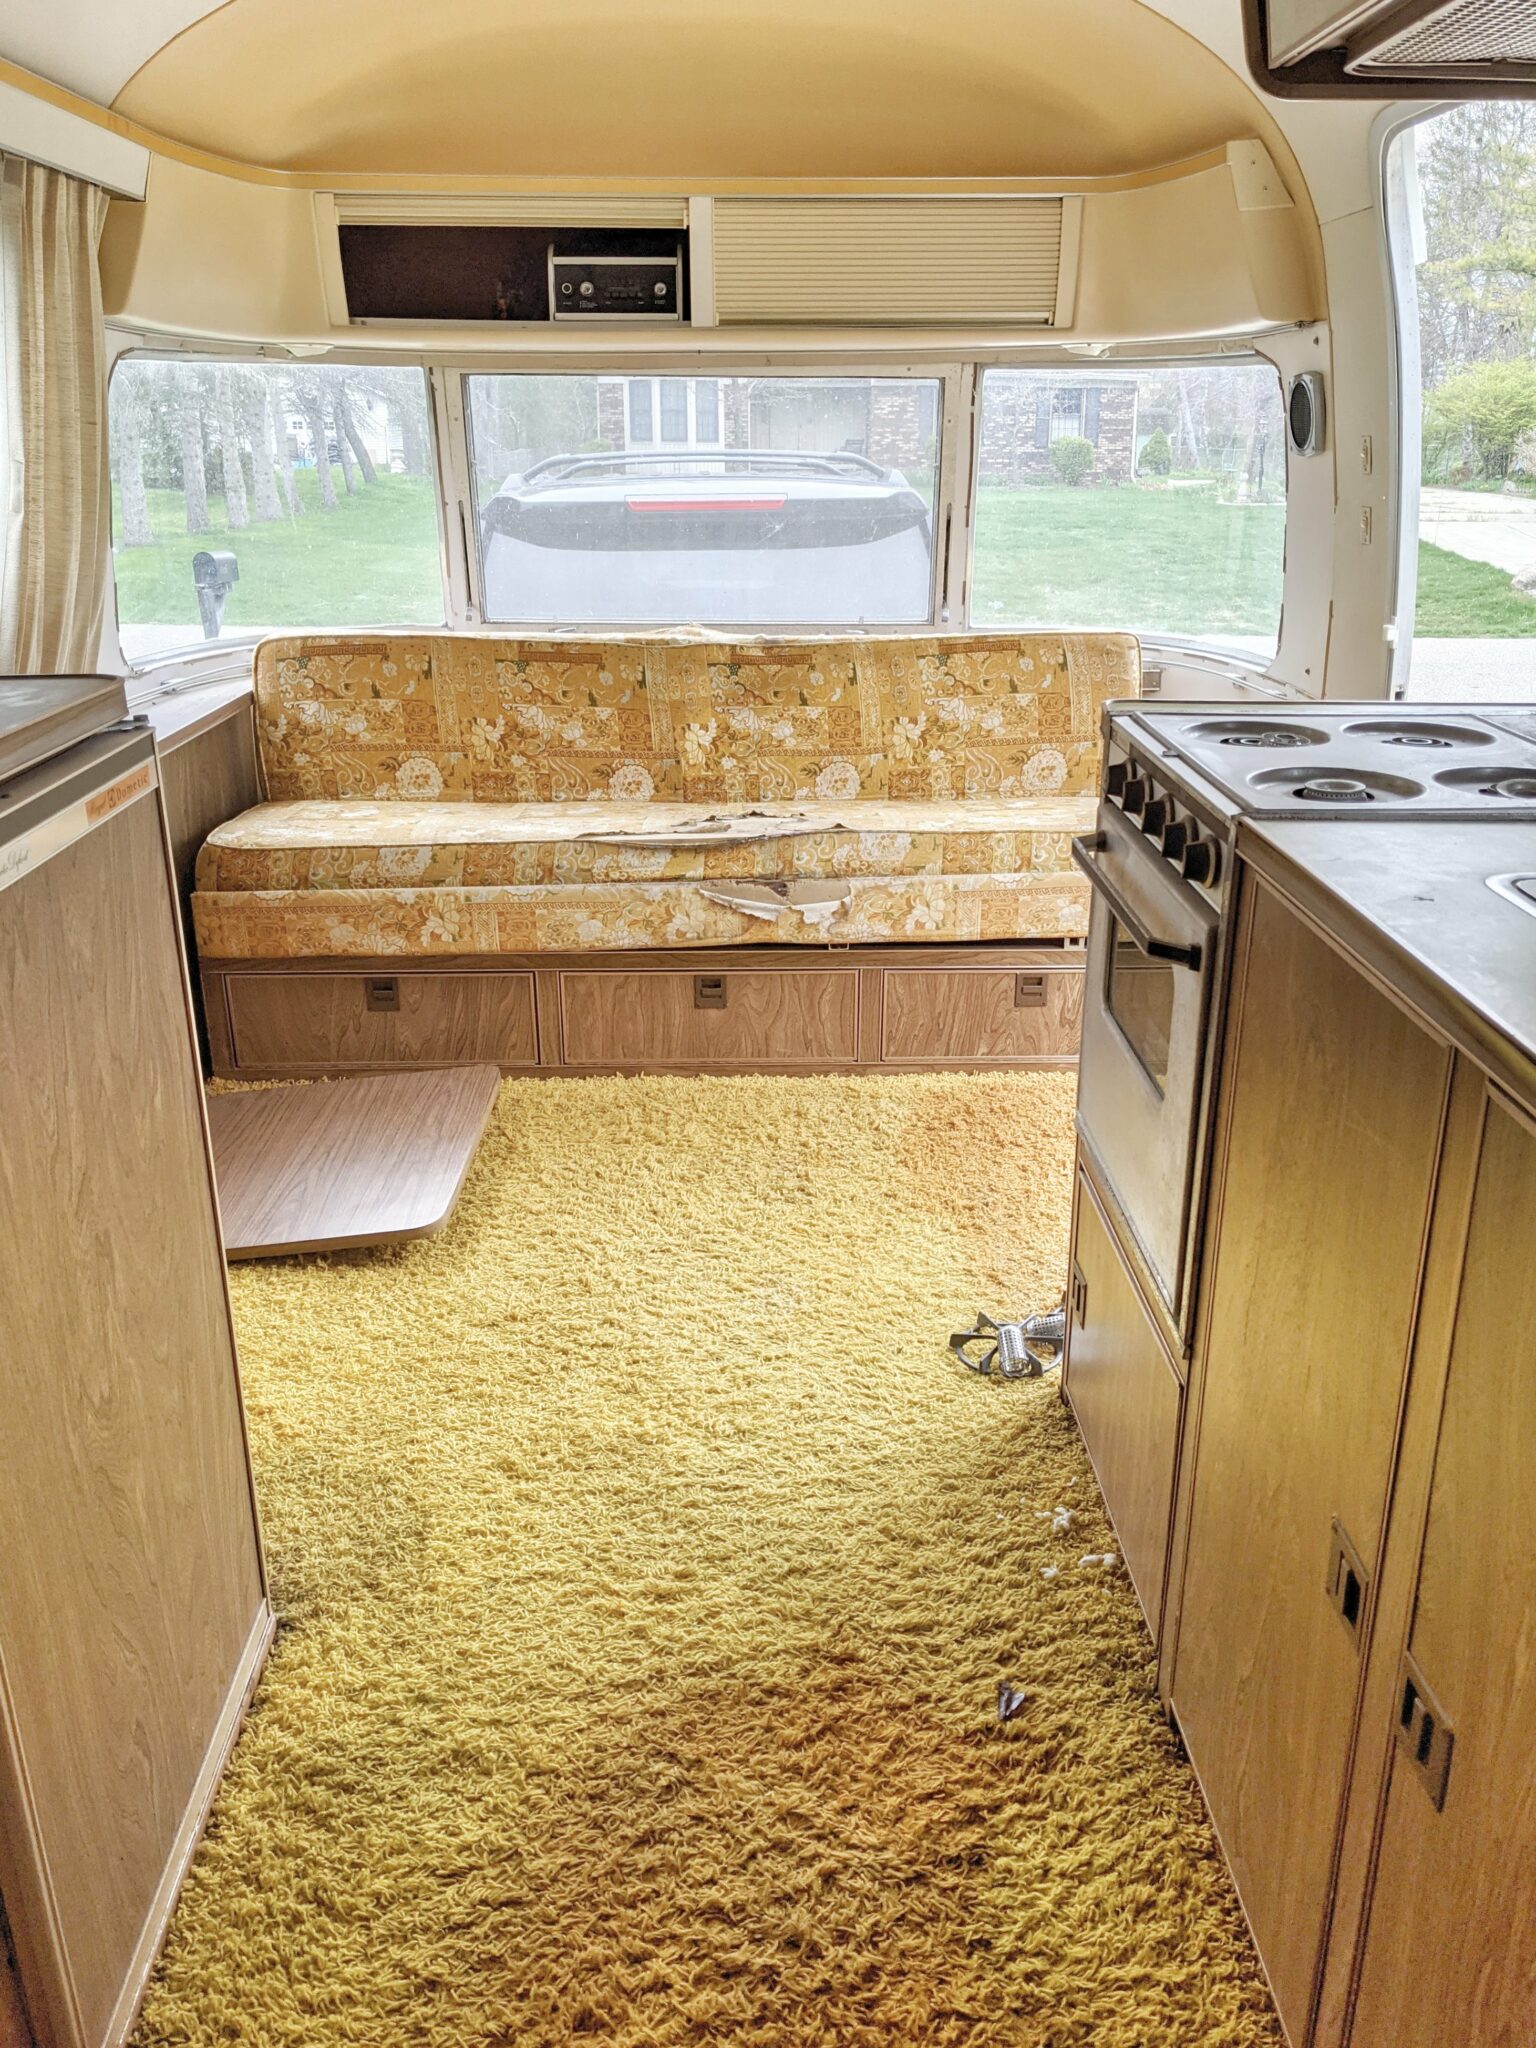
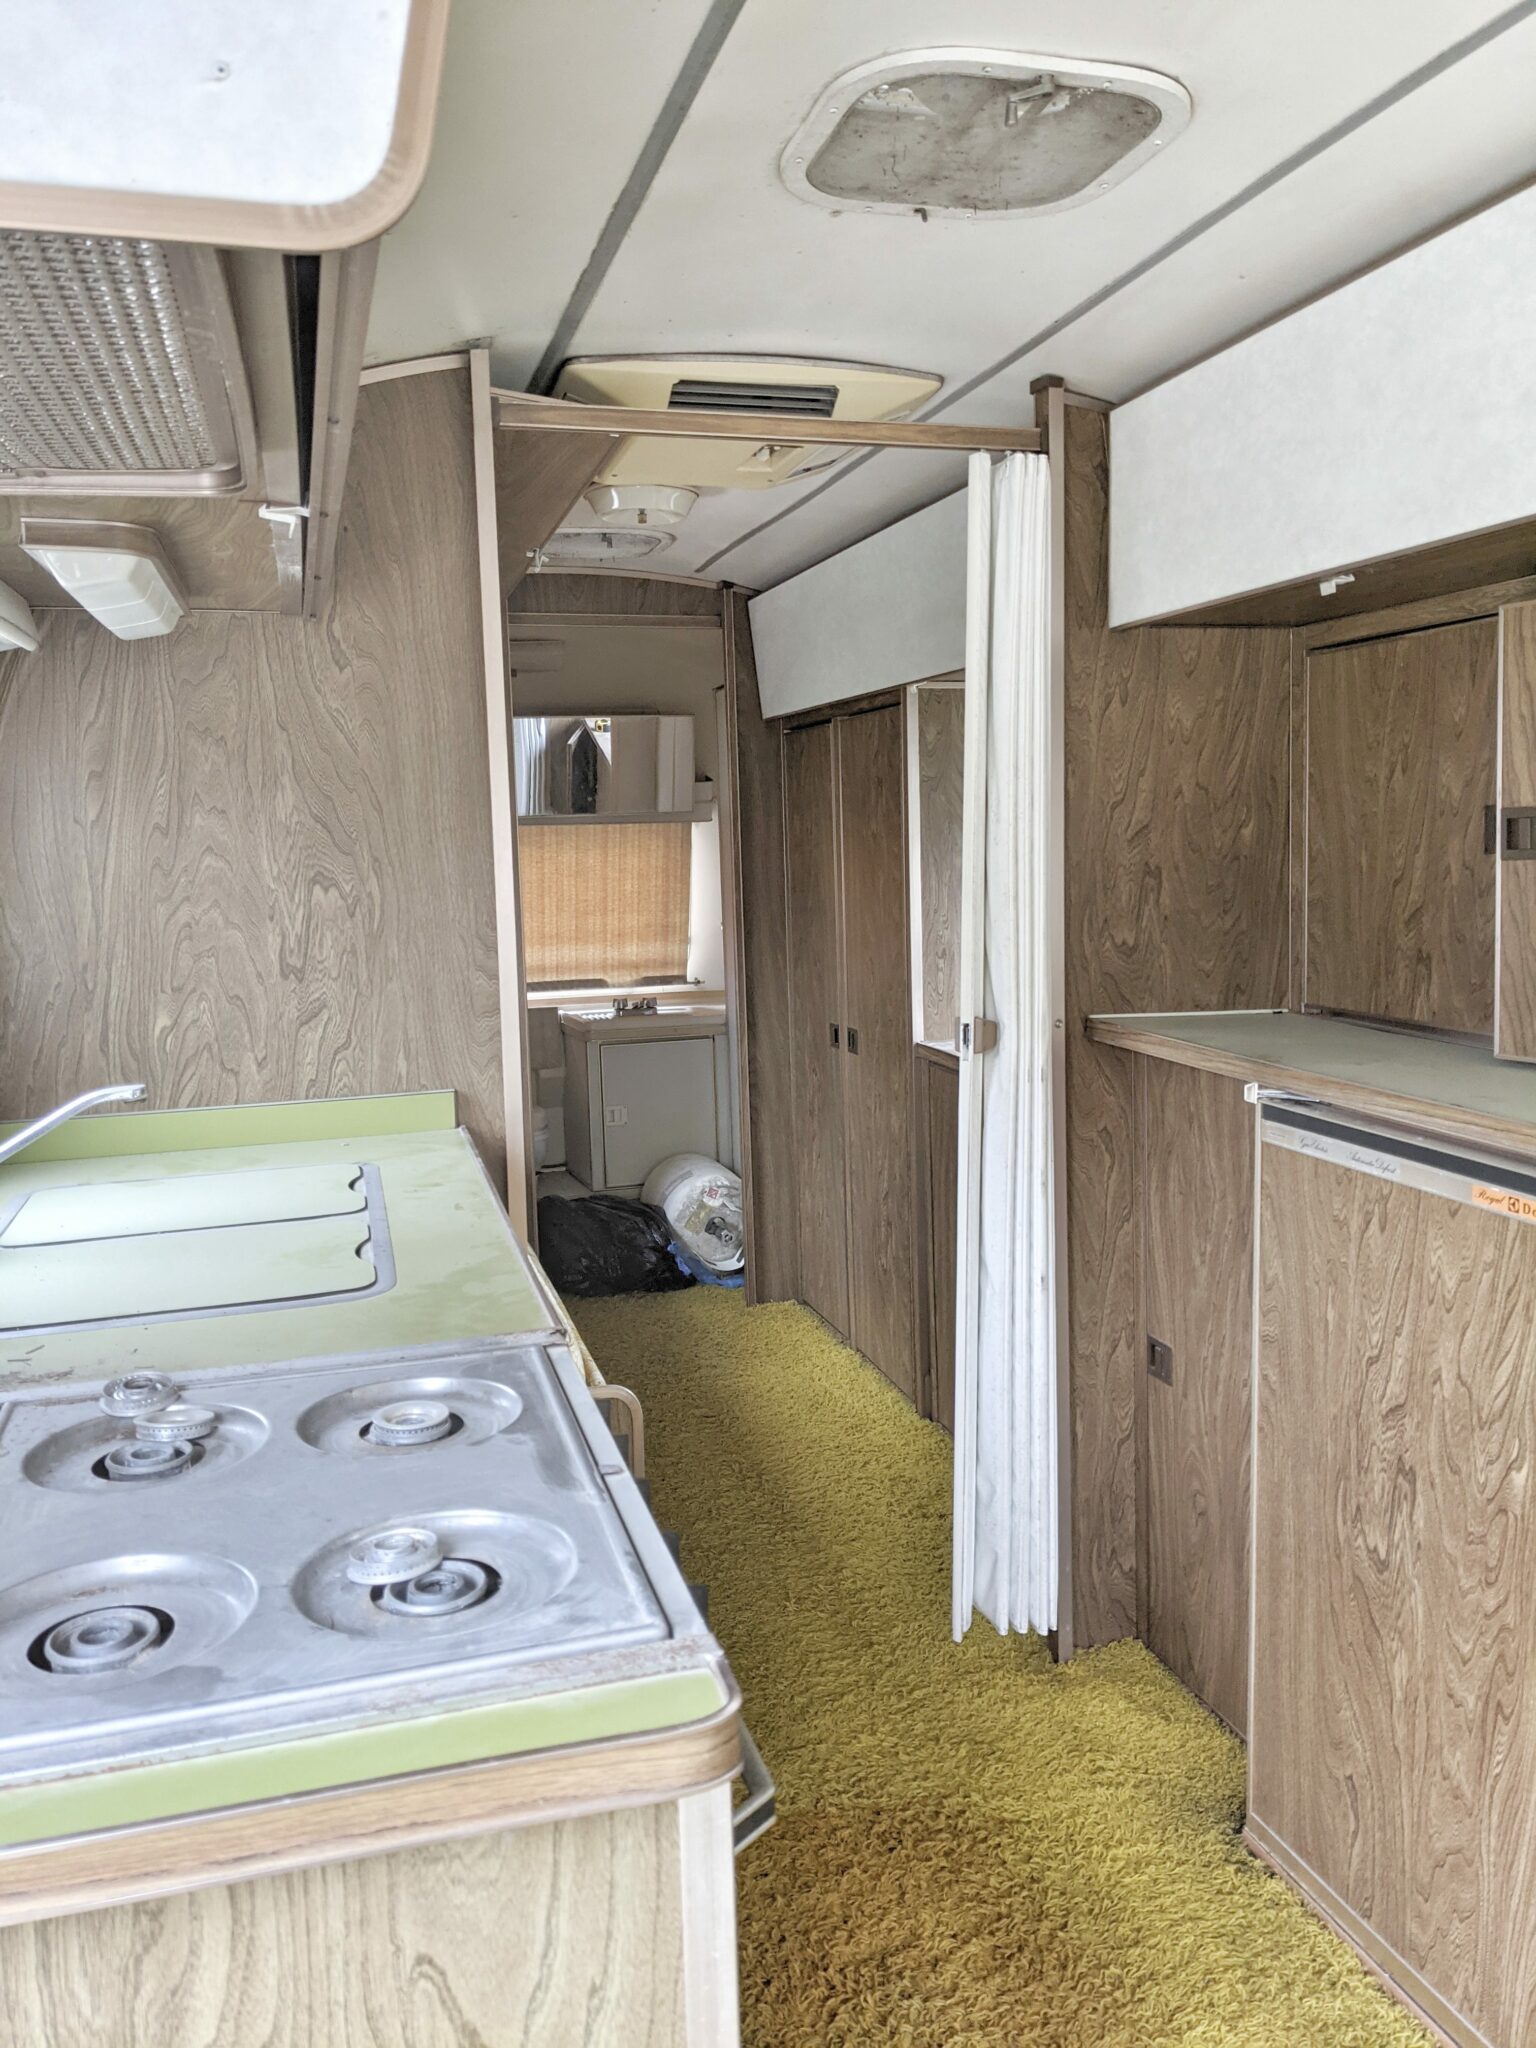
The Argosy we purchased was found on Facebook Marketplace about 6 hours away from our home. We purchased it from the second owner that was friends with the first owner. It was clear that it had meant a lot to them and that they had taken good care of it over the years. Most things were in working order with very little water damage. A few of the appliances did not work or were in bad shape. It had been stored in a barn, so there was lots of mouse poop and dust. Here is what needed to be done after a full inspection:
- New flooring – the subfloor was in great shape!
- Paint the walls and cabinets to brighten it up
- New faucets and plumbing for sinks – both sinks have leaks
- New hot water heater and water pump
- New battery
- Update old lighting to LED
- New furnace or replace with electric heat option
- Service air conditioner and fridge – both in working order and just need to be cleaned/painted
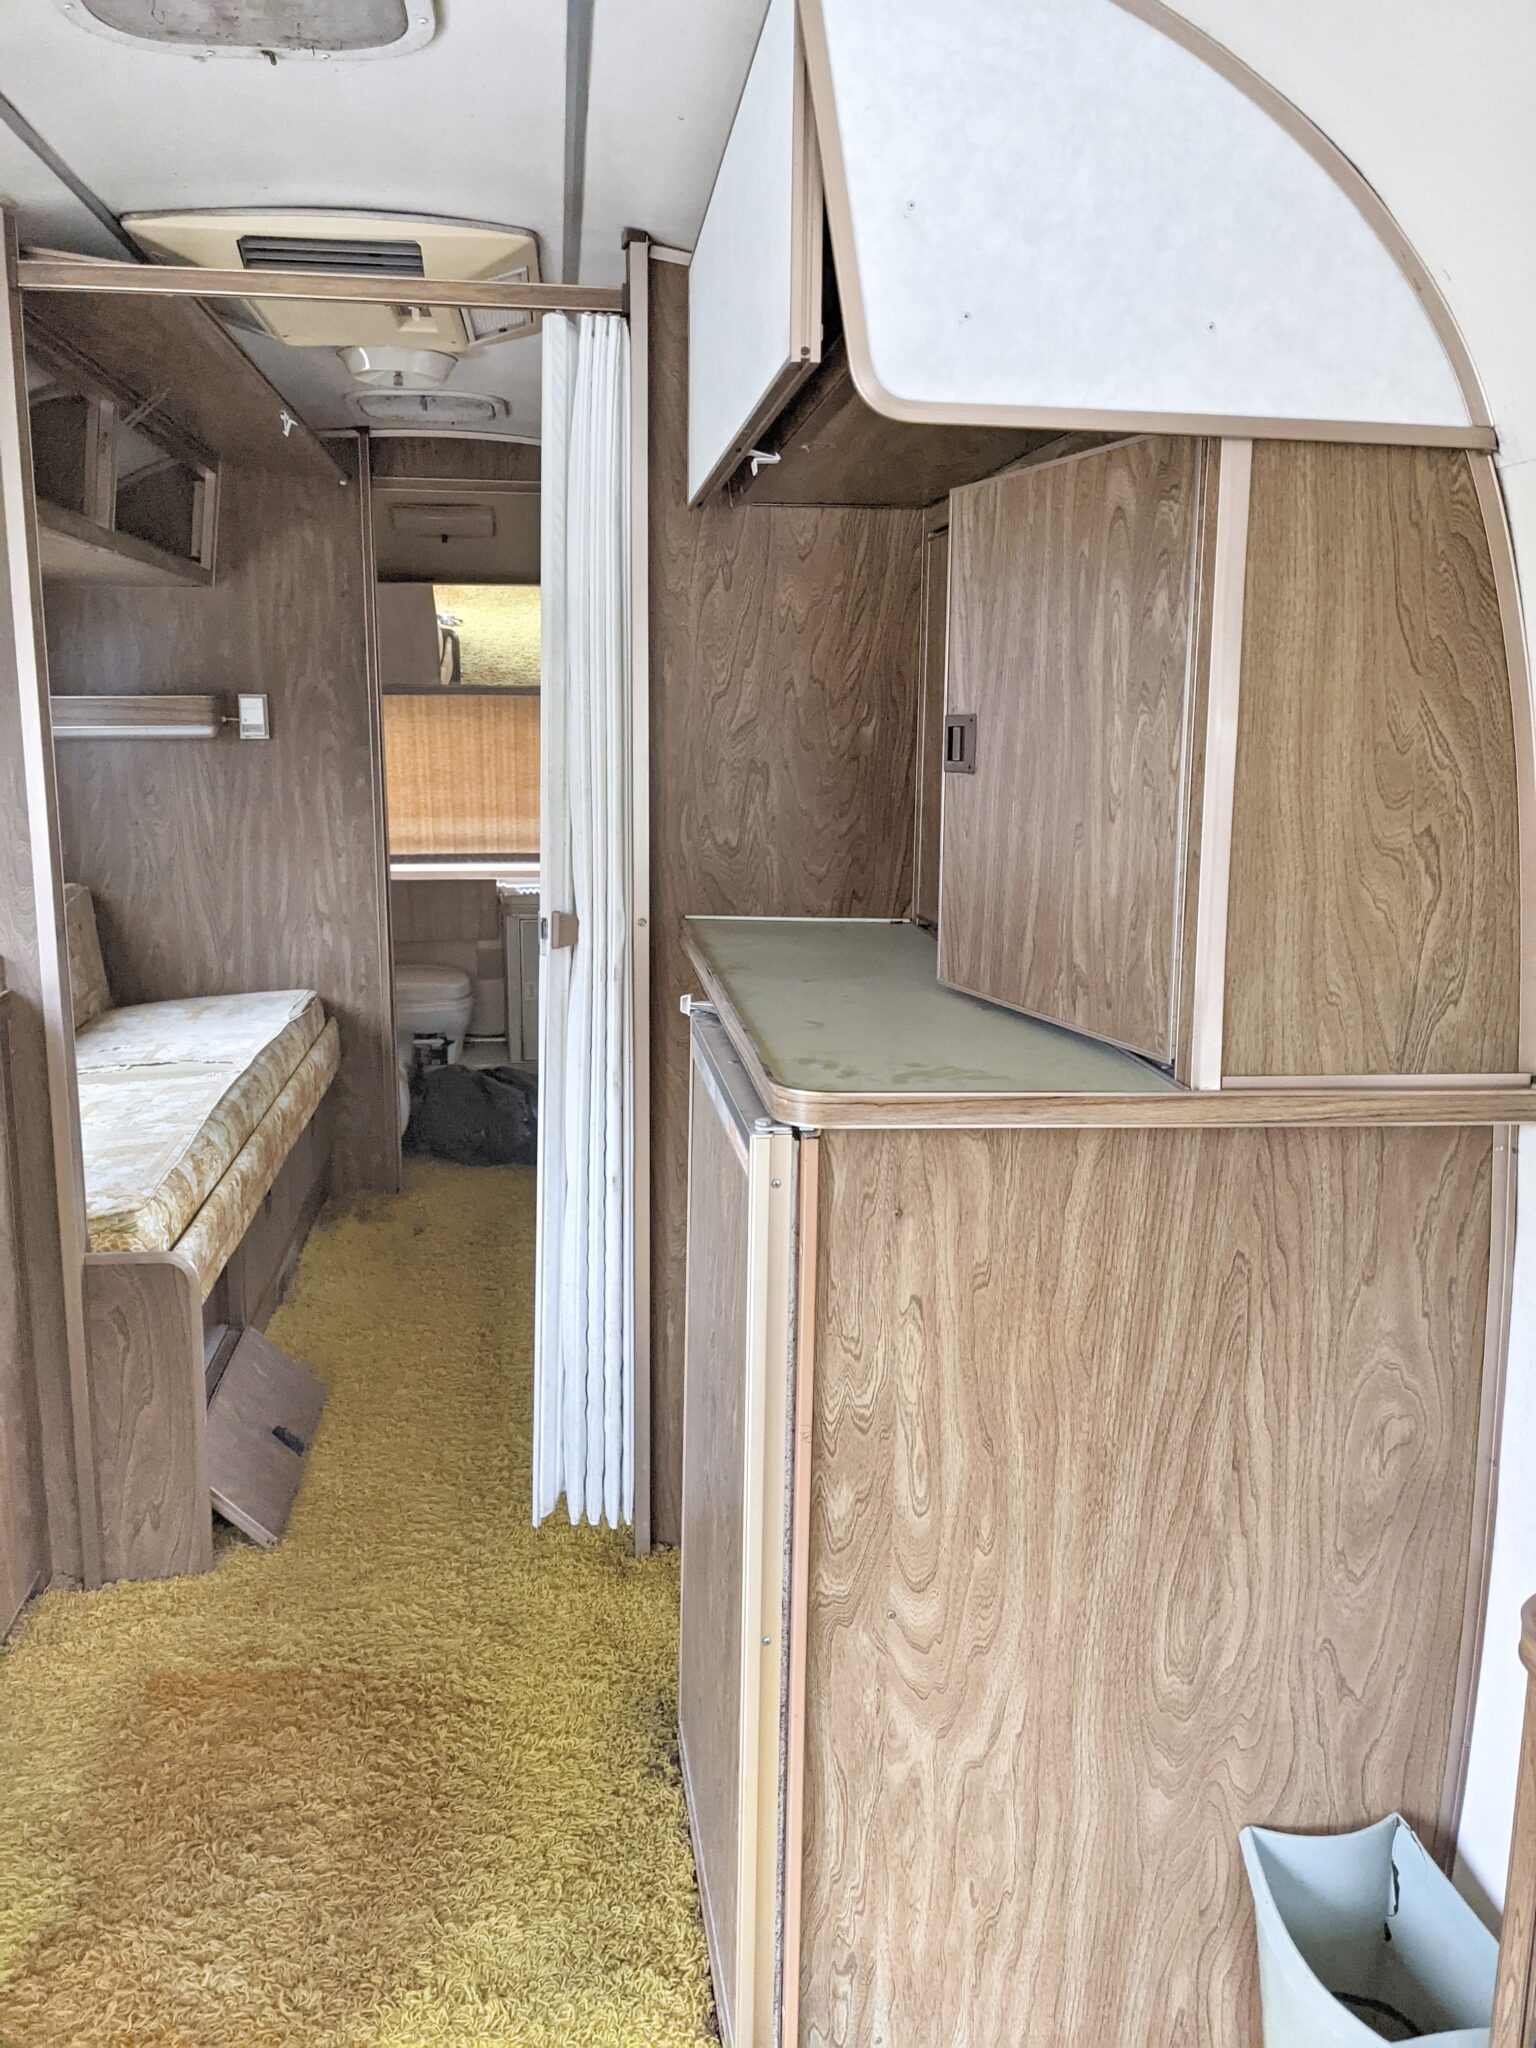
- Remove back wardrobe and storage to make room for bunk bed
- Recover couches with new fabric
- Paint exterior and re-caulk/seal everything up good
- Remove stove/oven and replace with microwave and electric stove top
- Thorough cleaning!
- Paint the tub/shower and toilet with appliance paint
- New power lift jack and propane tanks
- New tires
- Fix tail lights that don’t work
- Repair or replace door handle that wont latch
- New window treatments
How to Fit a Family of 7
You may be wondering how our family of 7 is going to fit in here! I’ll be sharing more of the progress soon, but the plan is to create a quad bunk area! Once it’s done, 2 people will fit on the sofa bed up front, 2 people on the sofa bed in back and 3 on the bunks.
Follow me on Instagram for Updates!
Instagram: @purposeblog

Leave a Reply