This post contains affiliate links for your convenience.
This is the story of a kitchen, like many kitchens. It has been through a lot; the place for good food to be prepared, memories to be made, friends to gather. My babies have danced and spun around on this floor, learned to bake sugar cookies and made many messes.
We live in a parsonage, which is a home owned by the church where my husband is employed. It’s kind of like we’re renters, or caretakers of this home. We don’t own it, but we take care of it and treat it like it’s our own in many ways.
Because we don’t own it, yet have lived here for many years with no plans of leaving any time soon, we’ve done a lot of inexpensive updates.
I just received permission from the church board to update the cabinets…
and I couldn’t be more excited!
Before I go on… the BEFORE:
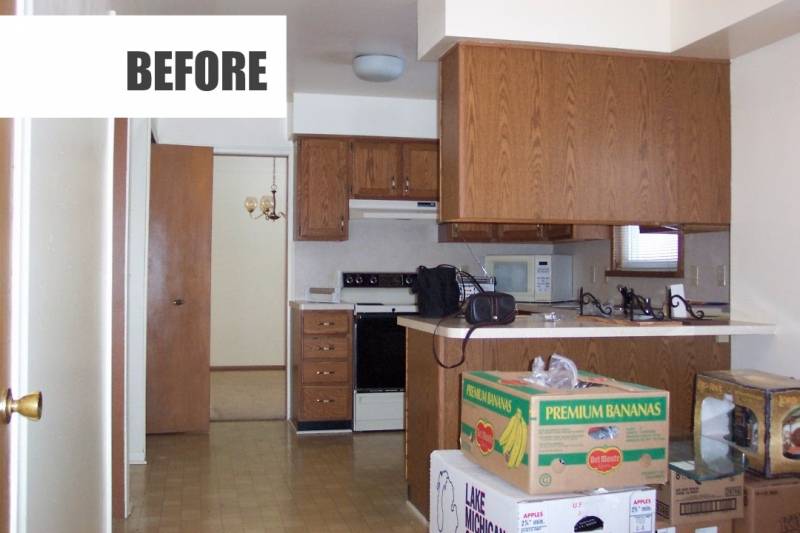
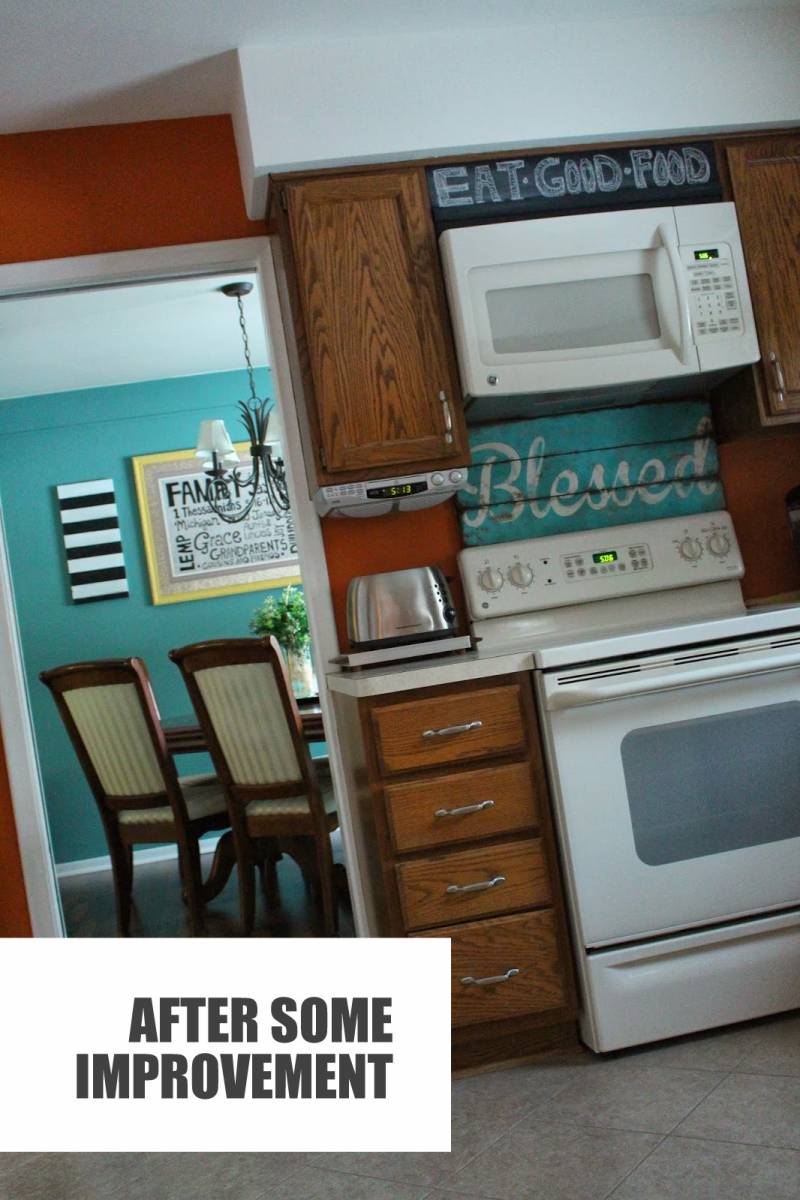
And now, some of the improvements we have made over the years.
We’ll call this one: DURING
UPDATE: SEE THE FINAL REVEAL HERE!!
We have updated the floors, changed the wall color about 5 times, changed out the hardware on the cabinets and replaced appliances.
But those stinkin cabinets have haunted me since the day we moved in.
I’ve longed to paint them for years… but knew it would be a big project and have feared the response I’d get when asking to paint over “good wood” as many men are notorious for saying!
I have the green light, and now the real change begins!!
White kitchen, here I come…
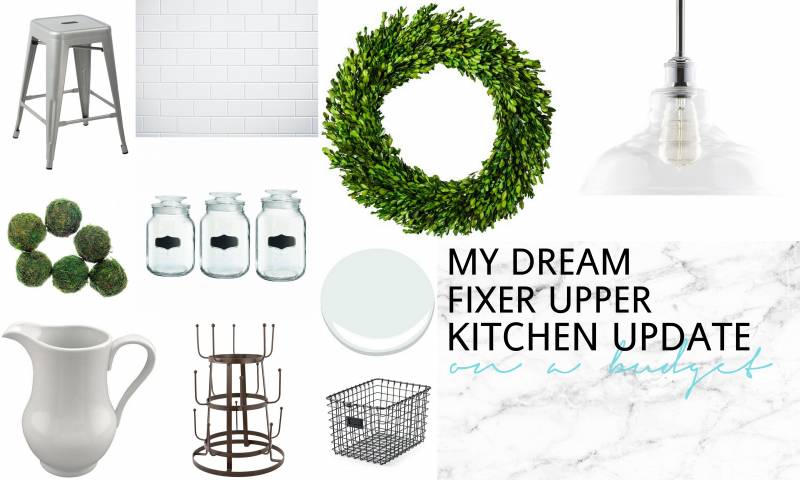
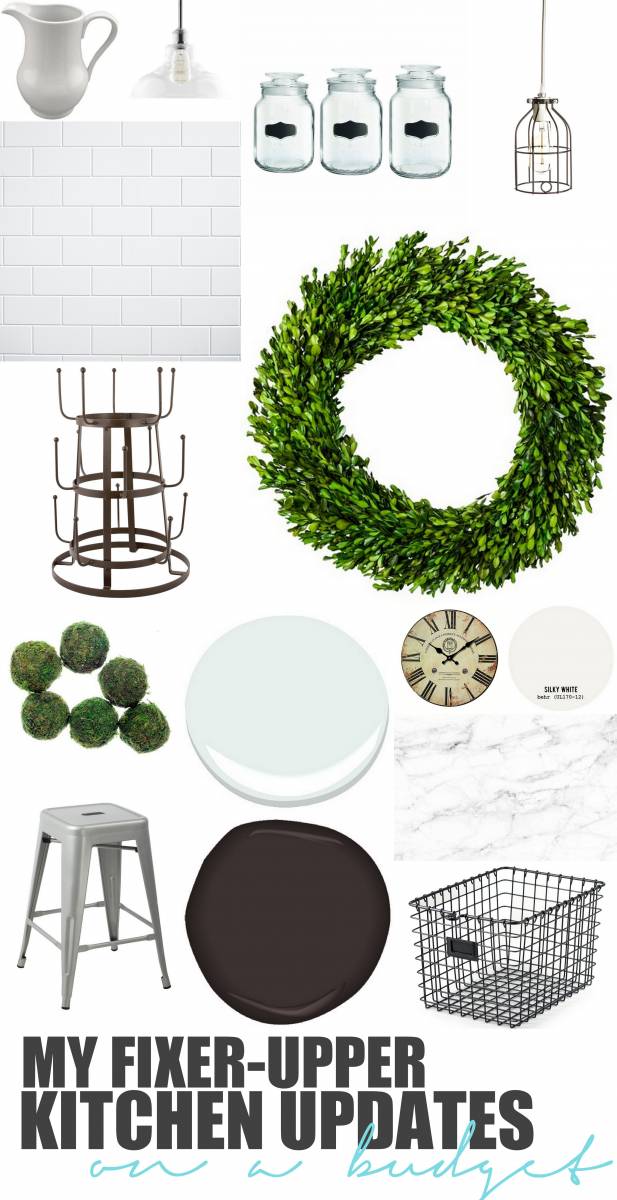
Here are the beautiful, Fixer-Upper inspired visions in my head of what this kitchen could be:
The Plan
Options for cabinets:
 This primer I’ve read lots of reviews and heard from family members that have used it. It’s supposed to cling to practically any surface without stripping or prepping. I would prime the cabinets with this and then paint them white or espresso with a regular latex paint.
- This stain in espresso. For another option, this stain and polyurethane in one can be applied over top of already polyurethaned surfaces without stripping. This would allow for the natural wood grain to come through, but updating the look of the cabinets.
Options for countertop:
- Countertop resurfacing using a laminate top like this: Wilsonart Laminate Sheets in Marble Finish I would need a couple sheets at least, which would cost around $100.
 A countertop painting kit like this one: Giani Granite Countertop Kit which runs about $80.
- Following a tutorial to create a faux marble top with paint like this one found on Remodelaholic
- I’ve also considered creating a faux concrete countertop using Ardex Feather Finish but am unsure of the results after reading reviews like this one: Concrete Countertops: How They Failed Us
Fixer-Upper Inspired Accessories:
- Glass Light Fixture, Light Cage Fixture, Cool pendent light

- Drying Rack
- Wire Baskets
- Rustic Clock
- Floating Wood Shelves
- Metal Stools
- Moss Balls
 Cool Wood Beam Light Fixture
- Glass Jars
- 3 Tiered Serving Tray
- Boxwood Wreath, Cheaper one!
- Rustic Sign
- White Pitcher
- Mason Jar Flatware Tray
Subway Tile Back Splash
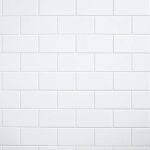 Real subway tiles = most expensive option
- Subway tile wallpaper… I’m pretty sure it exists!
- Stick-on subway tiles or these tiles which also look great
- Subway tiles made out of wood seen on 30 Handmade Days
- A
 nother option that looks like the tile used in this picture by Joanna Gains: Blue Green Glass Tile
Inspiration
The kitchens I’m currently swooning over
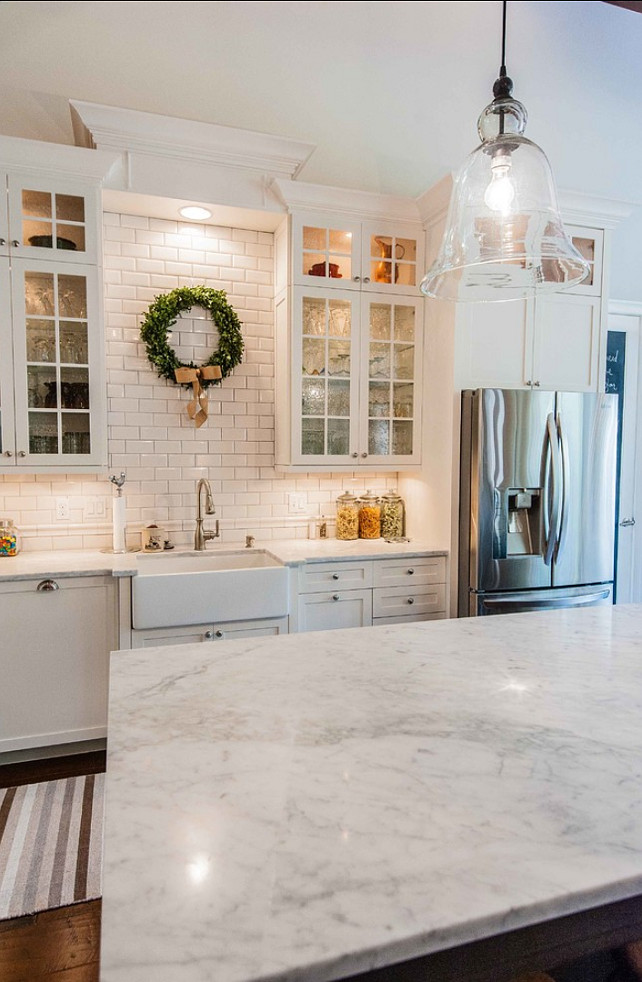 This Kitchen from Home Bunch
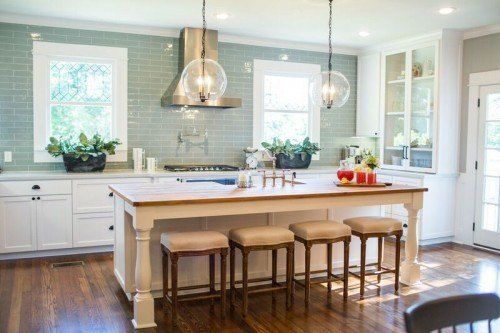 This Kitchen from Fixer-Upper Season 3
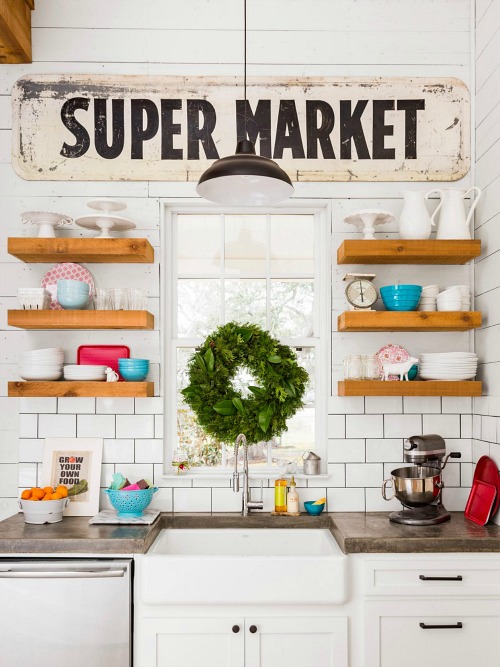 Joanna Gaines’ very own kitchen in her farmhouse
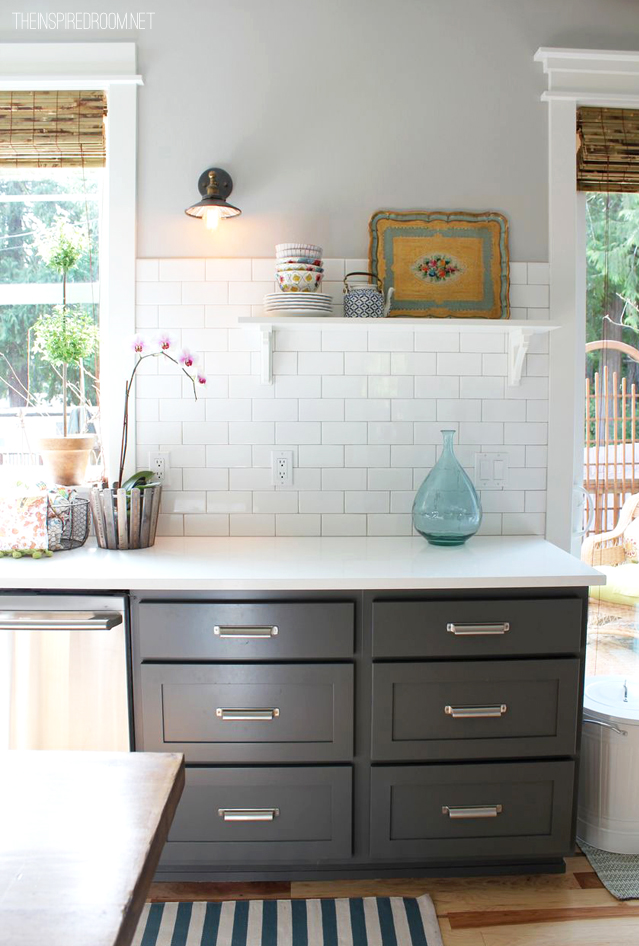 This beautiful kitchen redo from the Inspired Room

Linda Veno
Just saw the “reveal” kitchen – it looks great! Bravo!