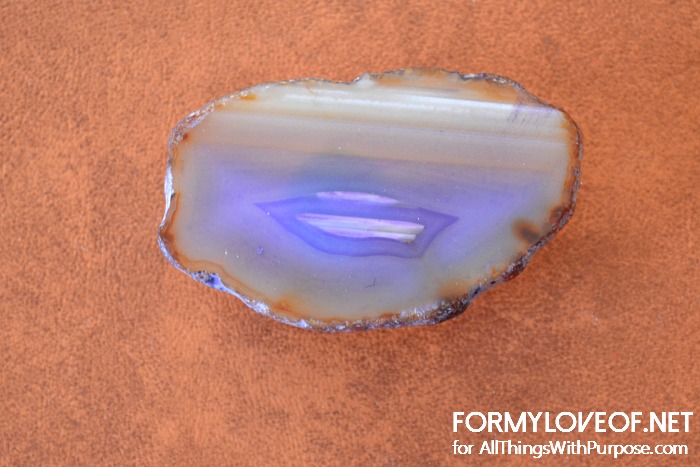
Hi! My name is Corinna from For My Love Of blog and I’m here again as a contributor to share my latest and greatest creation. Pretty storage can be really expensive. I needed pretty storage for atop my media dresser/stand but I couldn’t make myself shell out the money for something like what I’d been eyeing. Now that I’ve created one decorative storage box, I’ve got so many ideas for more and I think you’ll have fun customizing one, too!
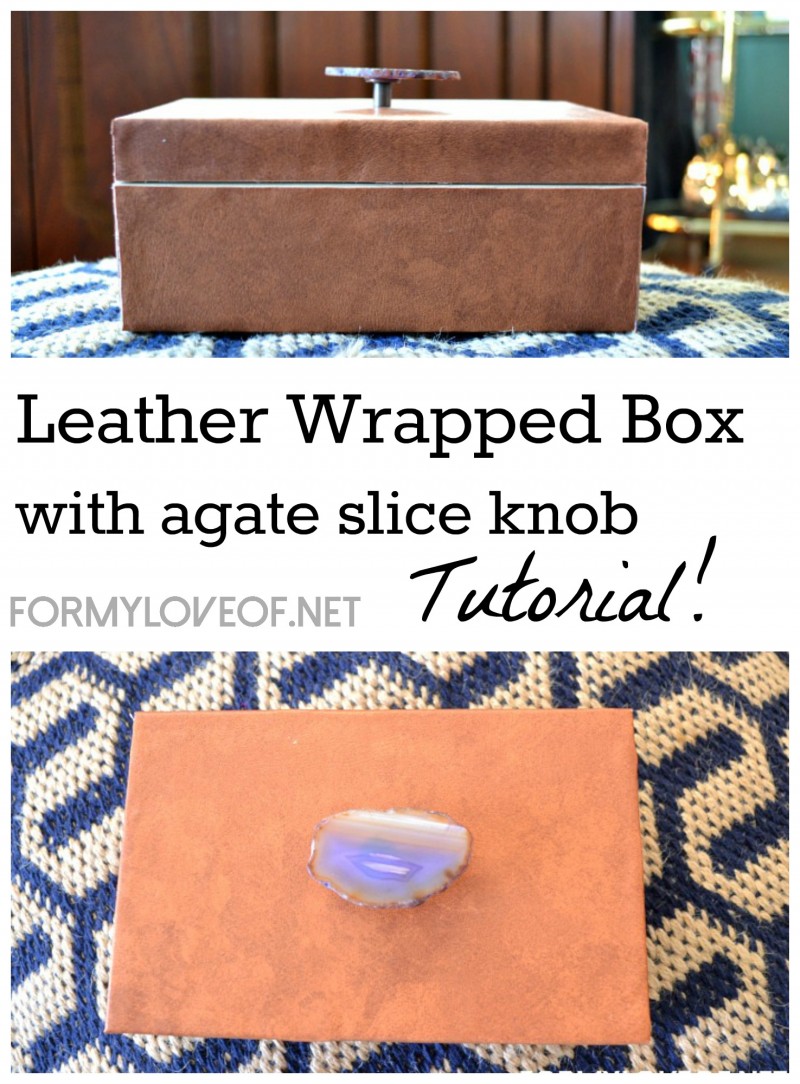
The supplies:
I made mine using materials that I already had in my craft stash, minus the box. So take a look in your stash to see what you may have to make a pretty storage box!
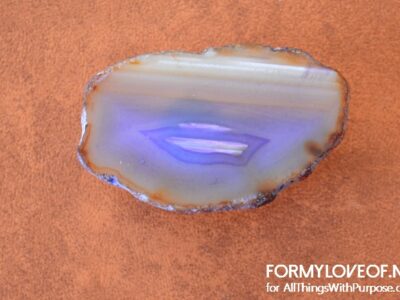
wooden box from the craft store, a leather link fabric, hot glue, E-6000, stone with at least 1 flat side, cap nut, machine screw, craft knife
How to create it yourself:
Before anything else, remove all the attached hardware and put in a safe place for later. I found an eyeglass screwdriver to be the perfect tool for accomplishing this. If your box has no hardware, yay!
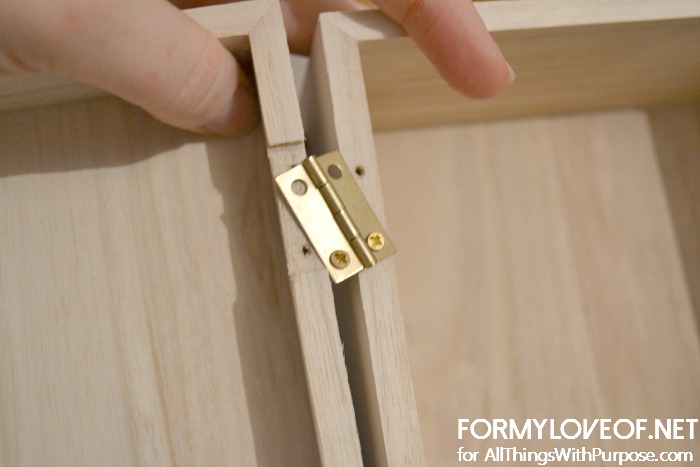
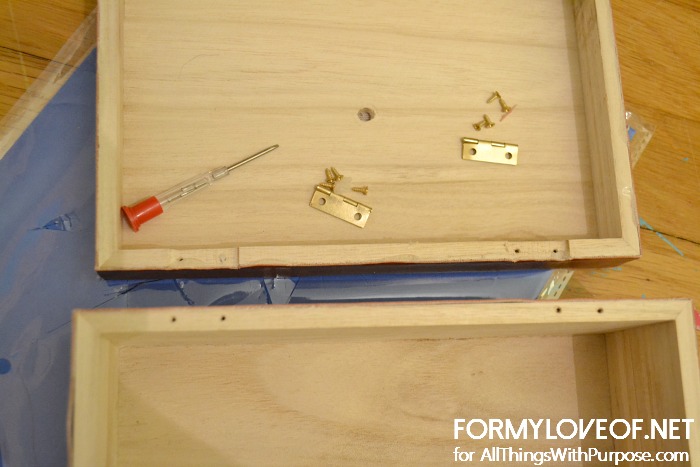
To create a fabric wrapped box like mine, you’ll start by cutting fabric large enough to cover the bottom and sides of the box bottom. To be honest, I kind of wish I had cut only a piece long enough to wrap around the box’s sides in one wrap because the seams are a little “meh” here. But moving on, how ever you want to wrap the box, do it that way. The way I wrapped this box was by gluing the center of the fabric to the bottom of the box.
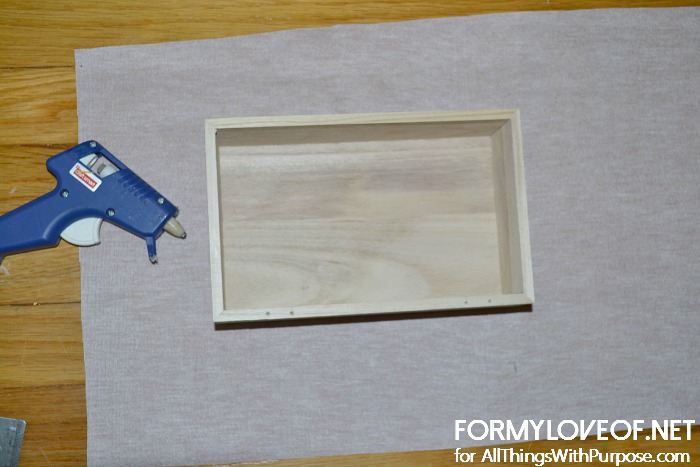
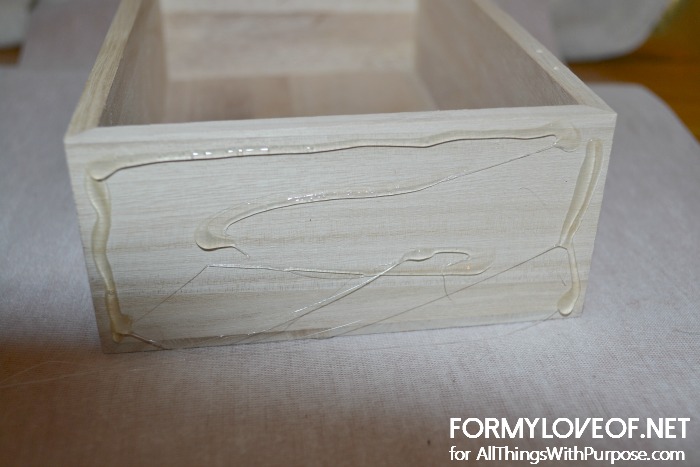
I then spread hot glue on one side of the box and folded the fabric over and smoothed it into the hot glue.Then, with a craft knife, cut the excess fabric off from around the side of the box. Repeat with each side of the box.
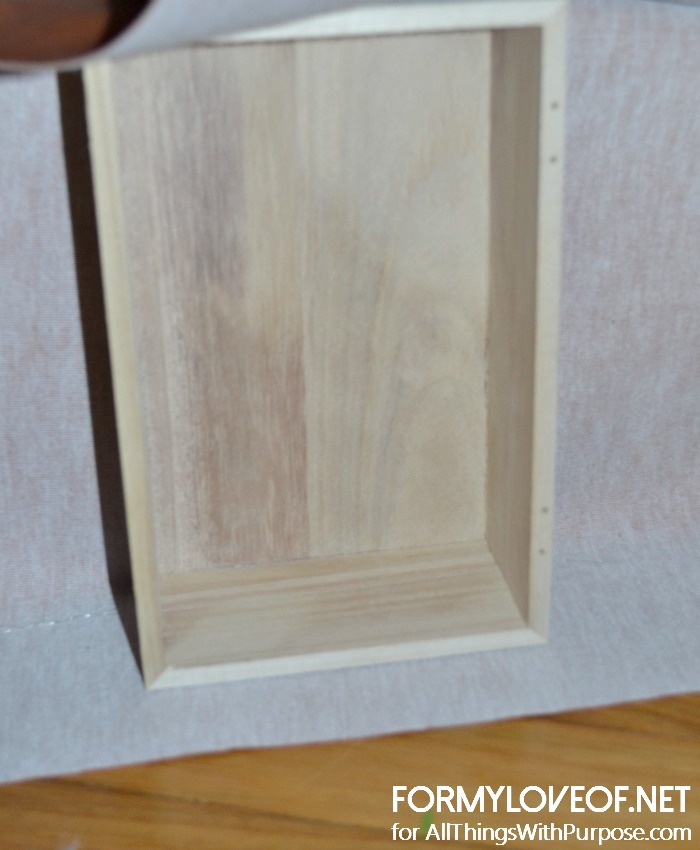
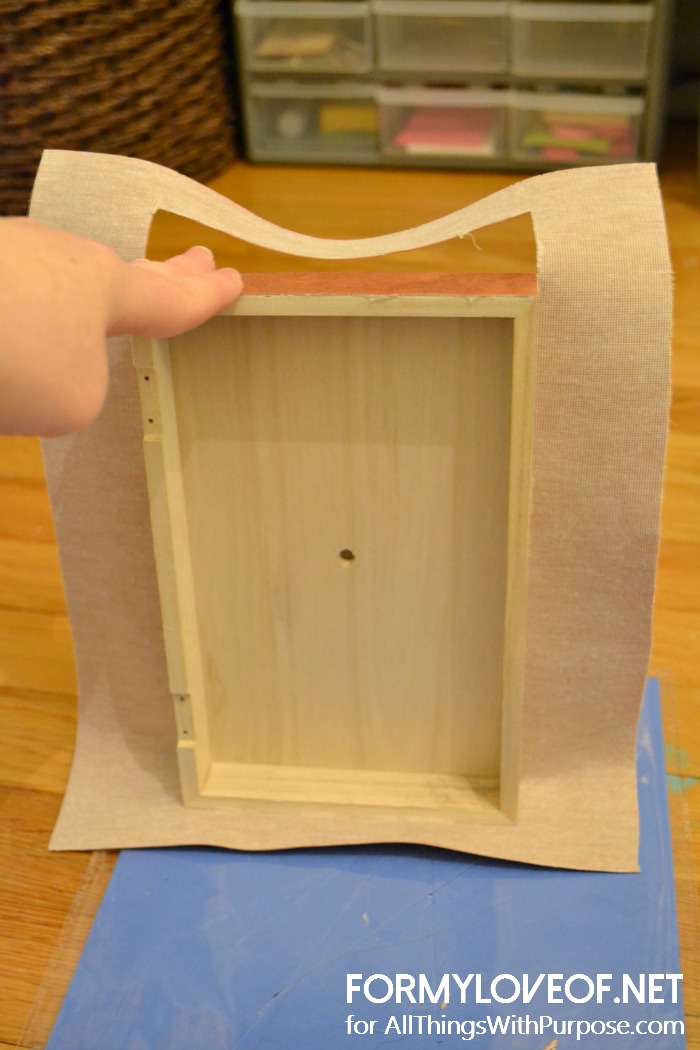
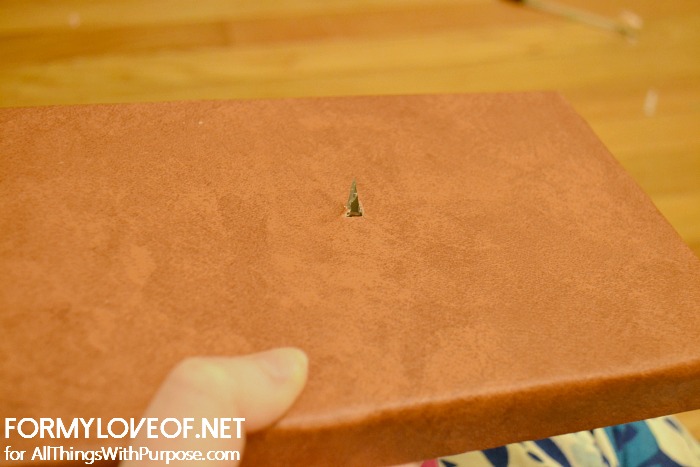
For the top of the box, repeat the same steps, but first drill a hole in the center for the decorative knob. Use the craft knife to pierce through the fabric covering the hole.
To create the knob, squeeze out a small dollop of E-6000 onto the cap nut and press the stone onto the cap nut.
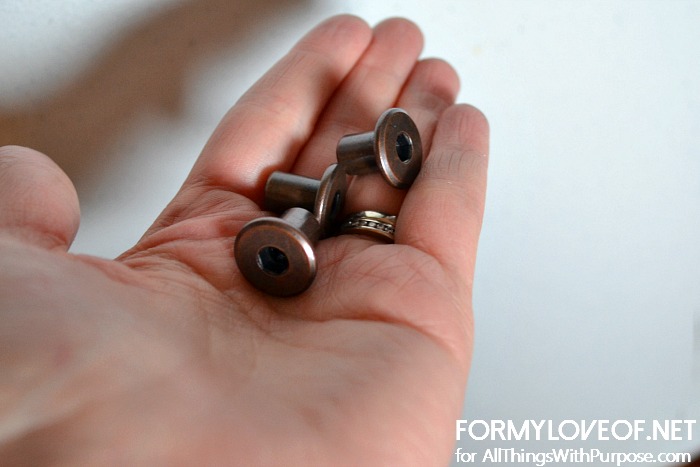
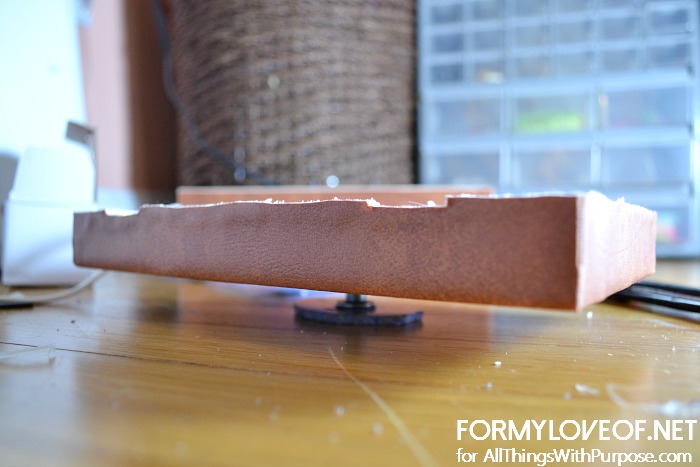
You’ll need to let this cure for a day or two before it’s completely set. Then you can just slide the machine screw through the hole in the box top and screw the stone and cap nut knob onto it.
Voila! New and pretty storage for the things you don’t want out and seen!
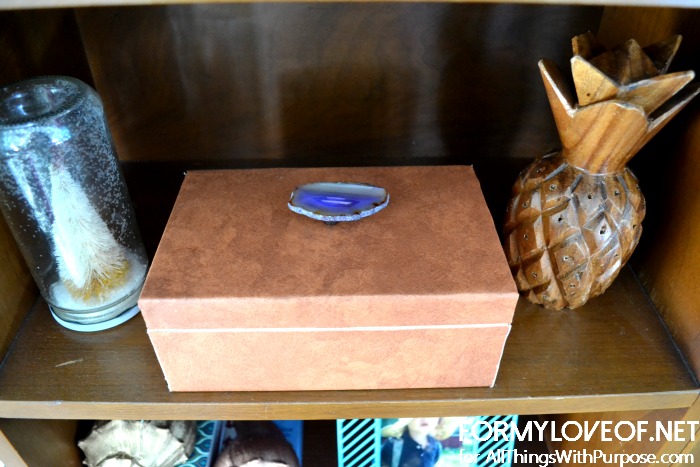
As is the case with nearly any craft, you can customize this endlessly. You can use nearly anything size appropriate for a knob, and you’re not even limited to fabric for the wrap. You can use contact or wrapping paper, too.
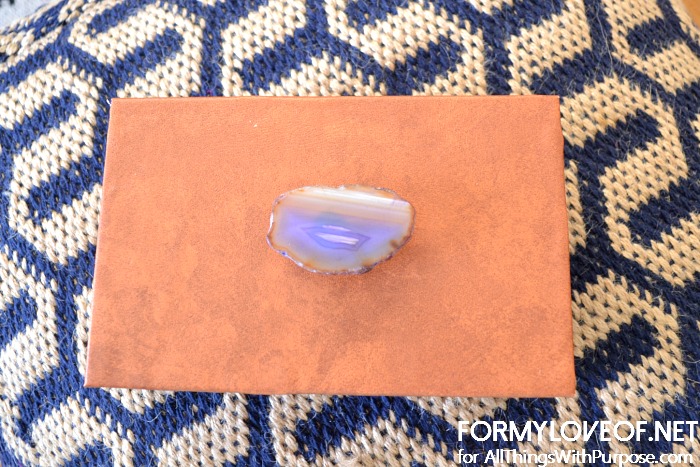
Considering how close we are to Christmas, it also occurred to me how pretty these would be as gift boxes! Ones the giftee is sure to keep!
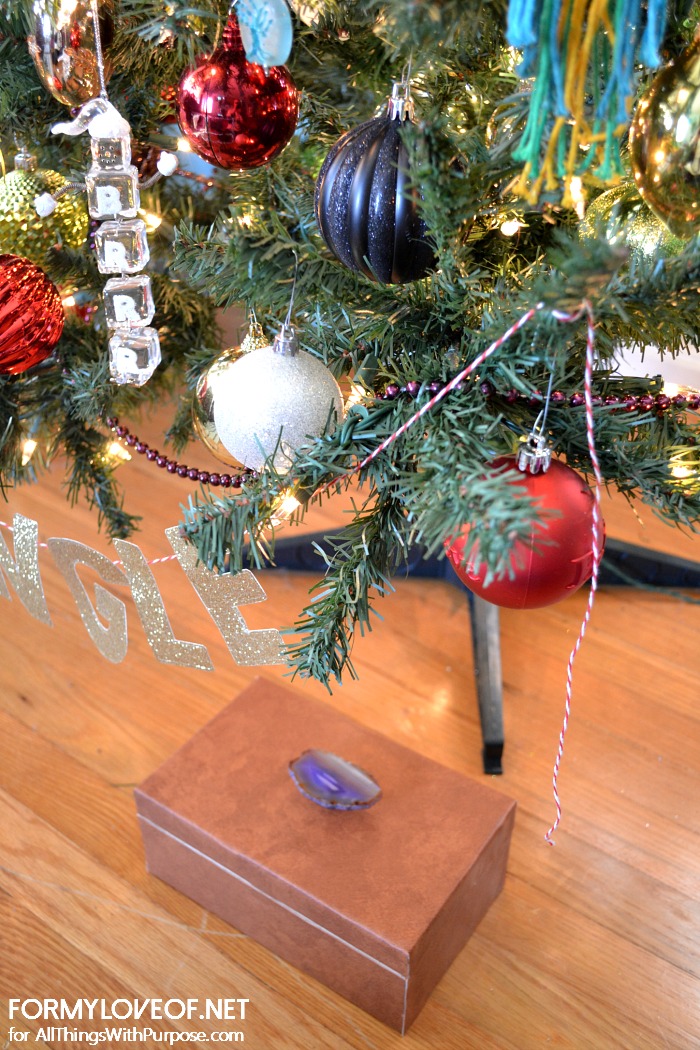
I hope you’ve found this tutorial inspiring and I hope you find time to create one of your own. If you do, please tag me in a picture so I can see it! Instagram: @ForMyLoveOf Twitter: @CorinnaAshley
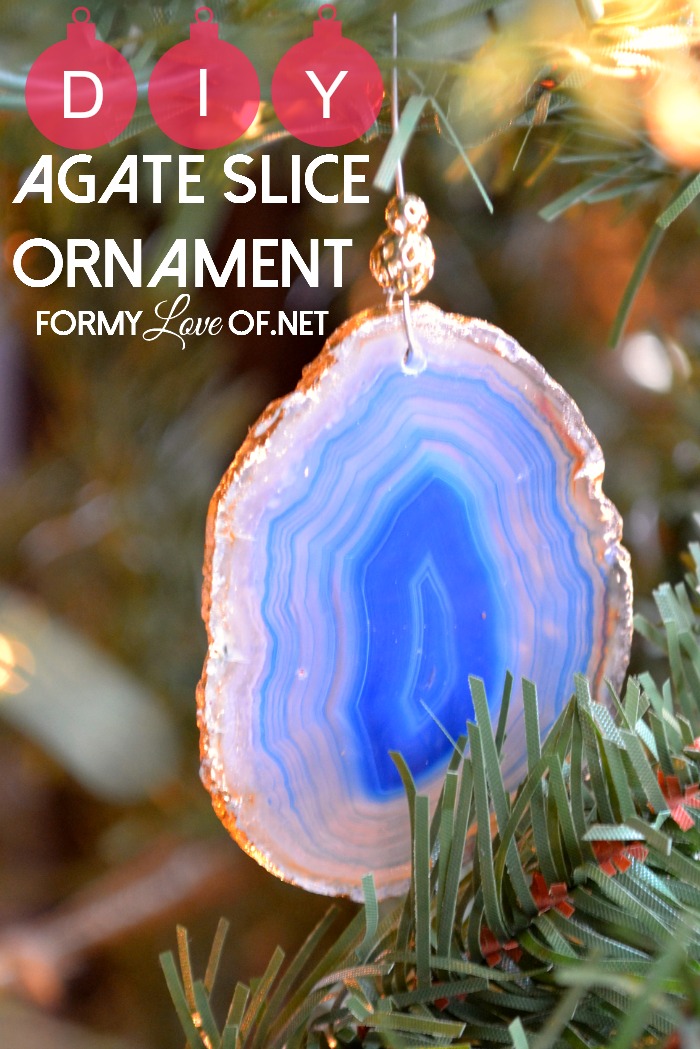
If you’ve enjoyed this post, maybe you’ll also enjoy my agate slice ornaments
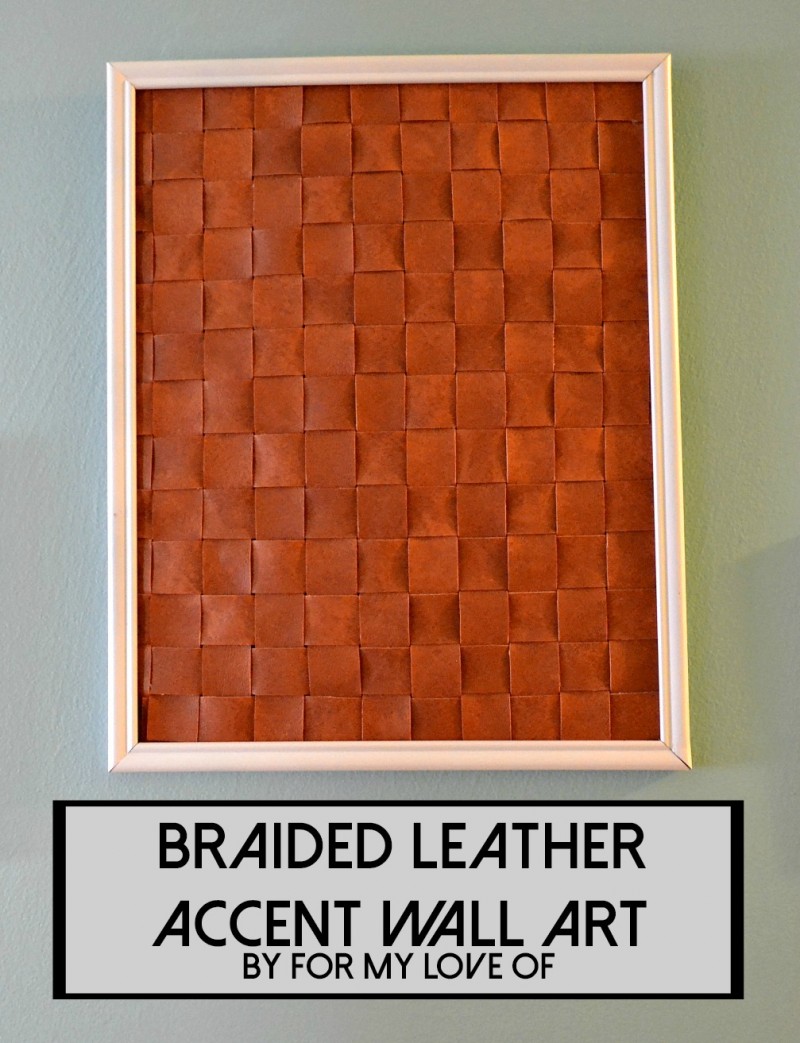
Or my woven leather art.

Clark
What did you do where the sides meet the front and back? How was the material joined? Did you just rely on the glue on all the faces of the box to hold the material?
Brynne@TheGatheredHome
I’ve never heard of a cap nut before today – you’ve just opened up a world of possibilities for me with DIY knob ideas! I love the way the agate knob turned out! Great job!