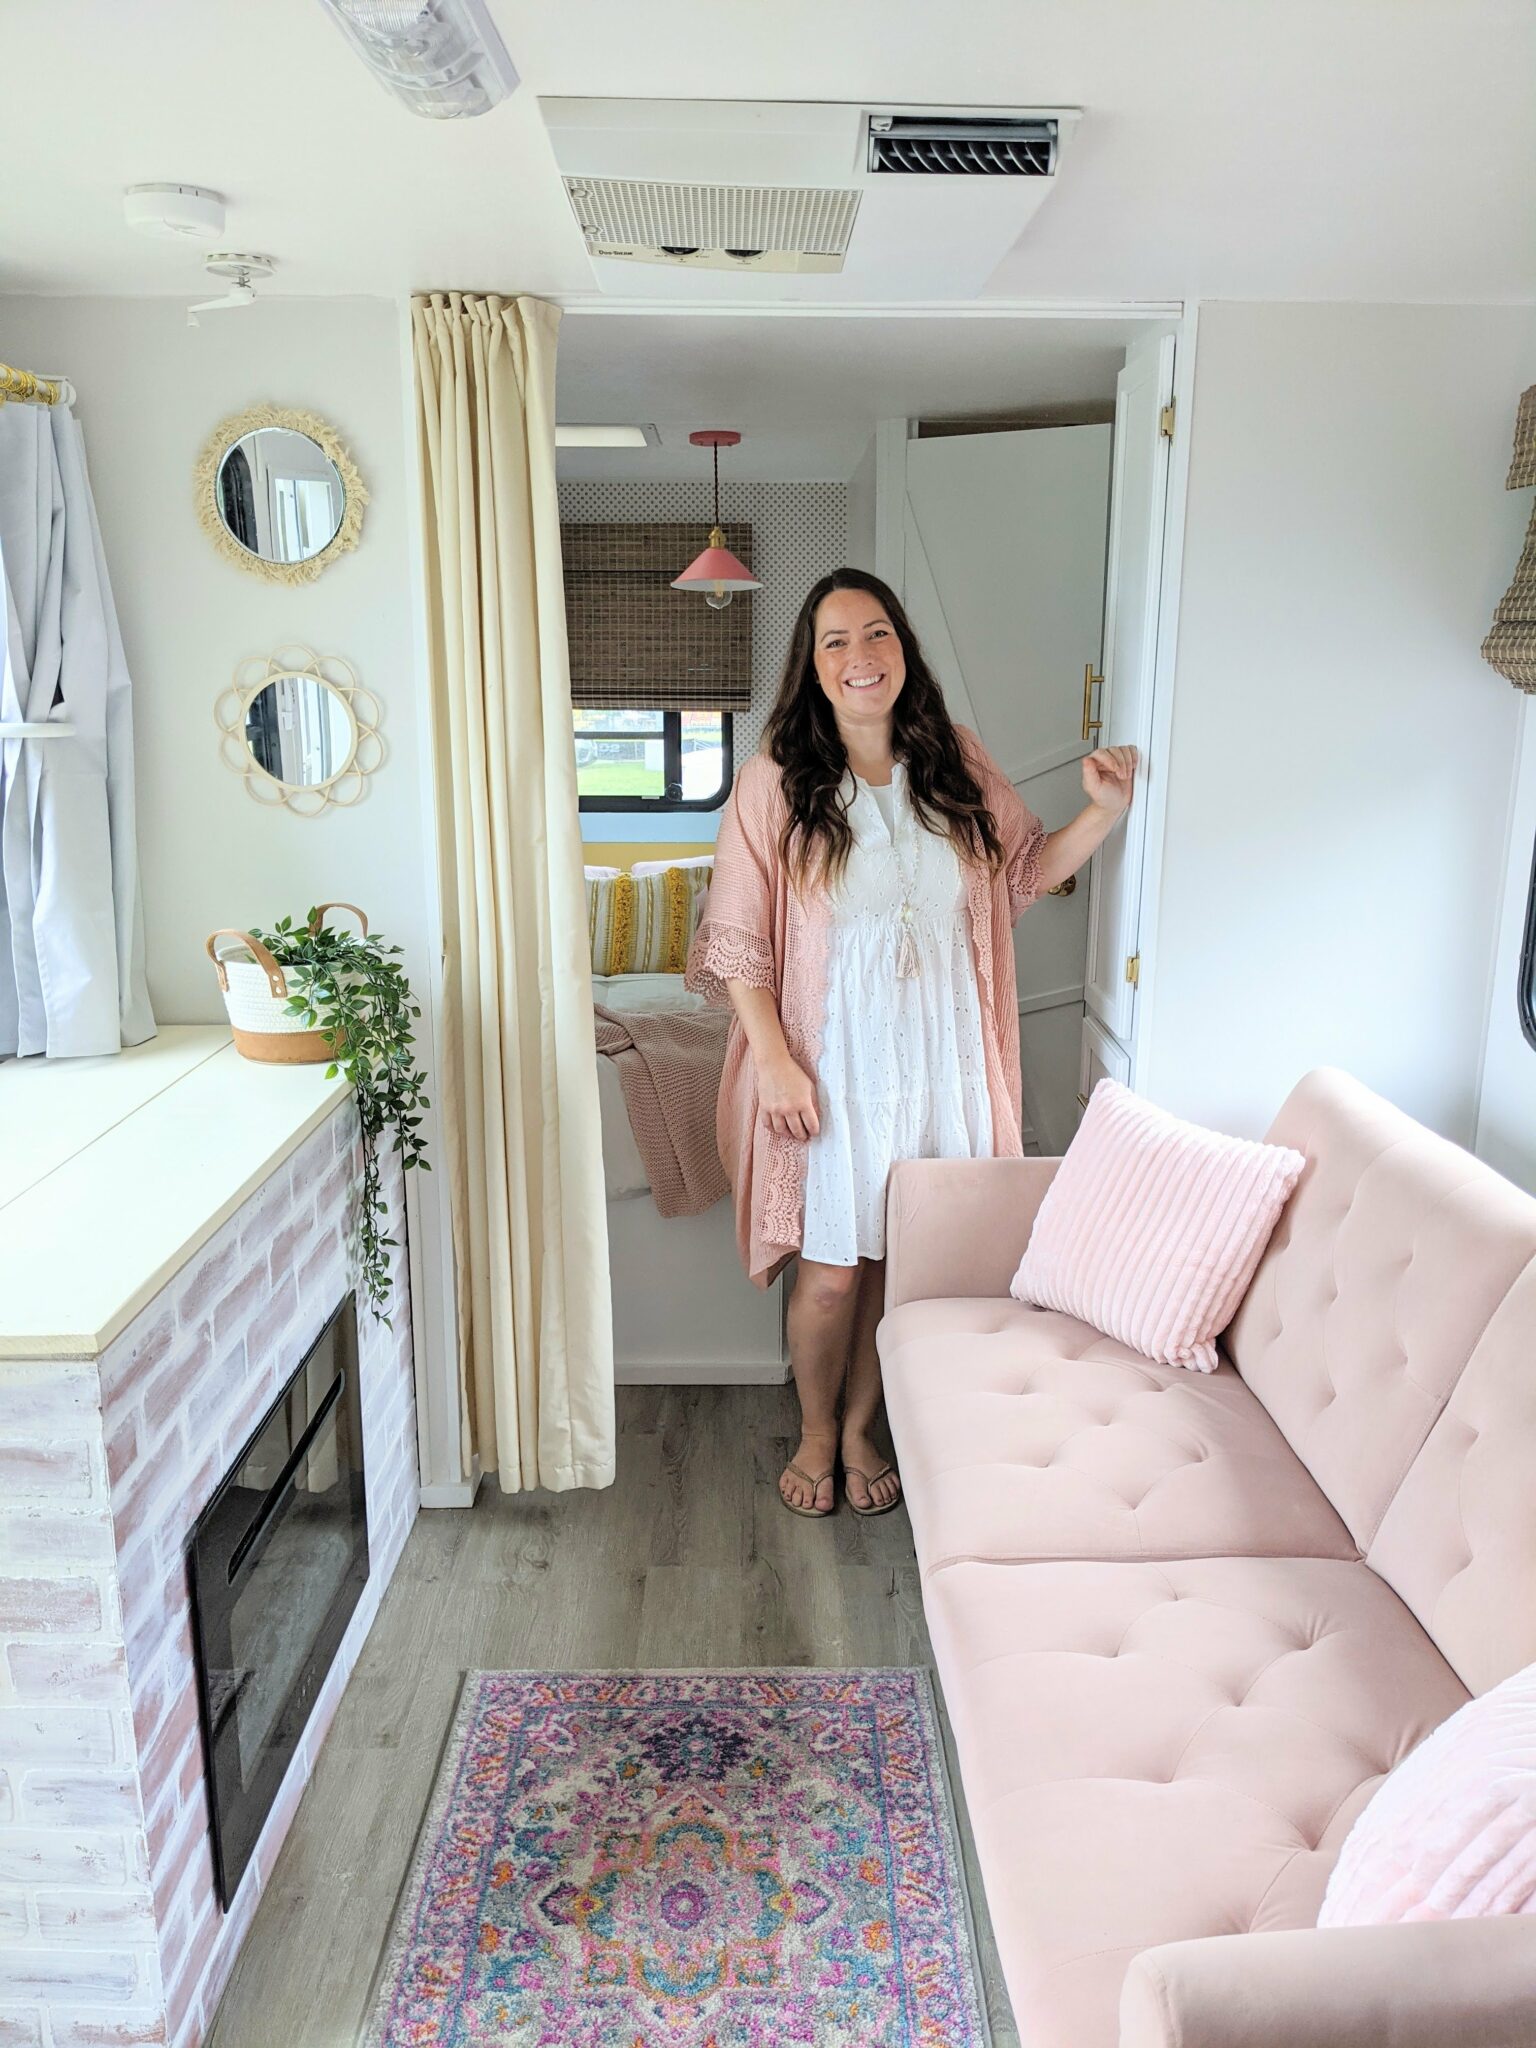
2000 Coachmen Catalina
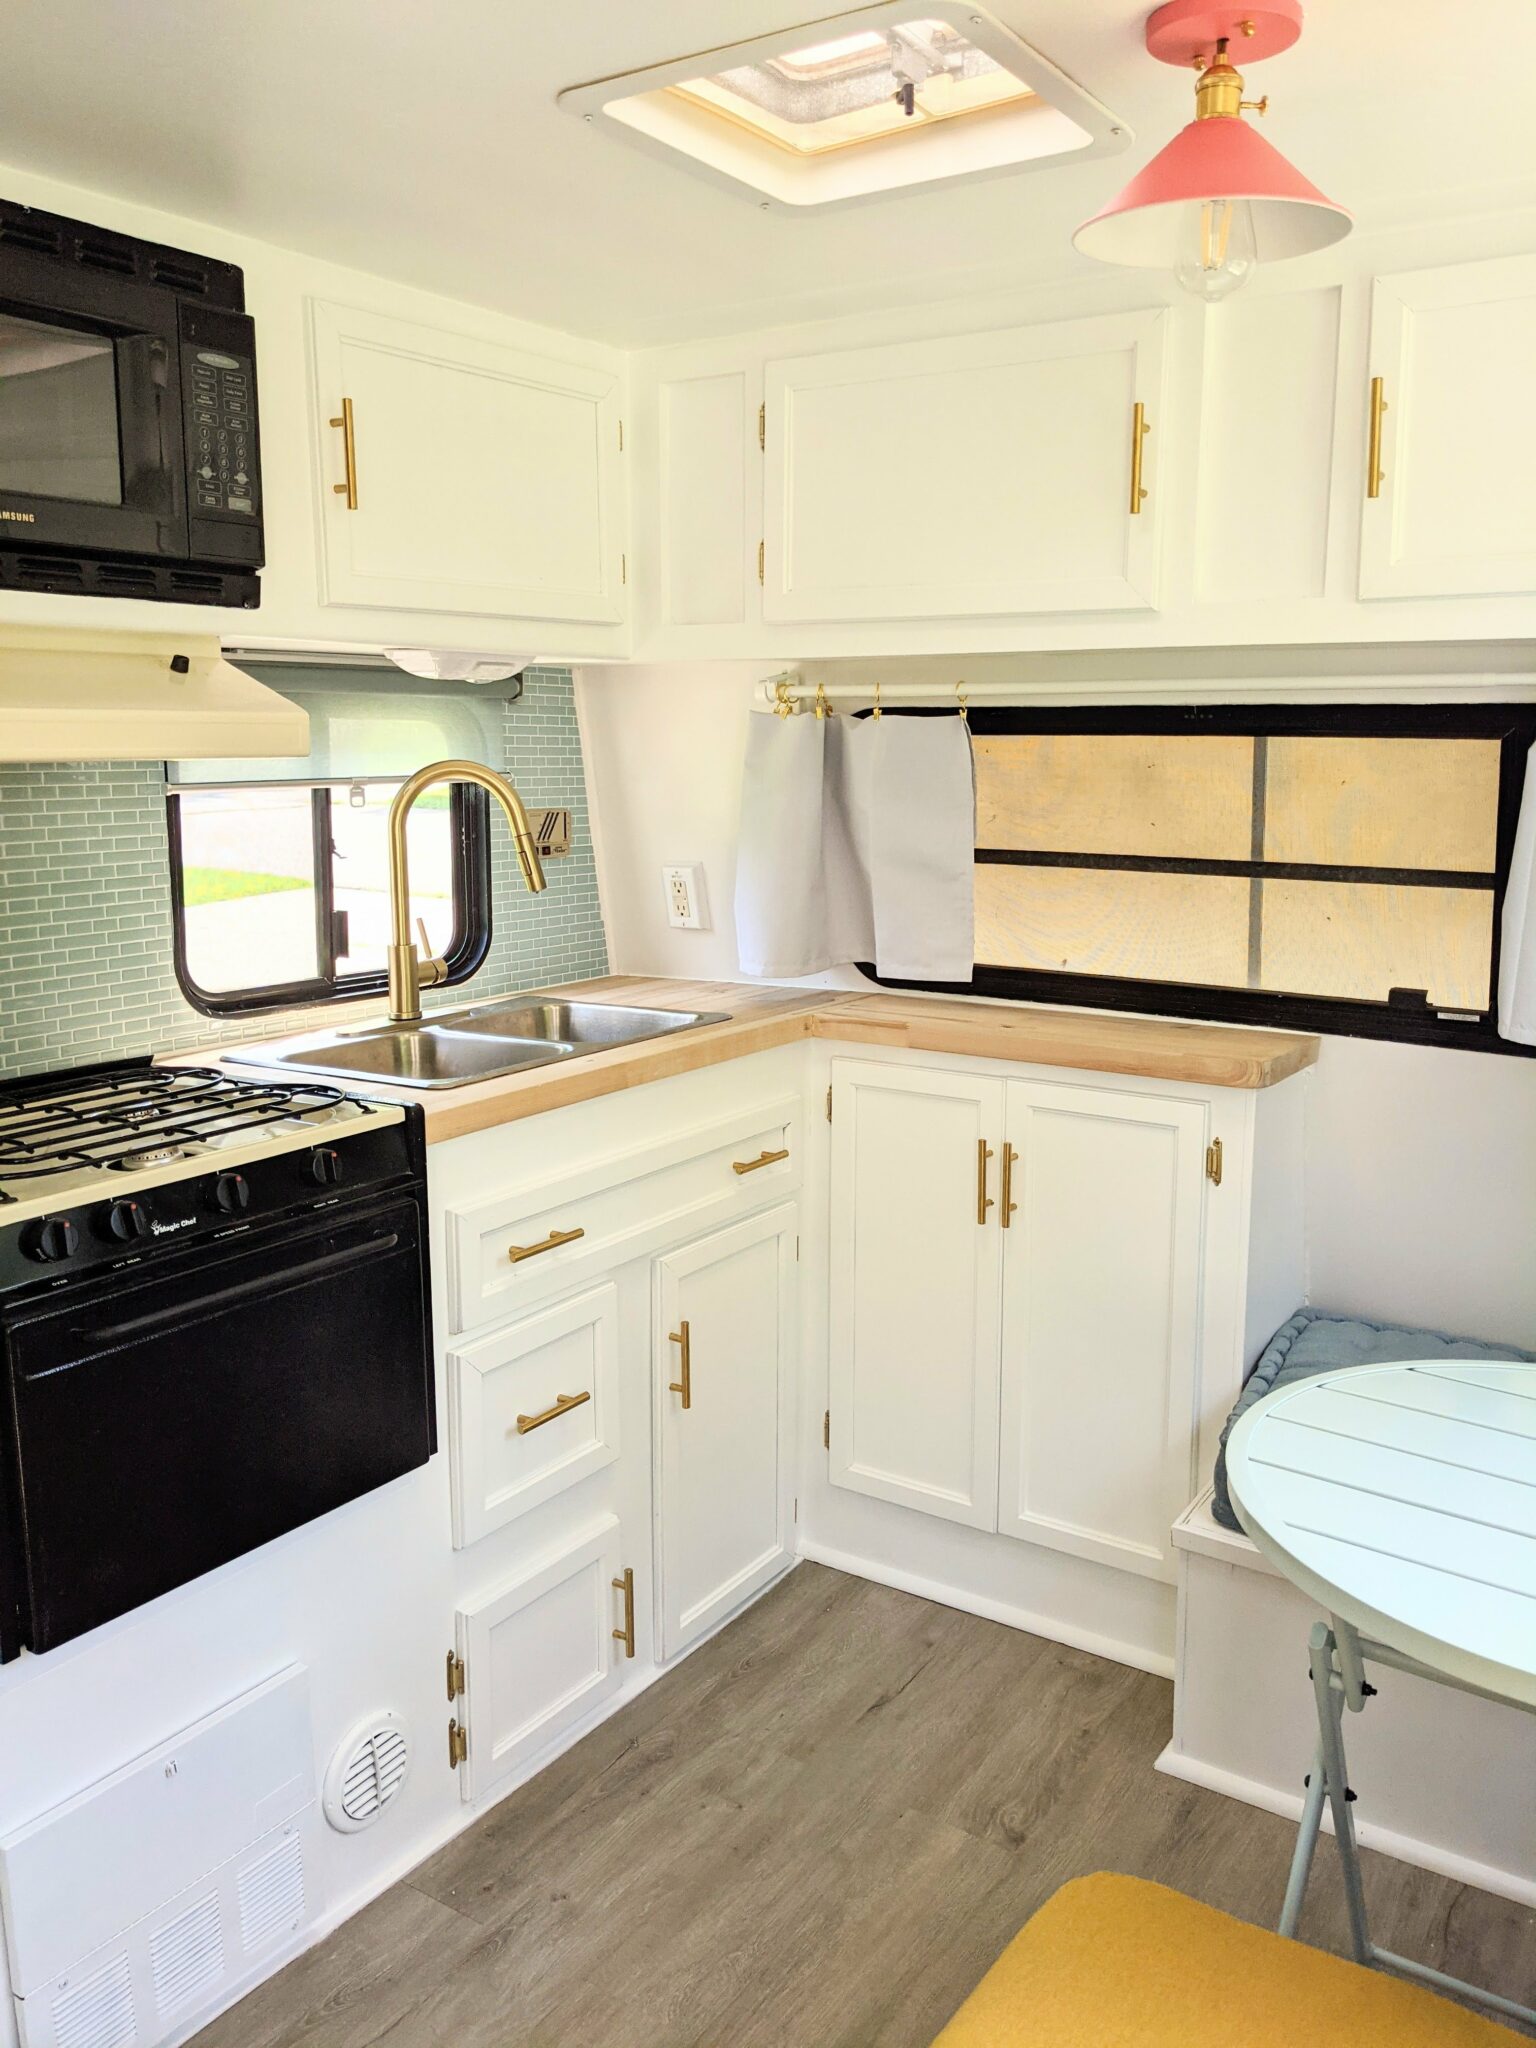
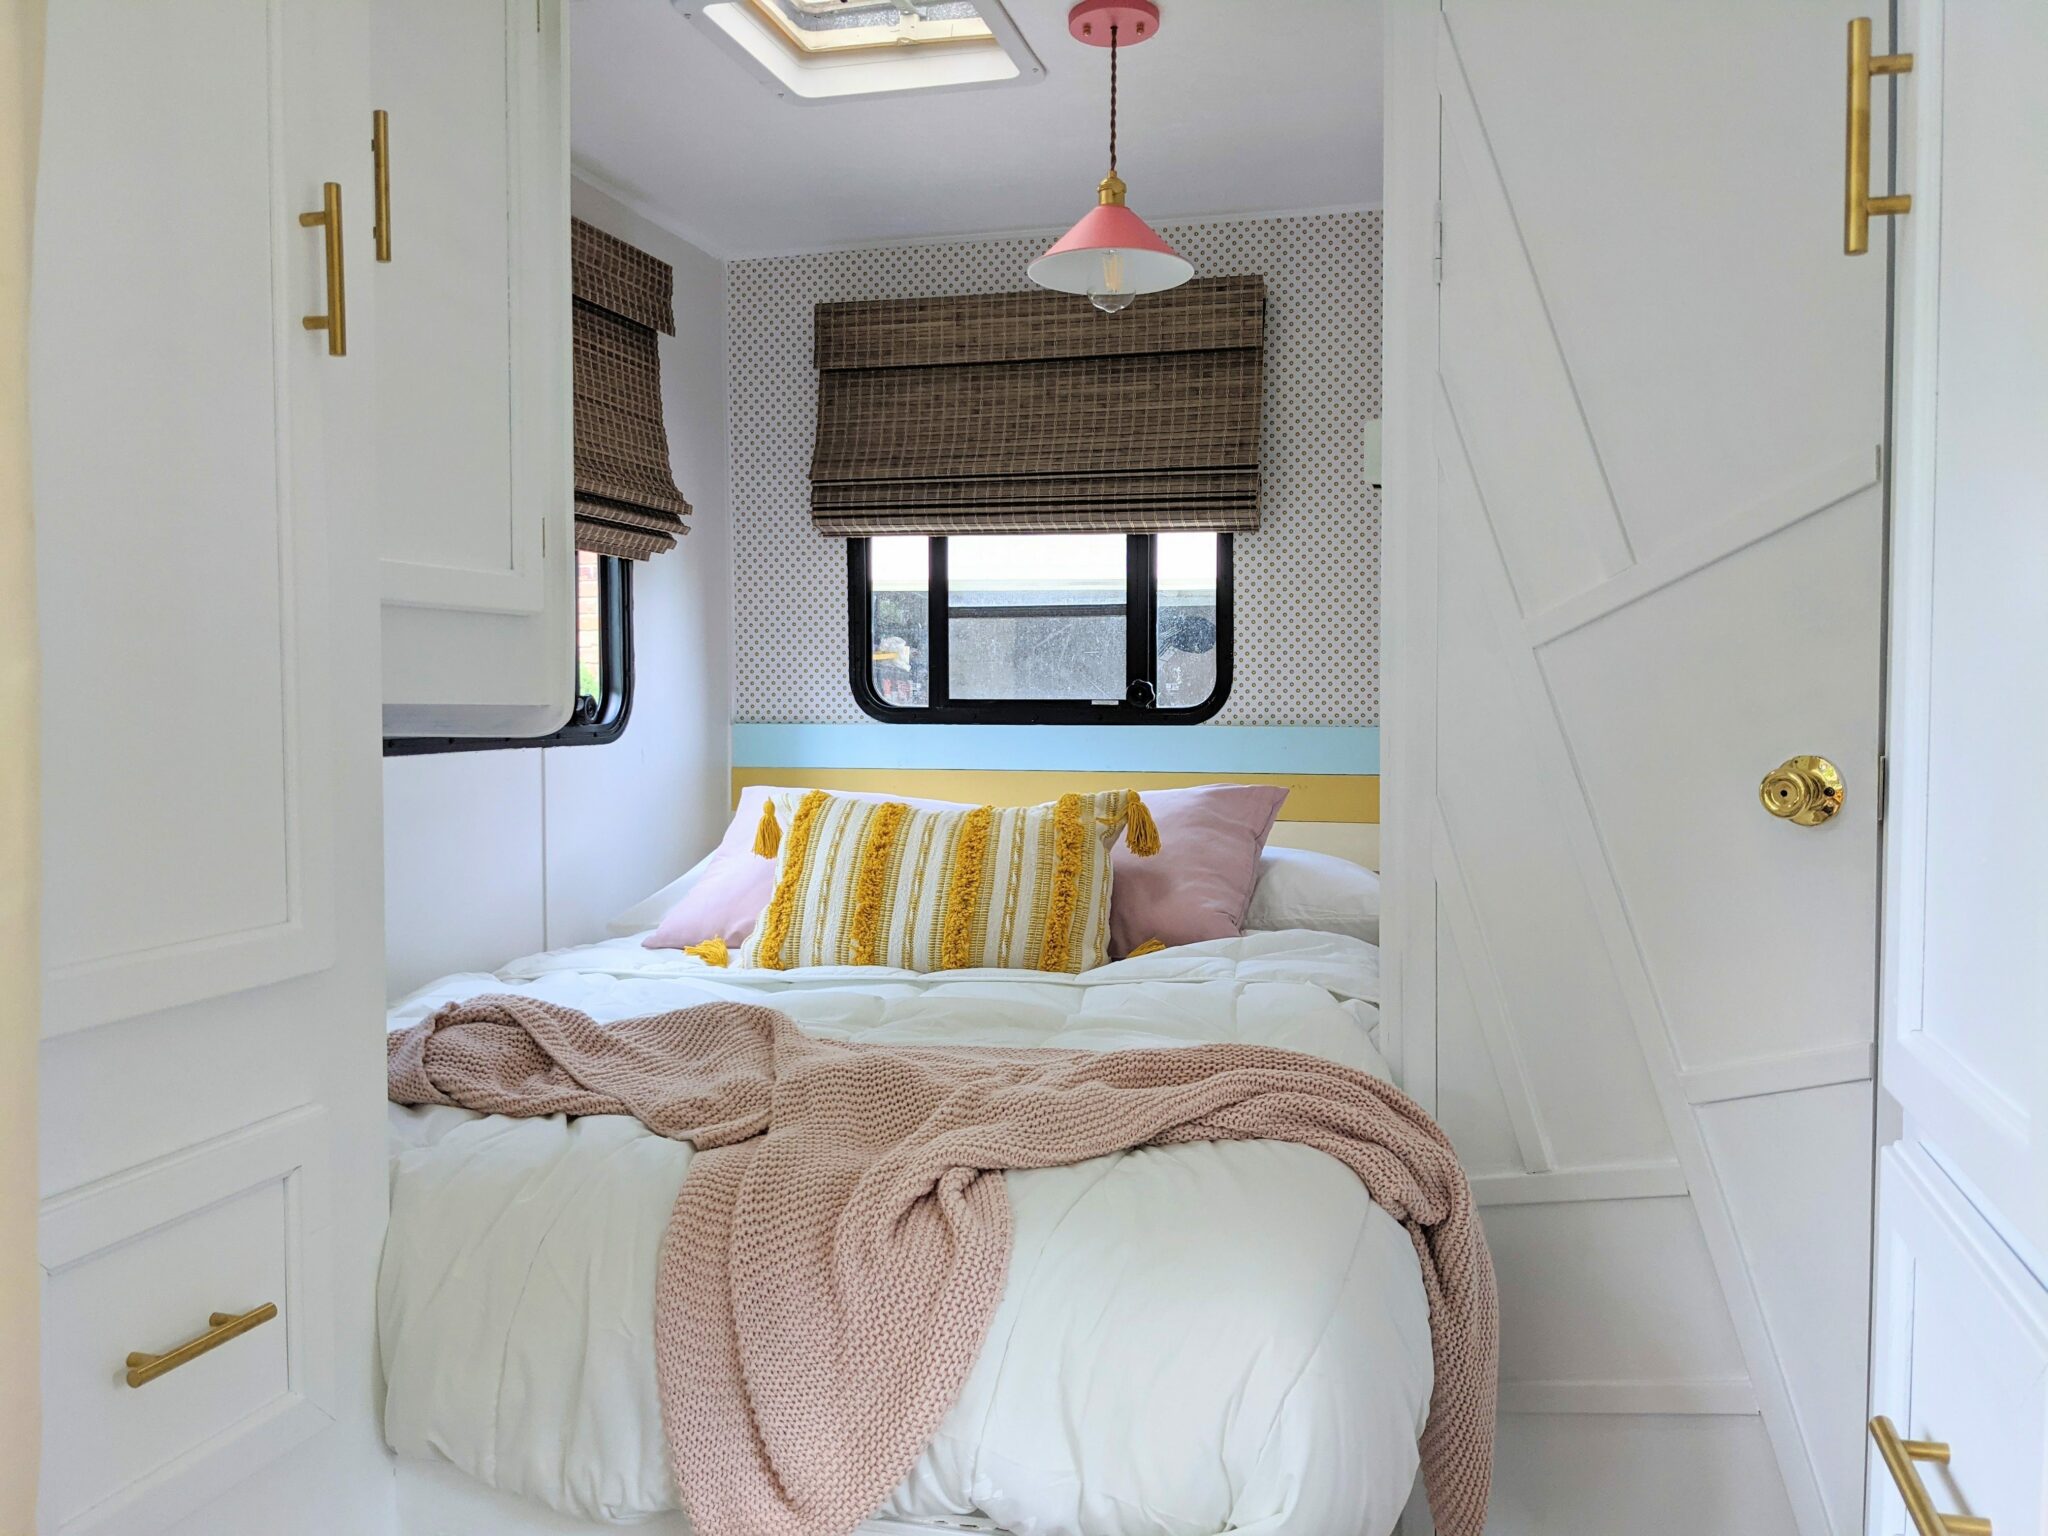
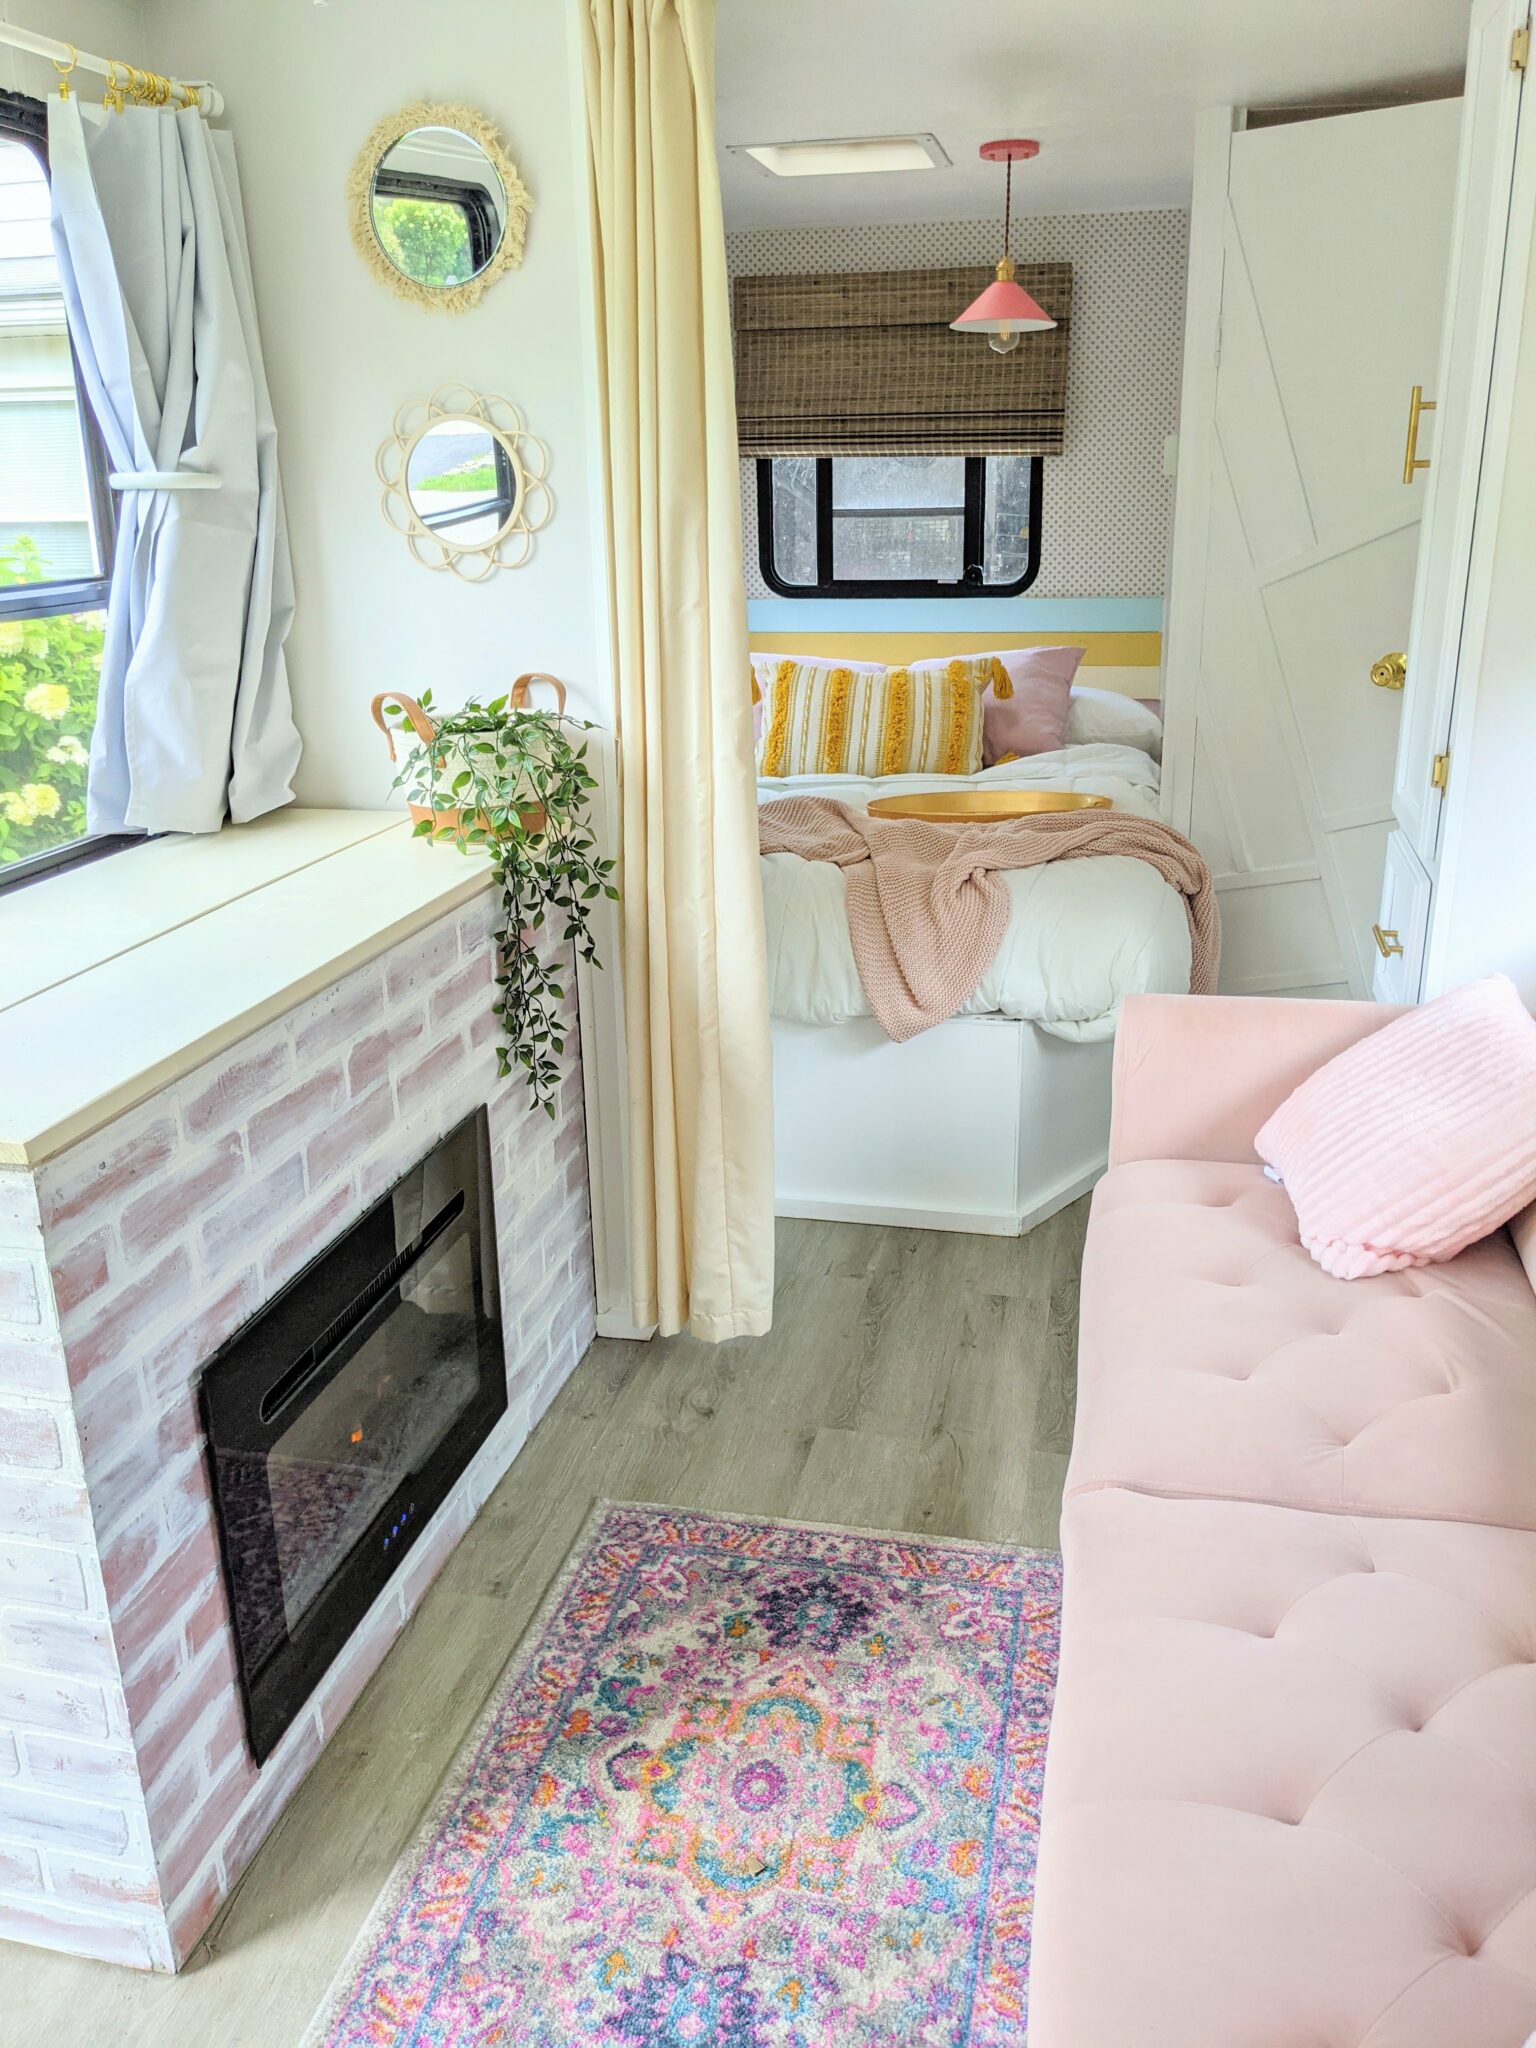
I’m so excited to share this adorable RV transformation we just completed! This is a 2000 24′ travel trailer by Coachmen that sleeps 4. It was in great shape when we got it and didn’t need much repair work done, just a makeover! We removed the outdated valances, furniture, bulky cabinets and light fixtures. I absolutely love this color pallet and was so excited to have an opportunity to see it all come together!
Pre-Sale Details
This was the first time we have renovated and sold an RV as a “pre-sale” for a client. We have done it before with friends, but not with anyone else. It was such a nice experience, I may offer it as an option from now on! First, we found and secured an RV on Facebook Marketplace that worked within our budget and time allowance. I came up with a design plan and shared the details on social media. I was contacted by several people who were interested, but one individual that was ready to purchase it sight unseen. I drew up a contract and they put a 50% down payment on the camper. I continued with my design plan but offered a couple different upgrade options for an additional cost. We completed this renovation in under 2 weeks and delivered it to the client for an additional delivery fee.
In the past, I have done flips, design consulting and commissioned work. I have a waitlist a mile long that weighs on me constantly because I feel so bad that I can’t get to everyone. It became too overwhelming for me to deal with commissioned work, so I have stuck mostly with flips that I buy and sell on my own. I feel like this pre-sale option is kind of the best of both worlds. It gives me the freedom to purchase something I think I can work with and come up with my own plan, but also allows for a little bit of input from the buyer. Watch for more pre-sale opportunities to come!
FOLLOW ME ON INSTAGRAM FOR MORE RV INSPIRATION!
The Plan
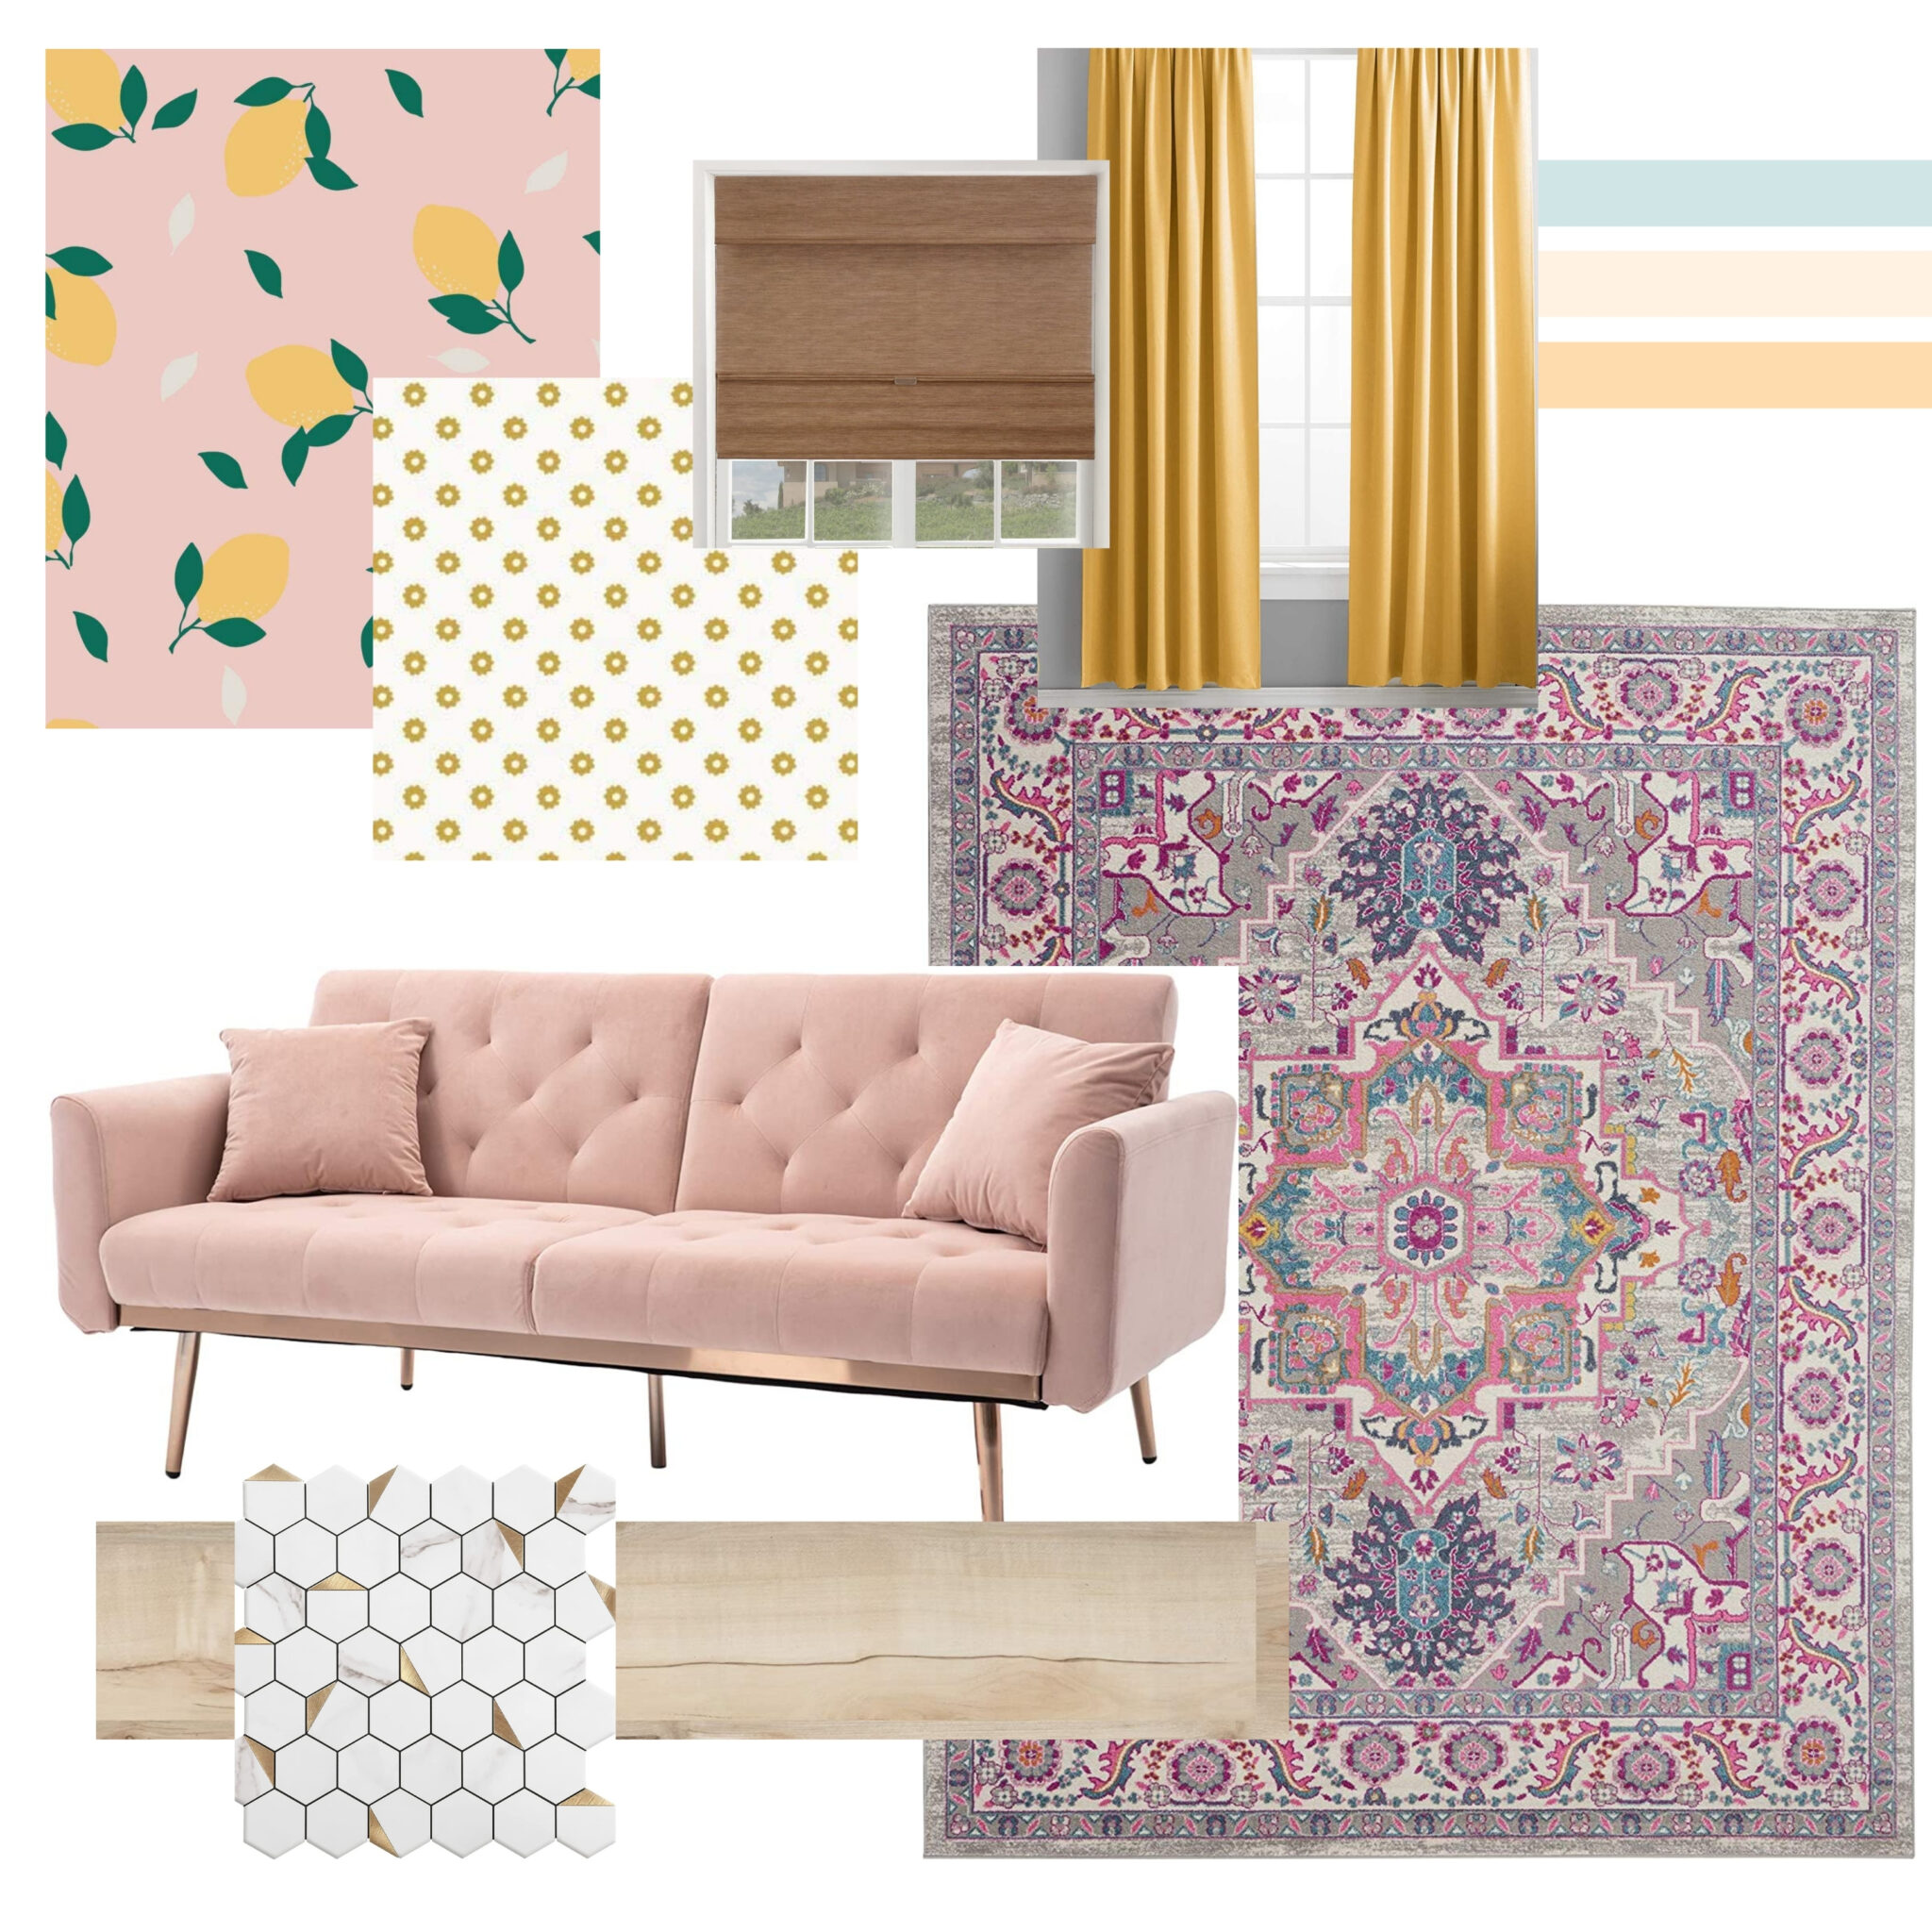
We inspected this camper as best as we could without ripping every wall out and checking behind them. We saw no signs of water damage or structural problems. The only thing that wasn’t working was an outside shower which we easily replaced. I started right away on a design plan and put together some ideas using Canva! I stuck pretty close to this plan with the exception of the the tile I originally chose because I decided I didn’t feel like working with something metal. I chose a vinyl tile instead.
Get the Look
Here are all the sources to the items I used!
- Cabinet hardware
- Rug
- Couch
- Chair
- Table
- Backsplash
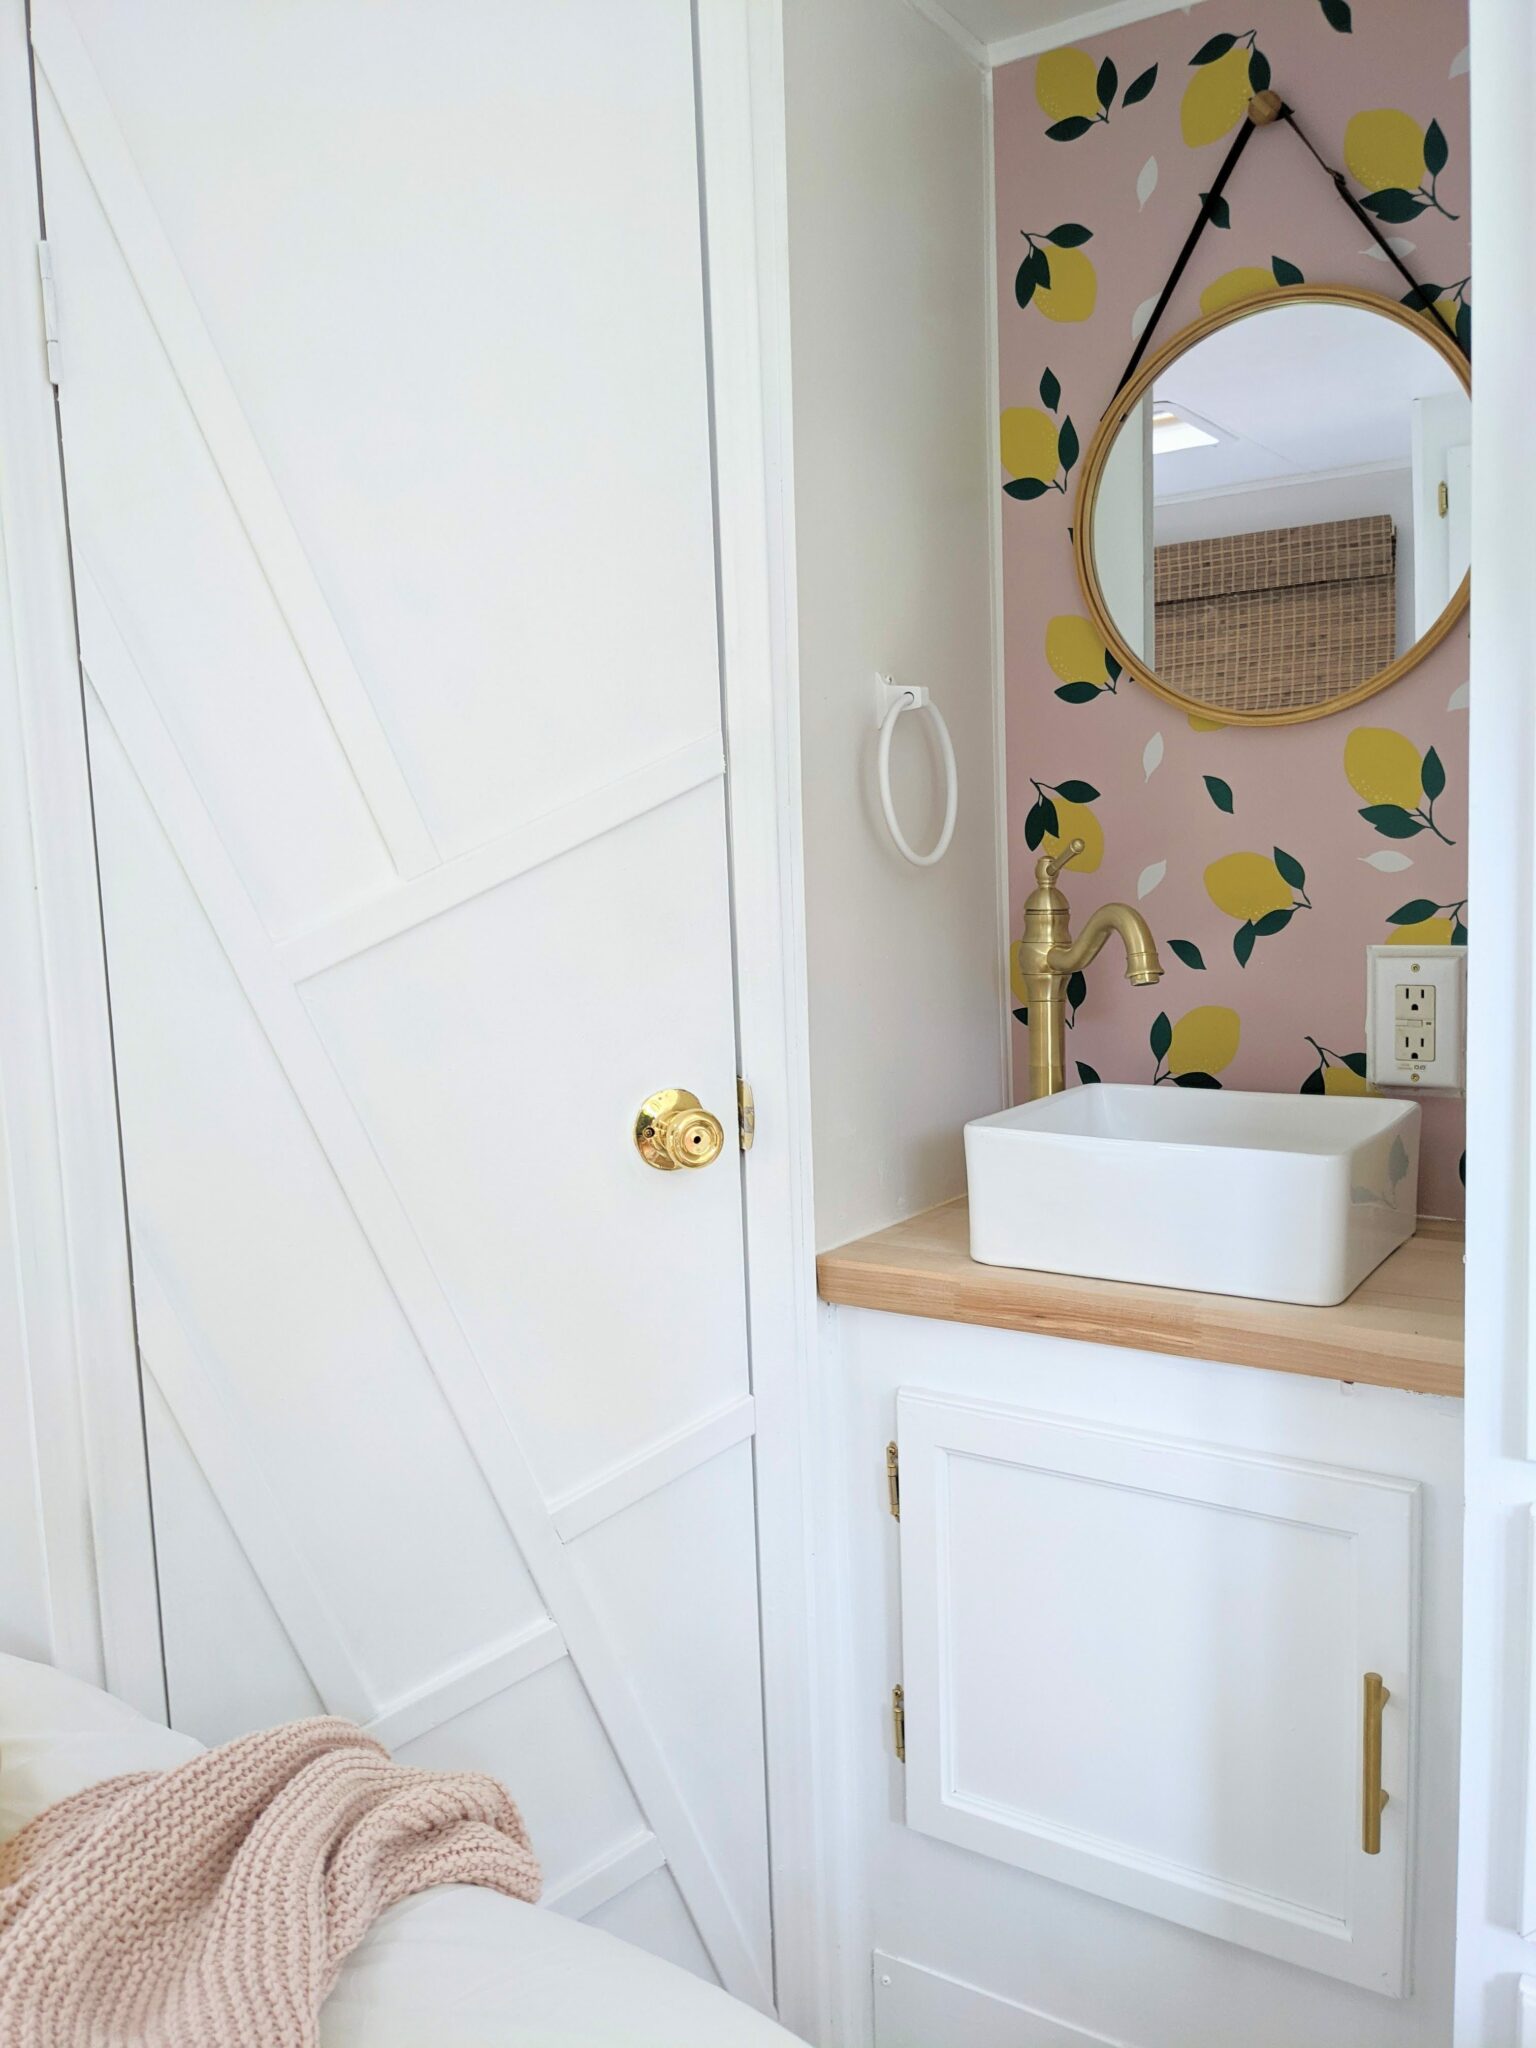
- Lemon wallpaper
- Dots wallpaper
- Flooring – This is my go-to flooring because it is very reasonably priced, waterproof and usually in stock at Home Depot!
- Pink lights – These are residential lights with an switch already installed. Use these with 12V lightbulbs only!
- 12V light bulbs
- LED dome lights
- Curtain rods: IKEA
- Mattress
- Curtains
- Curtain hooks
- Cordless shades
- Bathroom sink
- Bathroom faucet
- Bathroom mirror
- Kitchen sink: original
- Kitchen faucet
- TV lift
- Fireplace surround material
- Electric fireplace
- Shower curtain
- Shower head
- Countertops
- Seat cushions
- Wall décor: Target Dollar Spot
- Yellow pillow – Only 14.99!
- Pink pillows: IKEA and Kohls
Paint Colors
- Wall paint: Behr Ultra Scuff Defense in “Painters White”
- Cabinet paint: Gripper primer and Behr Ultra Scuff Defense in “Ultra Pure White”
- Light pink: Behr “Beloved Pink”
- Mustard yellow: Behr “Charisma”
- Light yellow: Behr “Pearly White”
- Light blue: Behr “Tahitian Sky”
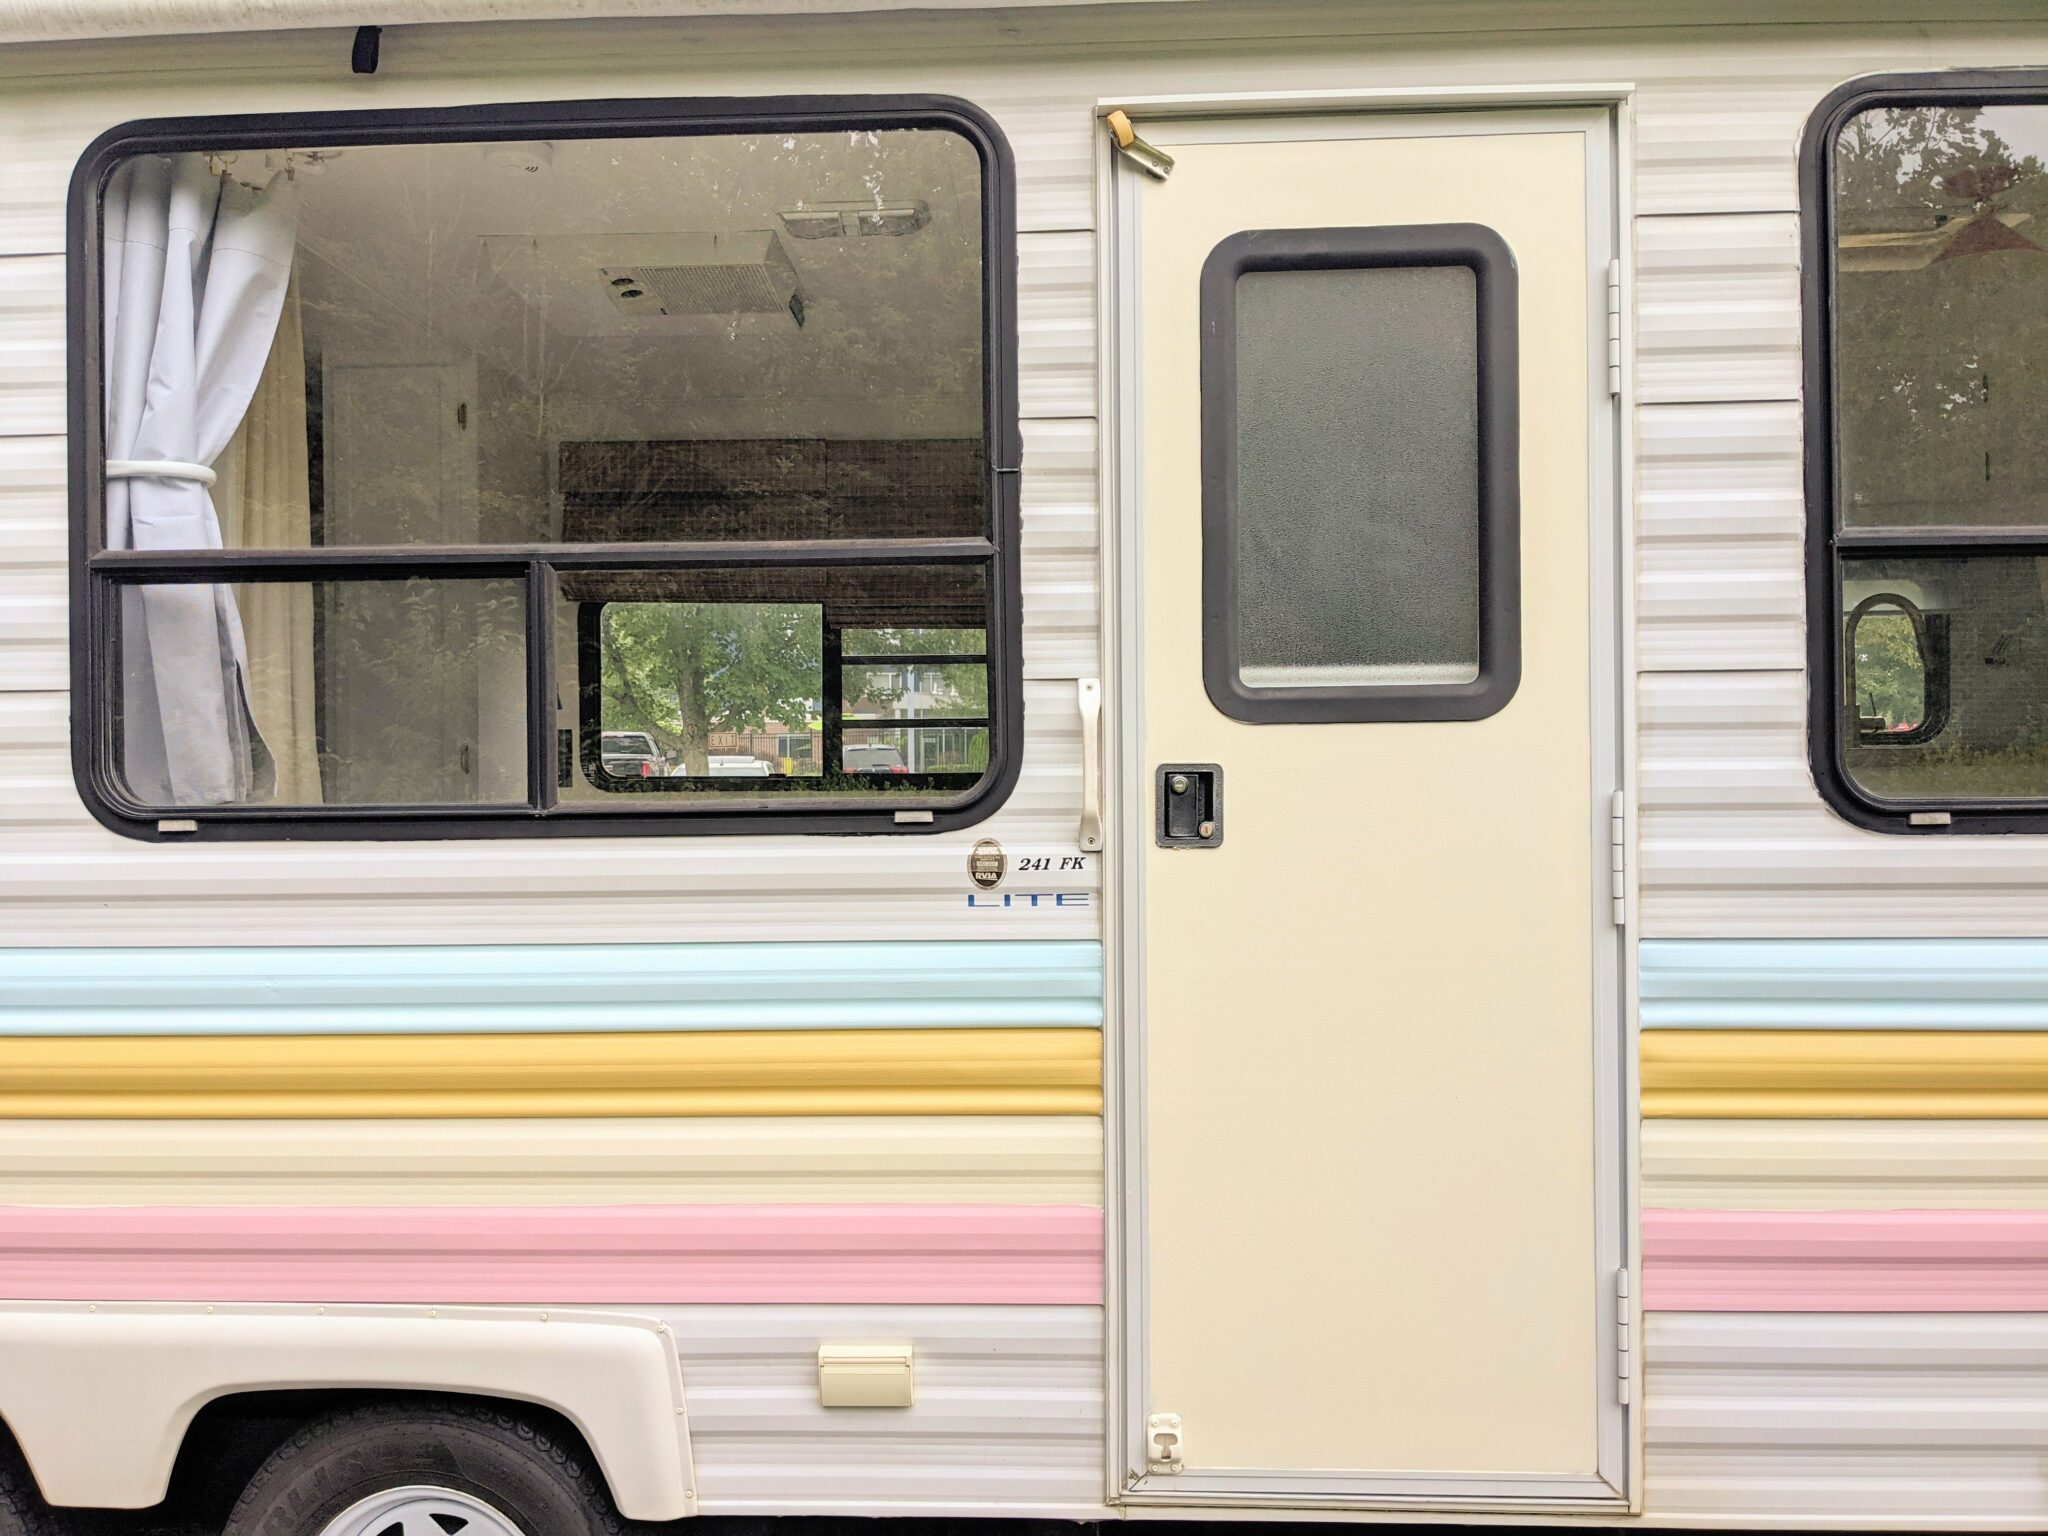
Exterior
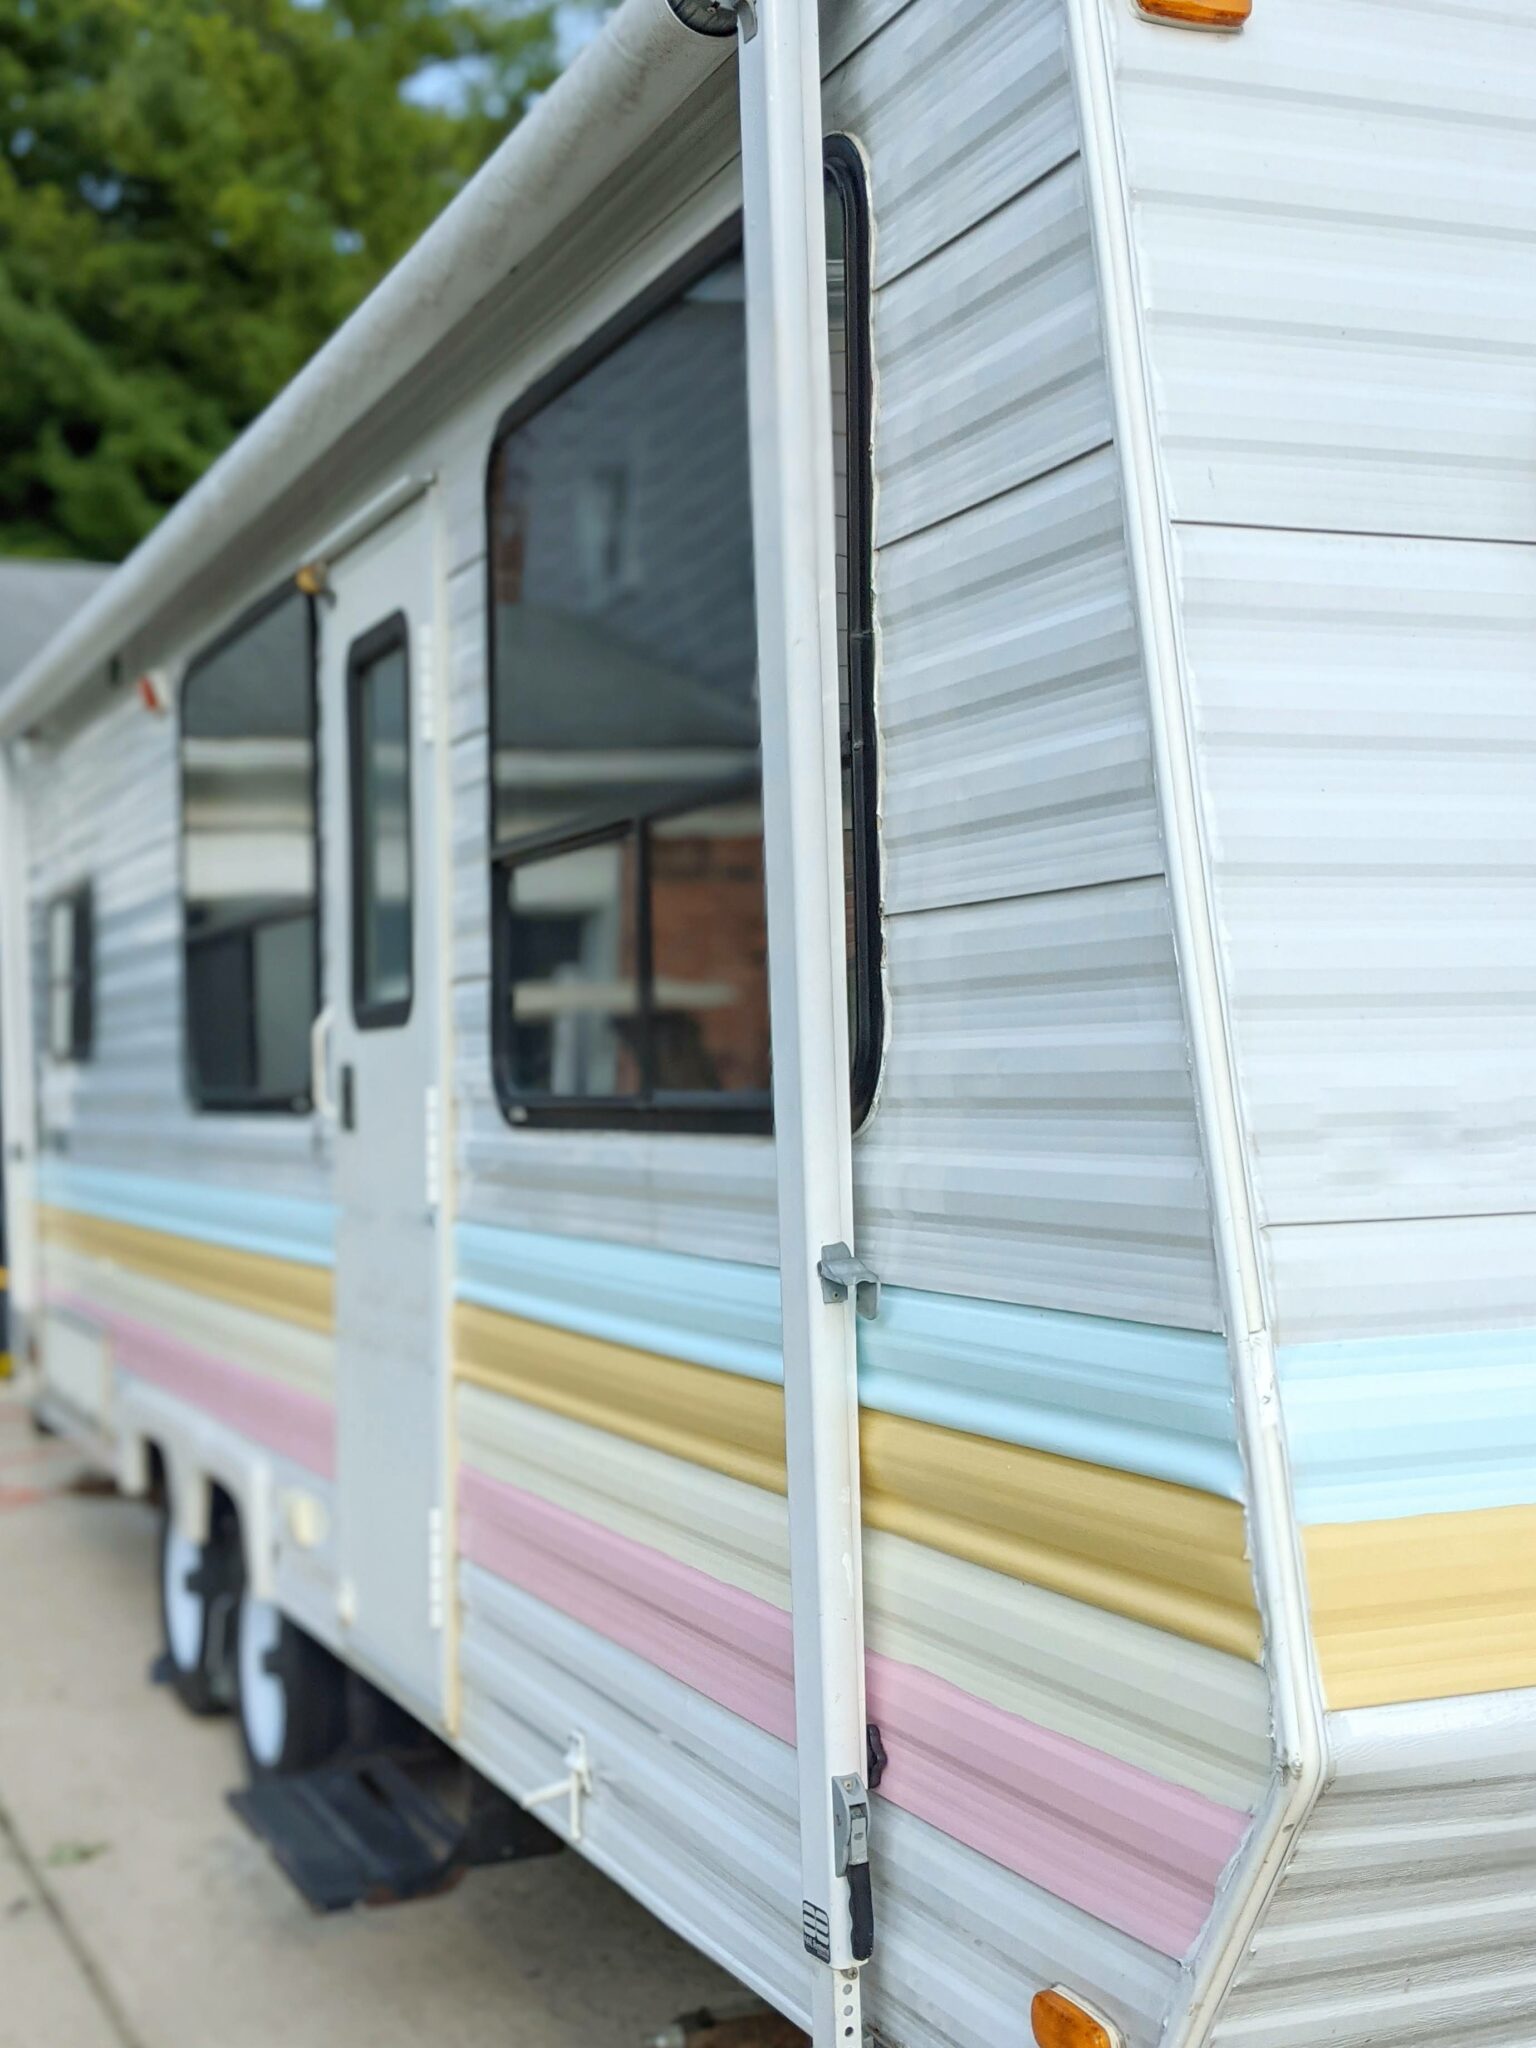
For this RV flip, we were on a time crunch so I did not paint the entire exterior. The kids helped with sticker removal using a heat gun and Goof Off. We power washed everything and used black streak remover to clean it up. We then primed just the area to be painted and painted stripes using Behr exterior latex paint.
The tires looked to be in good shape, but they were very old so we had them changed. We have learned the hard way not to risk it with old tires. It’s better to replace them at the beginning.
The Inside
On the inside, we started by removing anything loose, all the carpet, bulky overhead cabinets and the dinette. We removed all cabinet hardware and cabinet doors. The kids helped me with a lot of this demo and prep at the beginning!
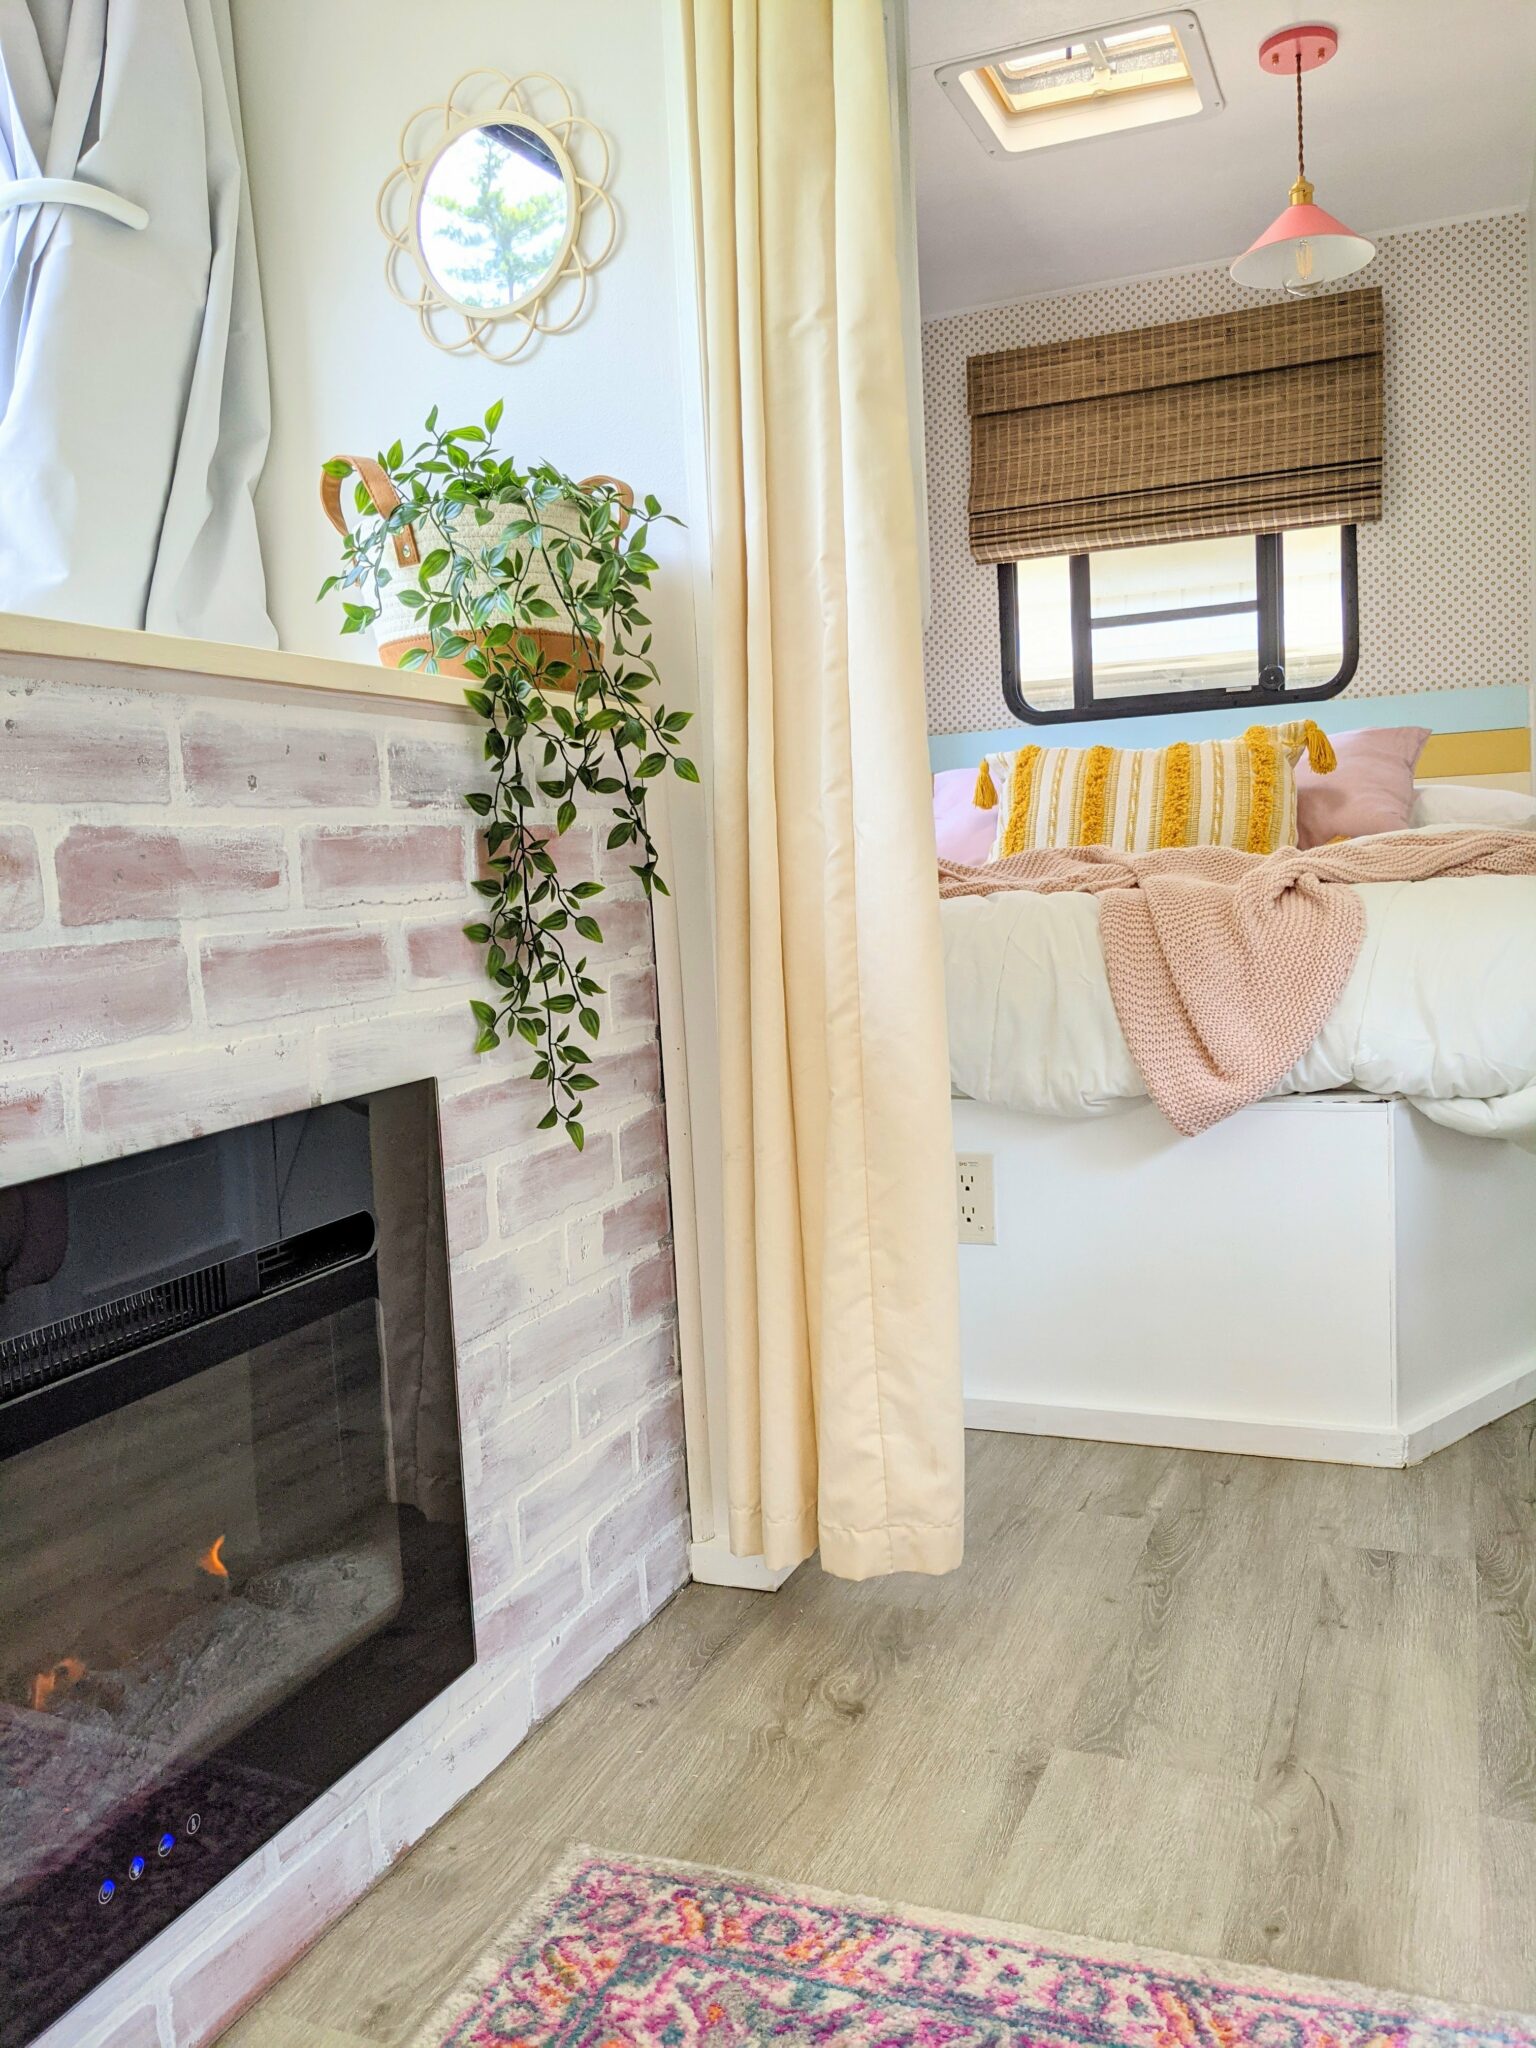
We sanded and cleaned everything before priming with Gripper primer and painted the interior with Behr paint. I painted the cabinet doors outside using a paint sprayer. I hung wallpaper using an extra adhesive, switched out light fixtures and replaced the countertops.
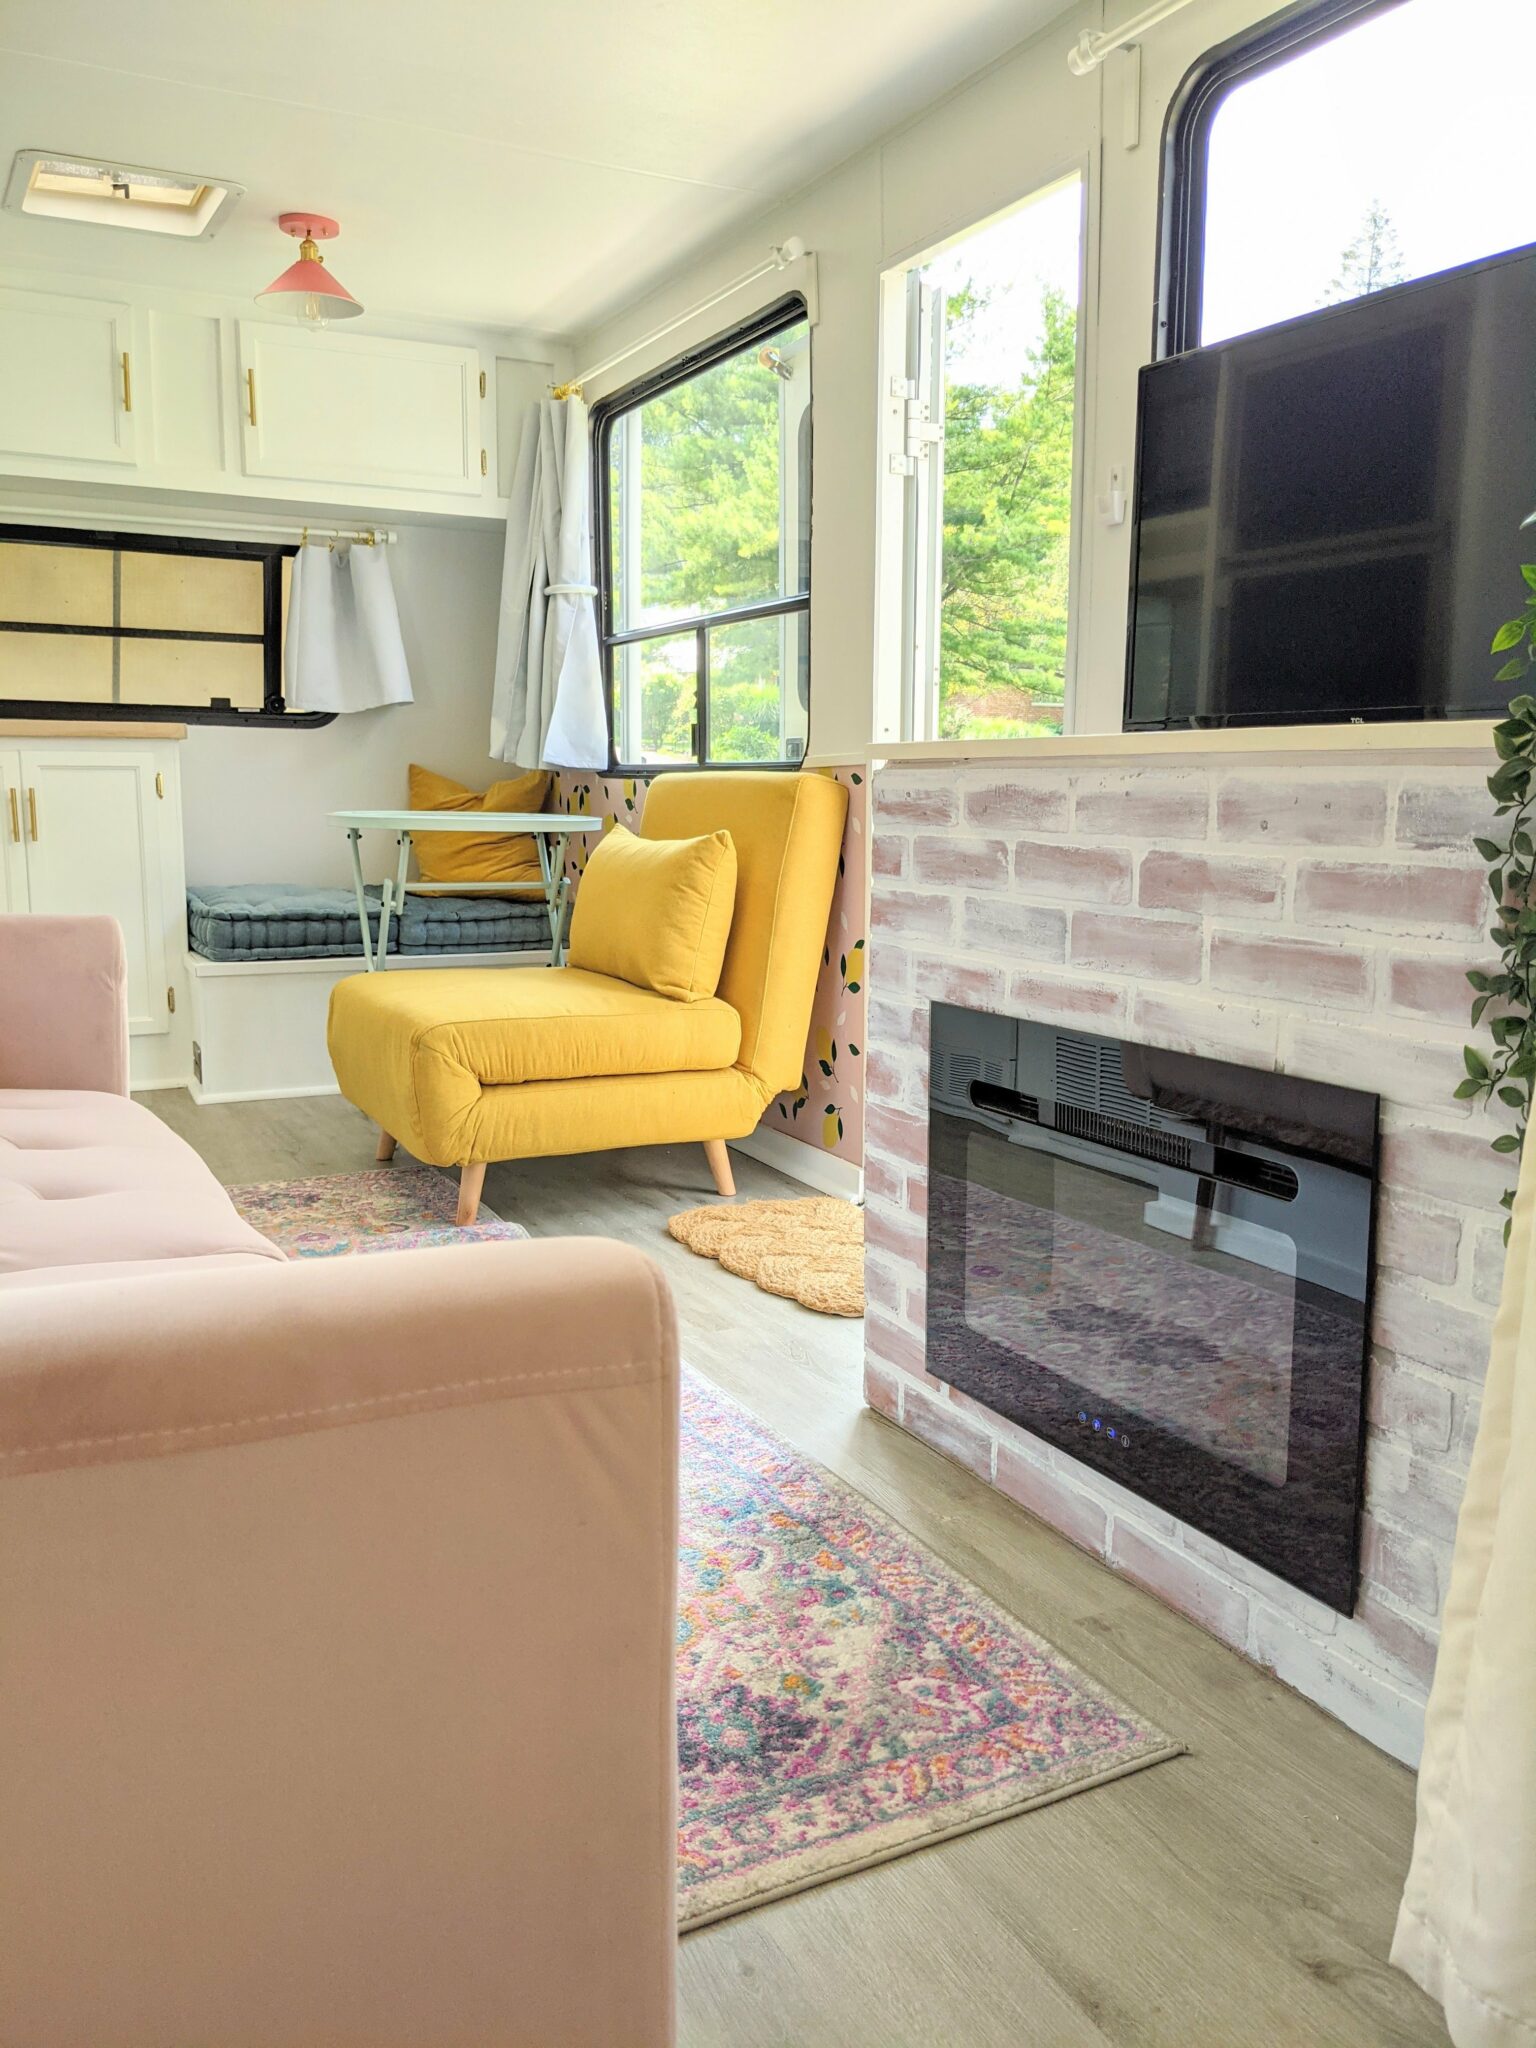
The biggest changes we made were removing the dinette, building a fireplace and replacing the original sofa. I bought the sofa that I did, because it was the right width and was high enough off the ground to go over the water tank and duct work. We replaced the dinette with a small folding table and a chair that turns into a bed!
FOLLOW ME ON INSTAGRAM FOR MORE RV INSPIRATION!
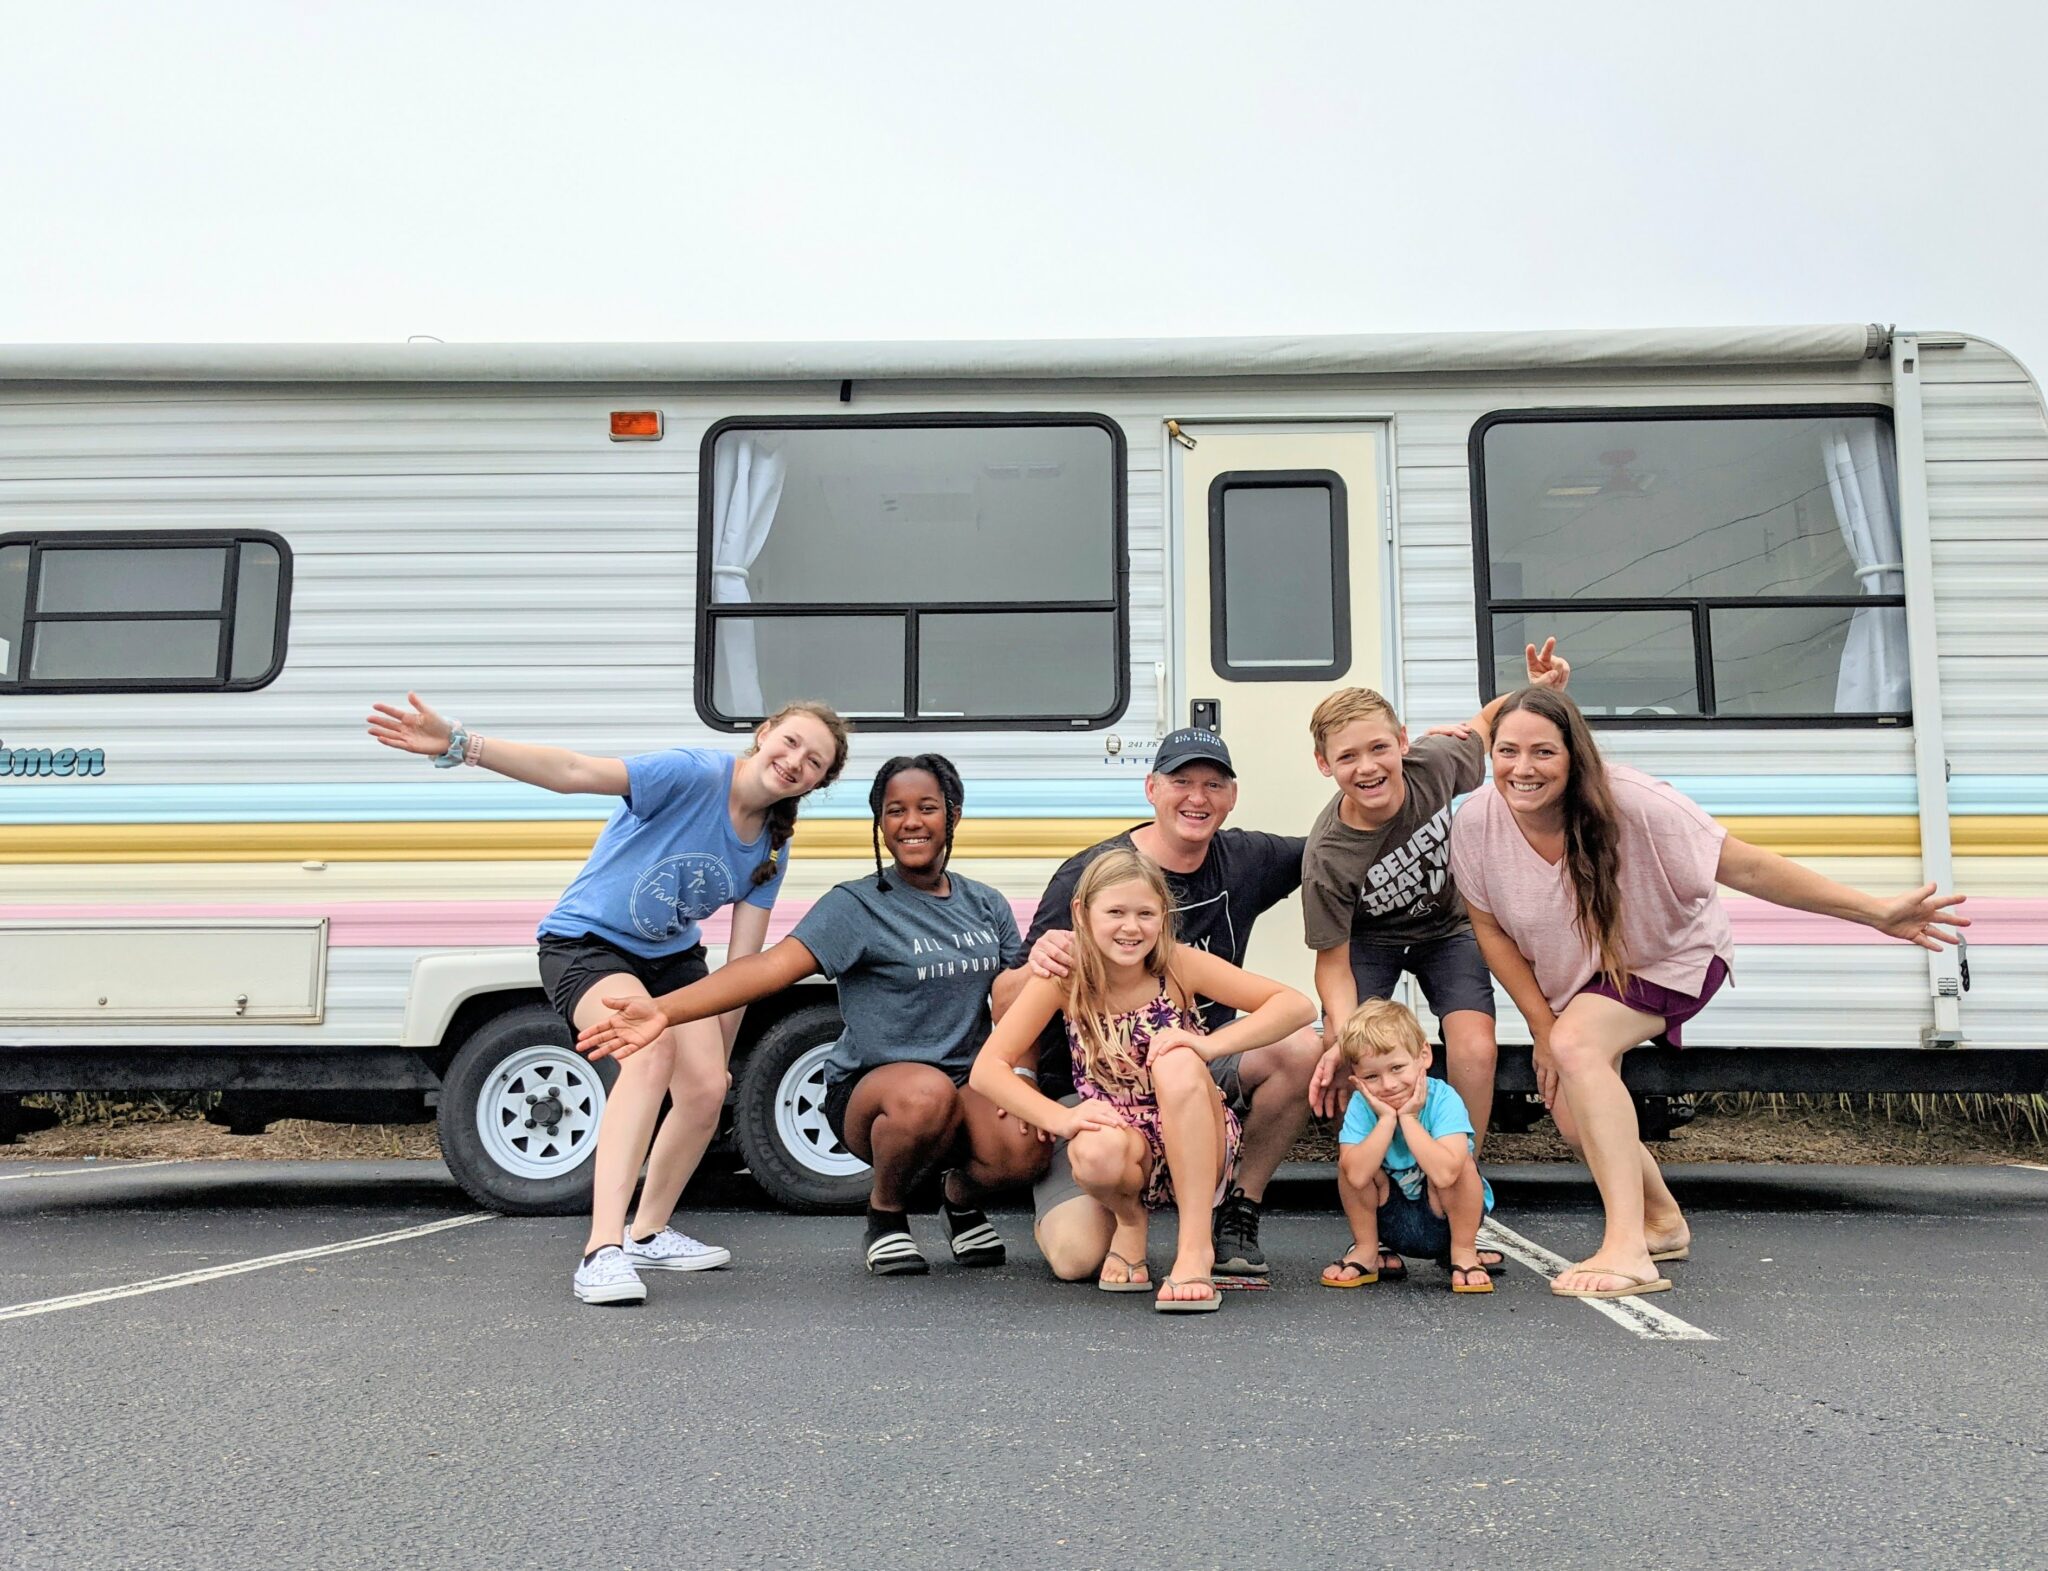
I absolutely love how this camper turned out. On our way to deliver it, we were stopped by so many people that wanted to talk about the renovation. I hope the new owners make lots of great memories with their new glamper!
Pin-It!

Erica East
This is beautiful!! I’ve seen a lot of camper revamps, but I LOVE how the colors come together even to the outside paint job! The fireplace is a really fun touch to the comforting aspect too! I just love it!
Renee
do you anchor down the couch and chair?