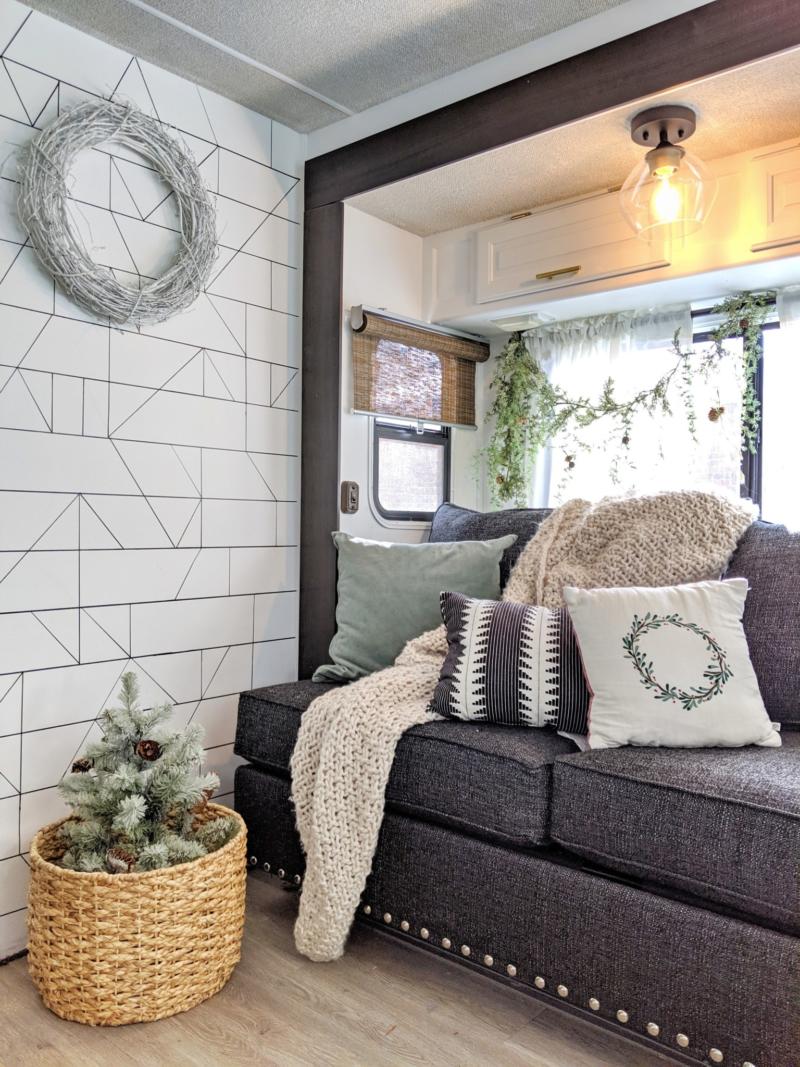
Wallpaper Using a Sharpie
Today I am sharing some of my favorite money saving hacks; Sharpie wallpaper! This is especially great to use in an RV or when you’d like to add a little texture and interest, but don’t want to spend a ton of money. I have used this technique in several of my RV renovations. Many times, I’ve struggled with what to do on a small wall area. In an RV, it doesn’t take much and a little goes a long way.
What you Need
All you need for this project is a black, Sharpie paint pen, a pencil and a ruler or straight edge. A Speed Square would have probably made the angles easier, but I was able to just use the straight edge.
[show_shopthepost_widget id=”3819266″]
What to Do
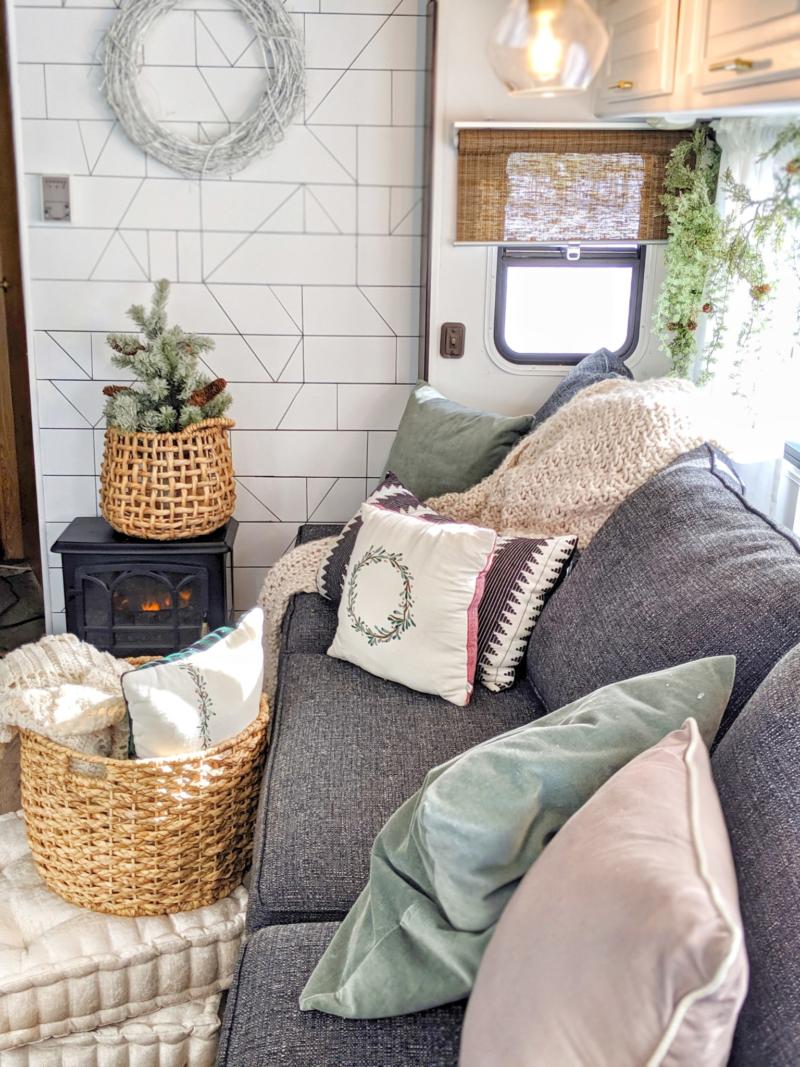
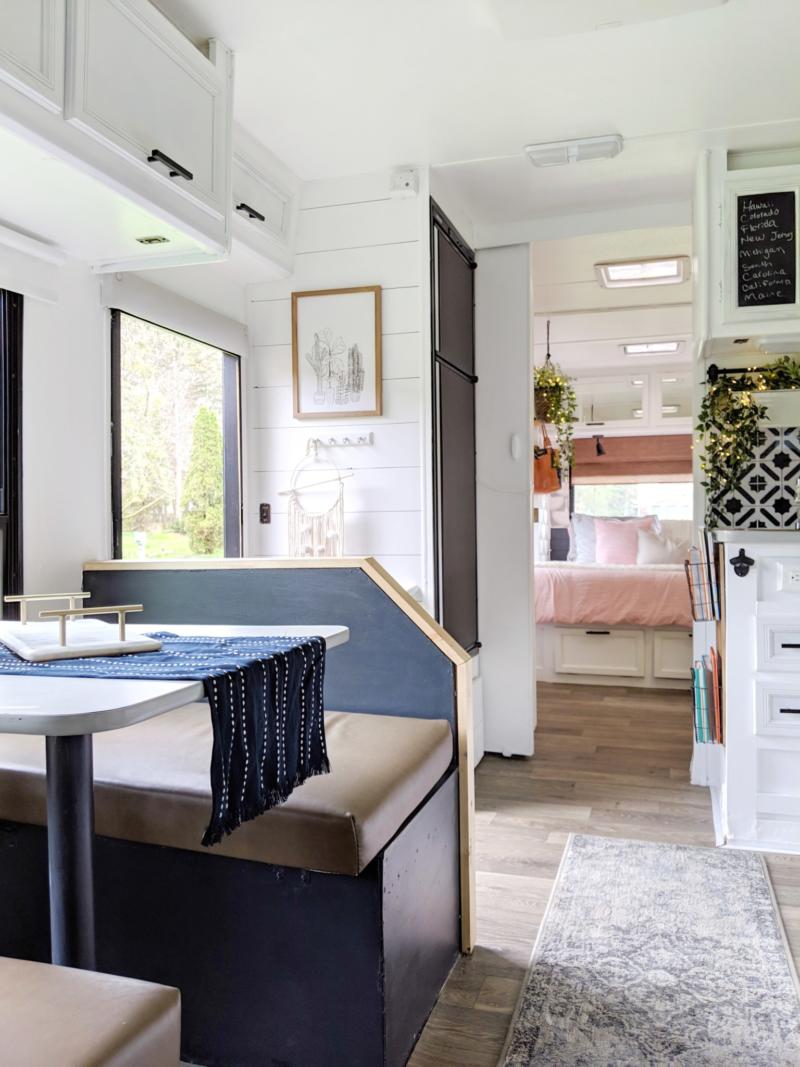
Here’s a video of the entire process! I drew lines on with a pencil first, and then went over them with the Sharpie. Leave just the lines to create the look of shiplap, or add angled lines for added interest.
TIP: To create the angled lines, I just eye-balled it! I looked at an inspiration picture for ideas and then just added lines wherever I felt like they were needed. I kept standing back to find empty spaces. The idea is to create the look of geometric whimsy. Leave some things unfinished.
Endless Possibilities
You can create so many different patterns using this same concept! Do a search on Pinterest or Instagram for “Sharpie Wallpaper” or #sharpiewallpaper to find lots of ideas. These Sharpie paint pens are oil based, but they dry pretty fast. I’ve painted over them with latex paint and had no issues.
Pin-It!

Kristen Pinnick
Hi there! Can you tell me if I can do this sharpie wallpaper on textured walls or would I need to skim coat a completely smooth wall first? Thanks!