Happy August, friends! This is Bree from bumblebreeblog. This past month I haven’t been posting much on the blog so that I could get ready for the holiday season. There are some amazing posts coming to bumblebreeblog in the next couple months. Make sure you stop by and check them out.
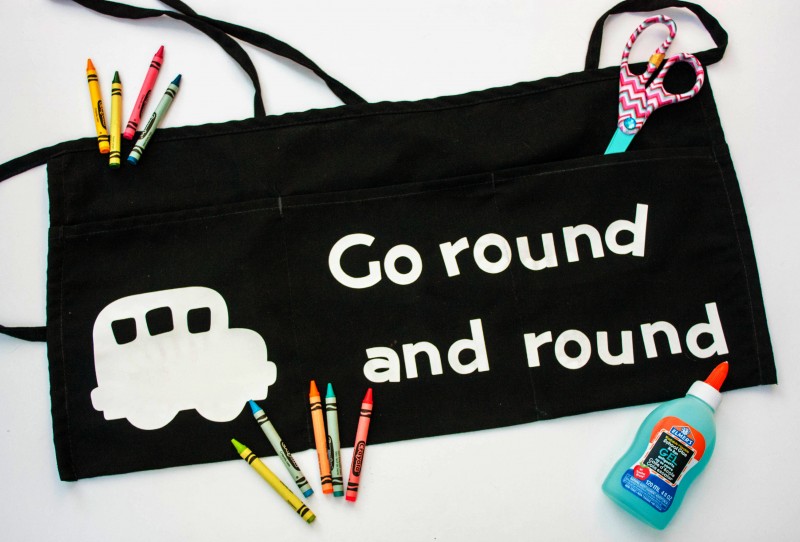
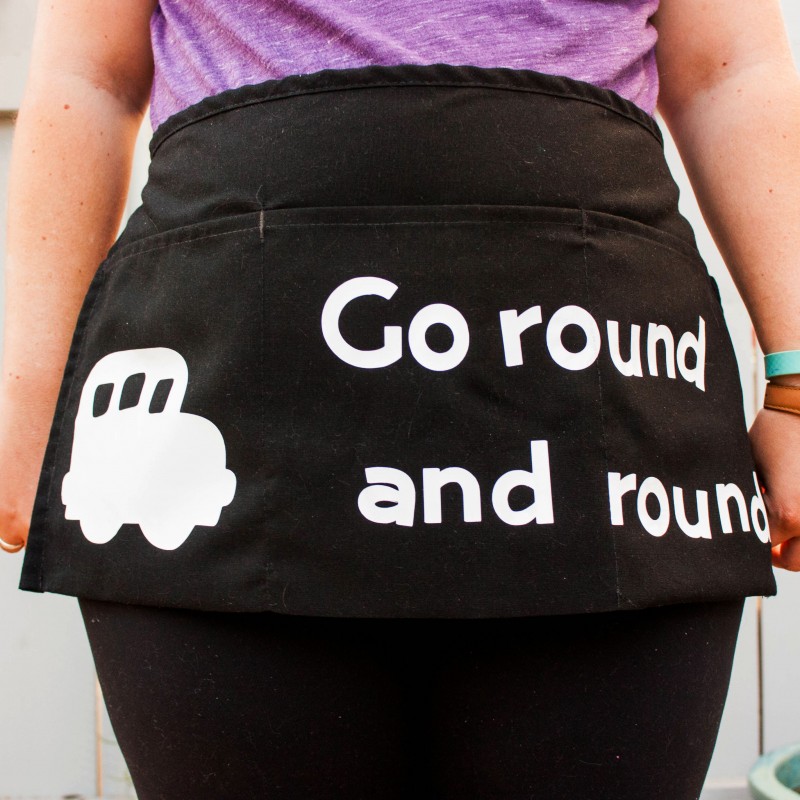
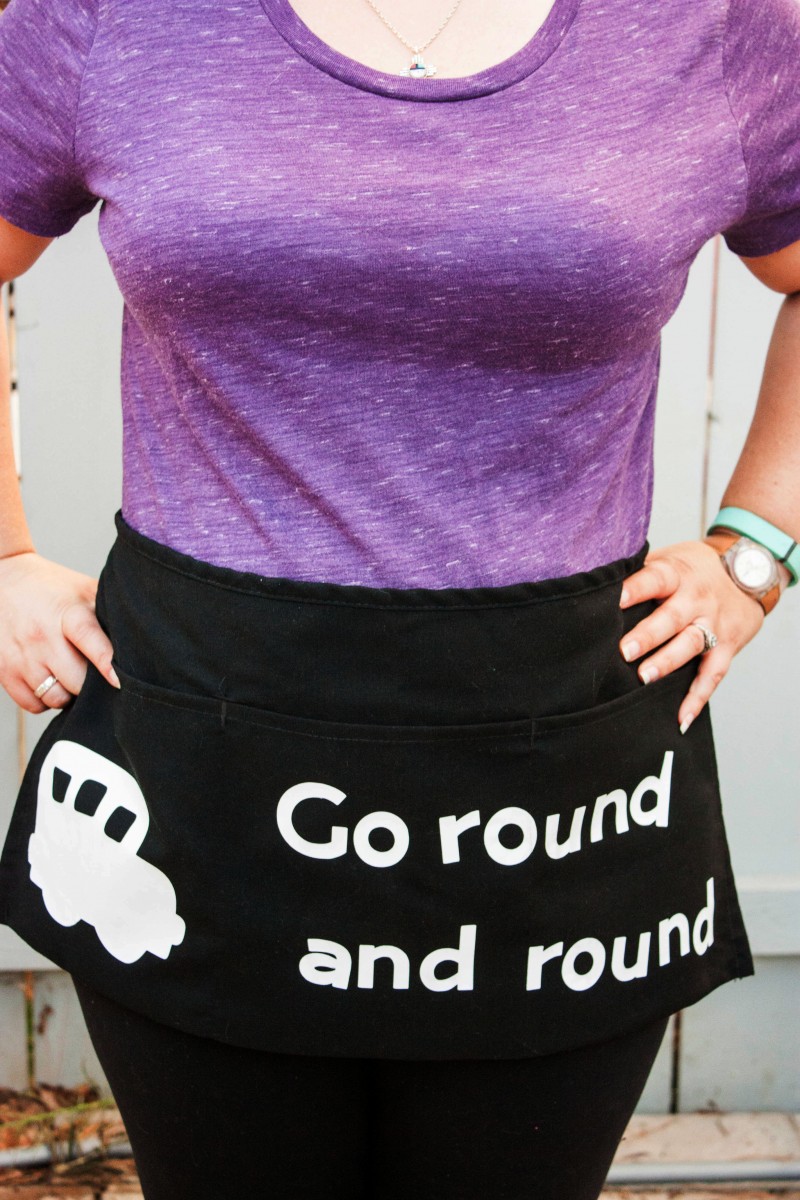
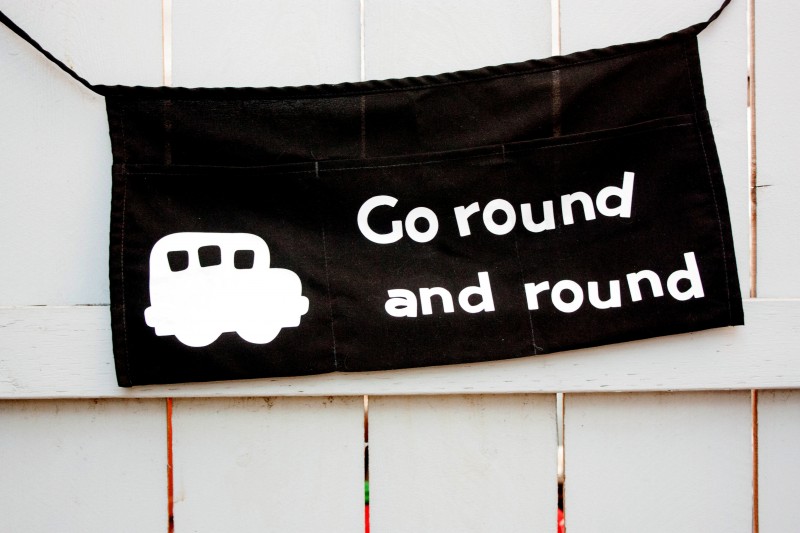
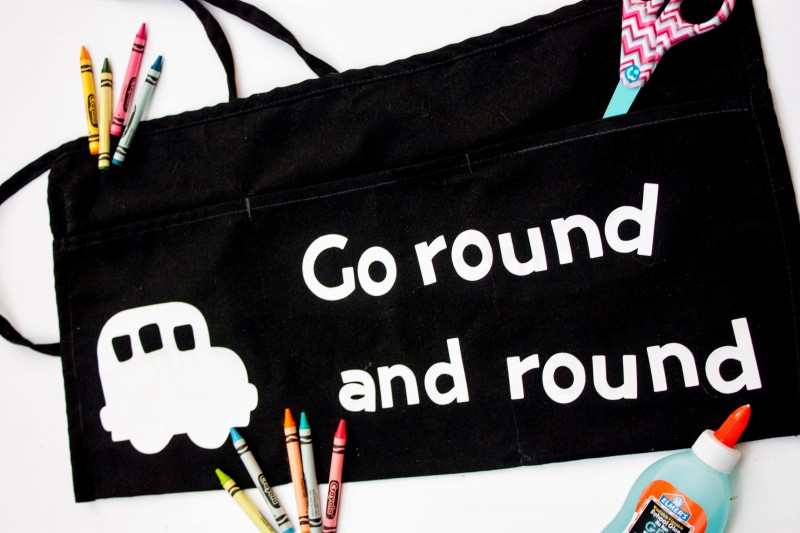
The school year has started for most people and as a teacher it’s the time of year I create a new teacher apron. I work with infants and toddlers so my days are filled with silly songs, lots of paint, and pockets filled with random items. This year I wanted to create an apron based on “Wheels on the Bus”.
Bus Teacher Apron
Materials:
- Black waist apron
- Iron-on vinyl
- Vinyl cutter (I used my Cricut)
- Iron
Step 1
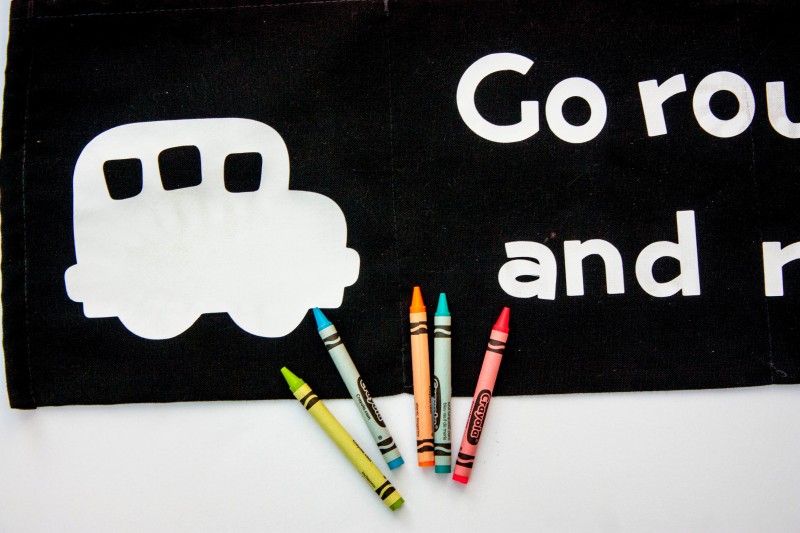
I still have an old school Cricut so still use cartridge and the CCR. When planning my apron I found the doodlecharms cartridge and found a wonderful bus image that I knew was perfect for my apron. I also used the basic Cricut font to cut out my “go round and round”.
Step 2
Once I created my template in the CCR, I cut out my images on my white iron-on vinyl. I have cut out vinyl millions of times, but this time I forgot to change the default settings to vinyl. Because of this each of my pieces were cut from the plastic backing. Ooops.
Step 3
Thankfully my project was about to be saved. You can actually iron on each piece separately and peel off the plastic backing once its adhered. I would suggest making sure you put a lot of pressure onto your heat transfer vinyl. This will make taking off the back much easier.
I hope you enjoyed my wonderful teacher apron. Do you have a teacher in your life that use one? Let me know in the comments below. Do you want to see the apron I created last year? Check it out: Chevron Teacher Apron. To learn more ways to use heat transfer vinyl check out my Burlap and Vinyl Stockings and Inspirational Shirt. Thanks! See you next month.

Leave a Reply