Motorhome Renovation
Today I am featuring another amazing transformation from a member of my camper renovating Facebook Group!! My group, All Things Camper Renovating is an awesome place to ask questions, find inspiration and get immediate advice from thousands of other renovators. There are lots of new renovators, as well as an expert group of admins that help answer questions and share information. I’d love for you to join in on the fun! CLICK HERE to join.

The Details
This gorgeous motorhome renovation was done by Sonia Dykhuizen along with her husband and son. This is Sonia’s first RV purchase and renovation. She watched tons of YouTube videos and followed other renovator Instagram accounts like RV Family Reno! Sonia says they learned a lot of valuable lessons along the way.
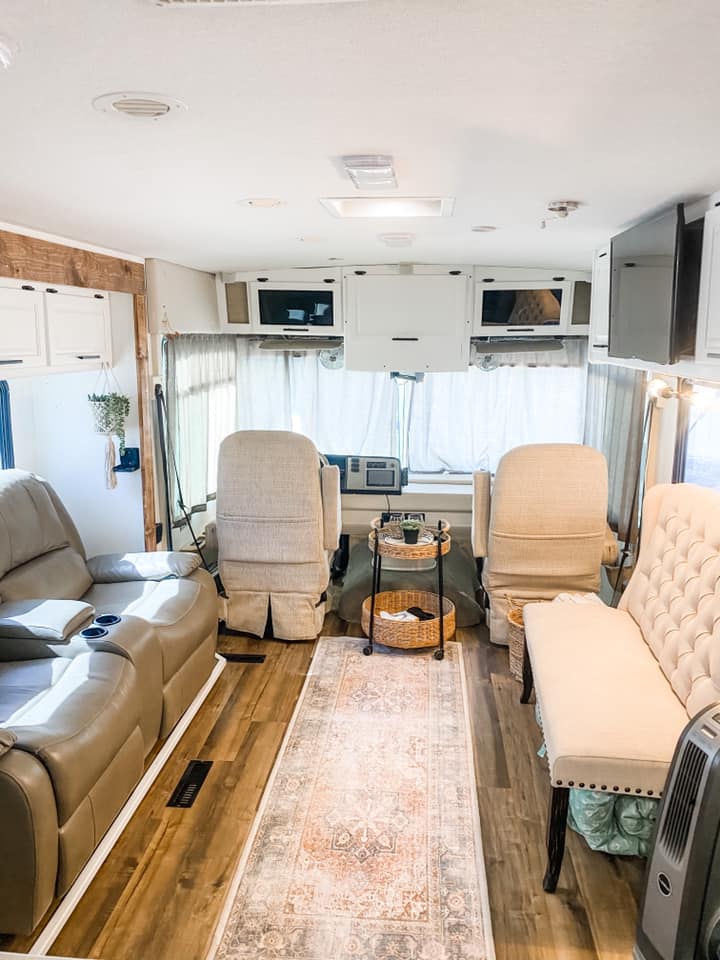
“My suggestion to other newbies like myself is to start with a game plan and be prepared to adjust your vision if needed. It wasn’t until after we removed the dinette and I was able to see all the open space and made the decision to go with a sofa sleeper and folding table vs a dinette. You might also run into some surprises on demolition day. We discovered a leak on the back bedroom wall. In many ways these discoveries can be good because it allows you to fix the problem and hopefully prevent it from getting worse.”
Sonia and crew worked in phases for this remodel. They had a 3 phase plan which included:
- Demolition (approximately 2 days)
- Painting, flooring, trim and backsplash (approximately 2 weeks)
- Finishing touches and décor items like curtains, blinds, faucets and furniture (a work in progress)
Get the Look
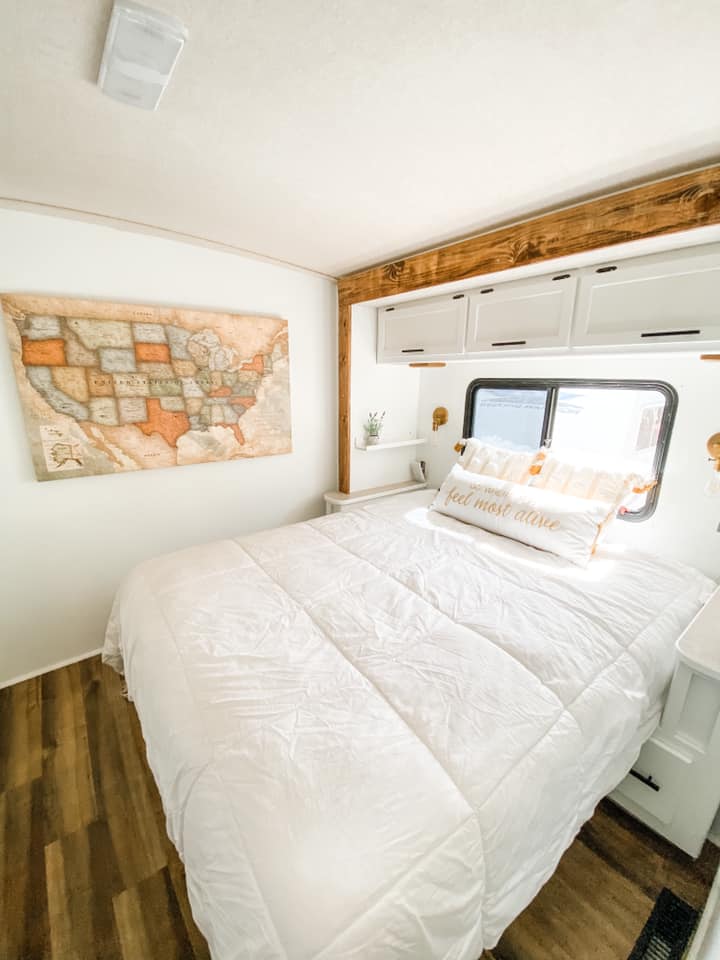
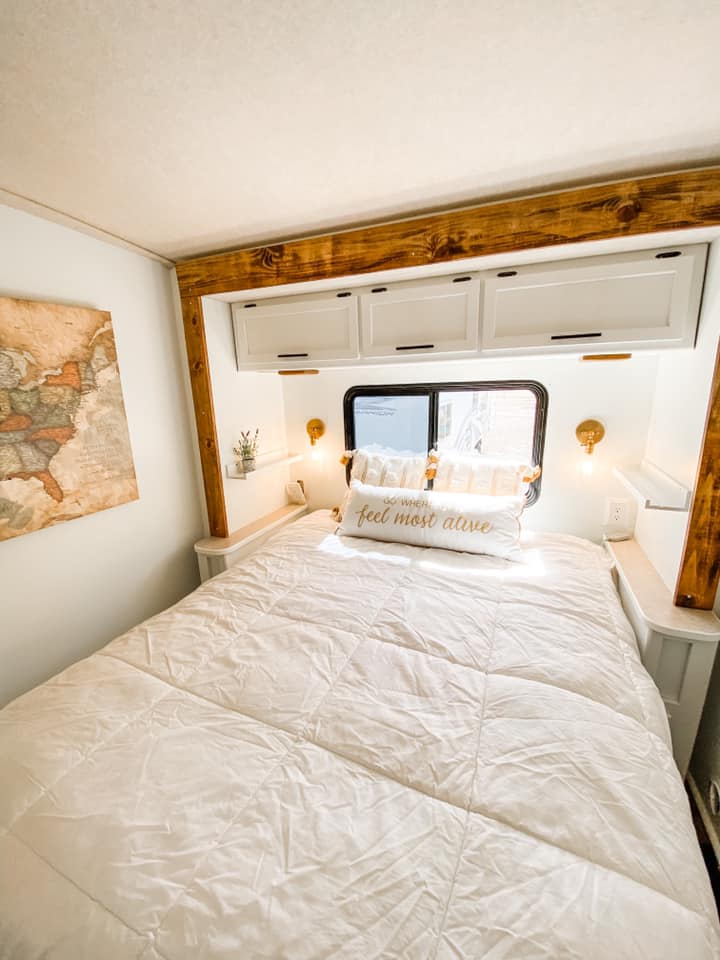
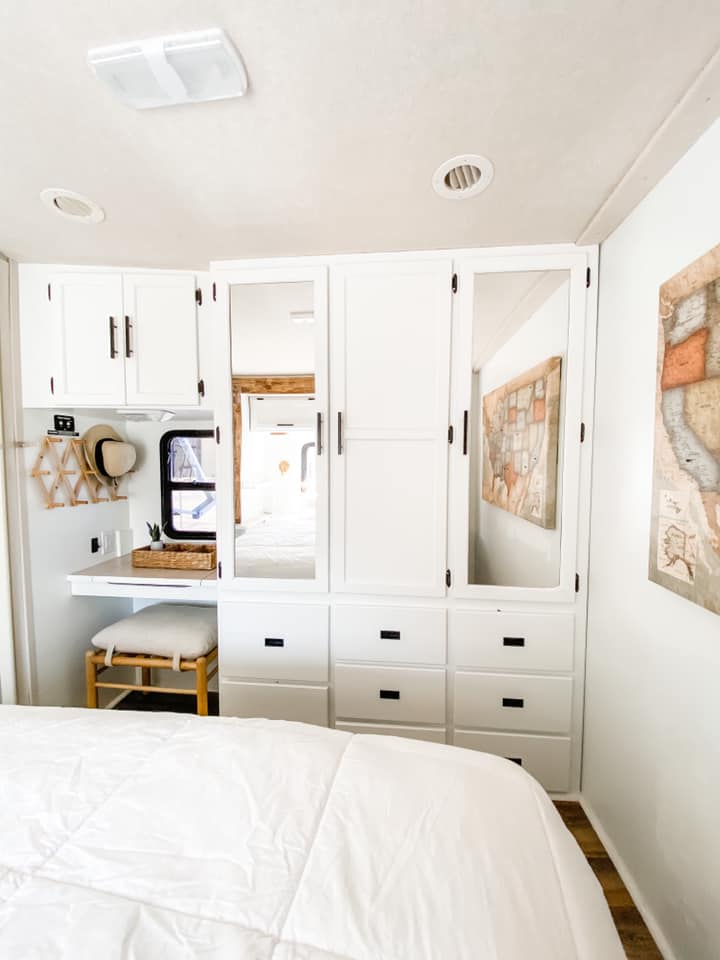
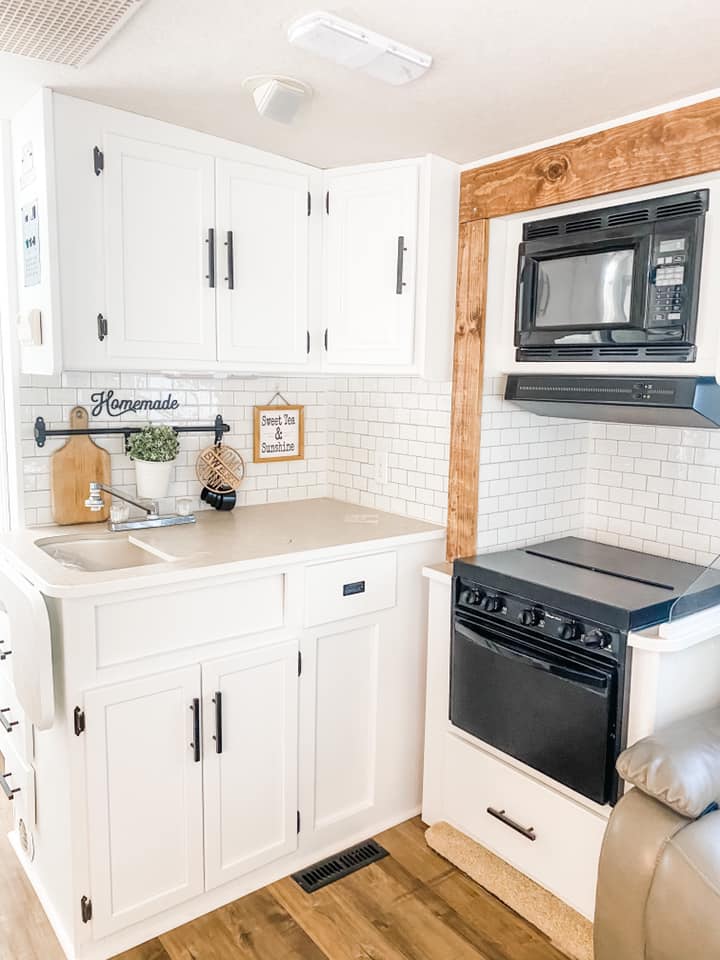
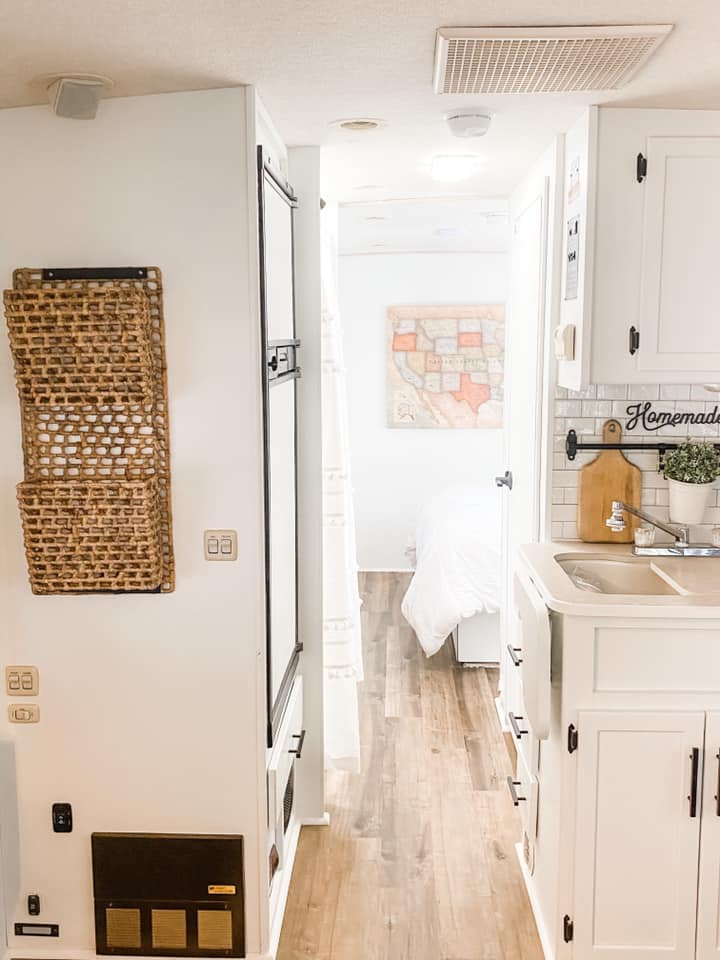
Sonia purchased the large map through holycowcanvas on Etsy. “It had the perfect muted colors that I was looking for. It worked perfectly with the mustard colors in the pillows that I found on sale at Ross” said Sonia. “The stain on the wood was a fun discovery. I started with a light oak and wanted it darker so I added in some dark oak and added special walnut last. I think the wood trim added the warm tones that I was looking for to balance the white walls.”
Tip: Watch tons of YouTube videos and follow other IG accounts. Rv.Family.Reno was one of the first accounts I followed and I learned so much about flooring and painting from Rachel.
Tip: Pay close attention on demolition day when removing items that you might plan to reinstall later. It might be helpful to film the process so you can refer back to it later.
Sources and Colors
Here’s a list of some of the things Sonia used in her design:
- Walls: Chantilly Lace from Sherwin Williams
- Pillows are from Ross
- Brass lights are from amazon
- Map is from HolyCowCanvas on Etsy
- Shelves are from IKEA
- Lamps are from Amazon
- Pillows are from Ross
- Stain is a mix of Golden Pecan, Dark Oak and Special Walnut
- Pulls are from Amazon
- Peg board from Amazon
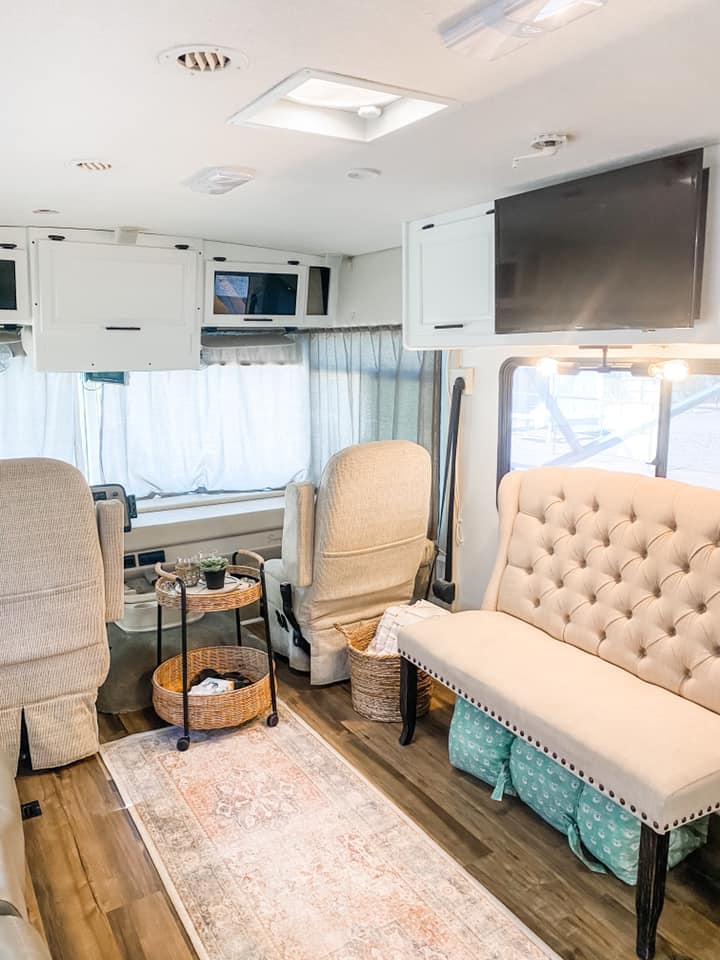
- Bench is from Target
- Two tiered rolling basket from IKEA
- Rug is from Ruggable
- Light is from Amazon
- Rolled up sleeping blanket under bench is from Target

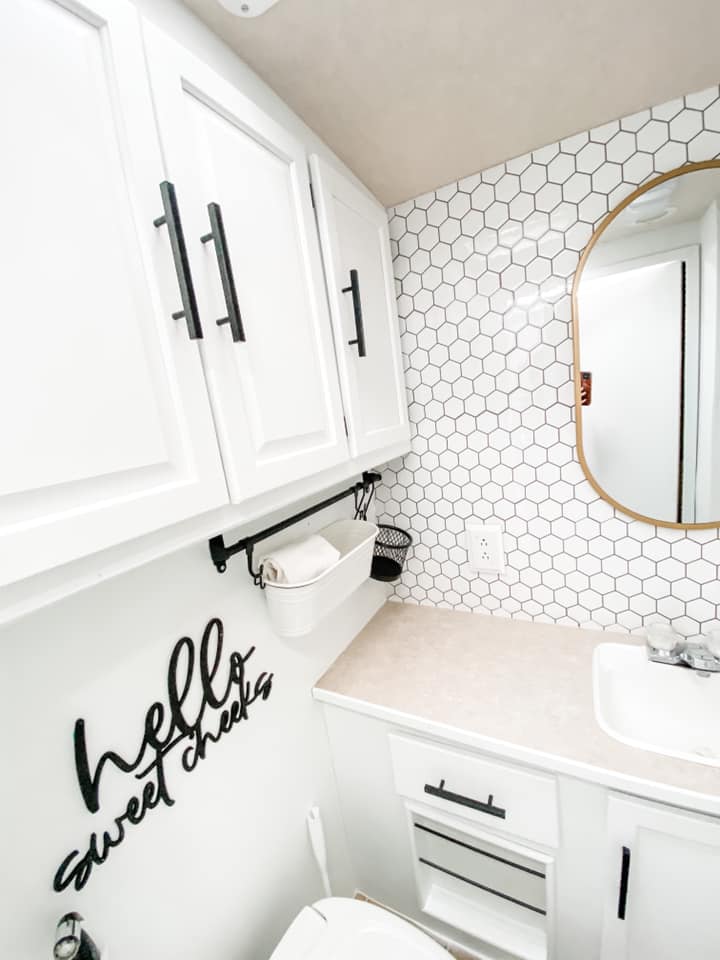
Use the Slider Below to Compare the Before and After!
[twenty20 img1=”77755″ img2=”77757″ offset=”0.5″]
[twenty20 img1=”77754″ img2=”77756″ offset=”0.5″]
[twenty20 img1=”77751″ img2=”77746″ offset=”0.5″]
For more amazing transformations like this, follow me on Instagram: @purposeblog
Or join my Facebook community group: All Things Camper Renovating
PIN-IT!


Erin
Love you’re reno!! Did you do anything with the doghouse?? Ours is covered in carpet and we’re not exactly sure what to do with it.
Jennifer Slone
Awesome work just wondering about your captain chairs reupholstered or covers? We are in need of one or the other and yours look great.