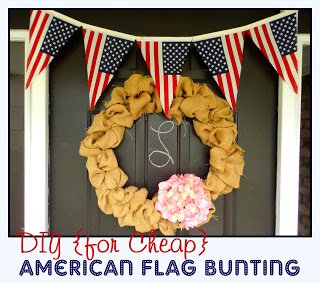
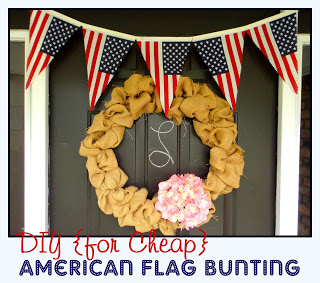
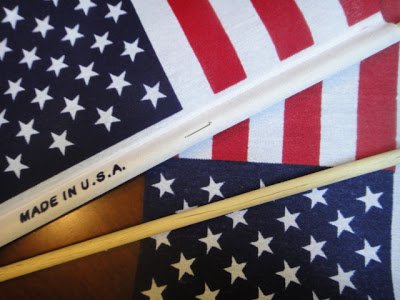
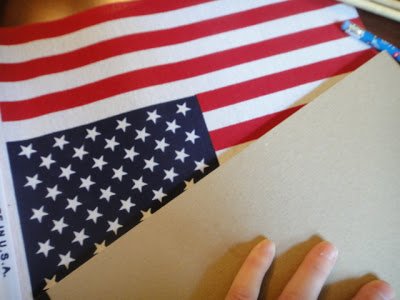
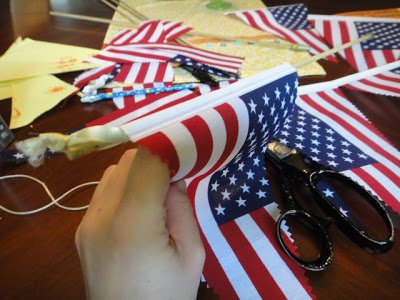
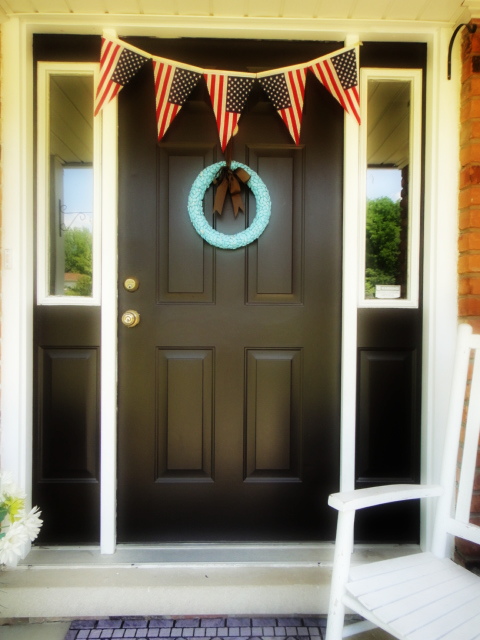
 With the 4th of July right around the corner and Summer in full swing, I needed something cute and patriotic to add to my front porch. I noticed the other day that most American flags sold in stores can run $10 to $20 on the cheap end. Many of the nice ones are closer to $50. I wanted to spend under $5. So, I snatched up a bunch of the inexpensive flags on a stick that run for 50 cents to a dollar each and put together this bunting!
Once you’ve strung the flags together, space them as far apart as you’d like and hang with push pins.

Leave a Reply