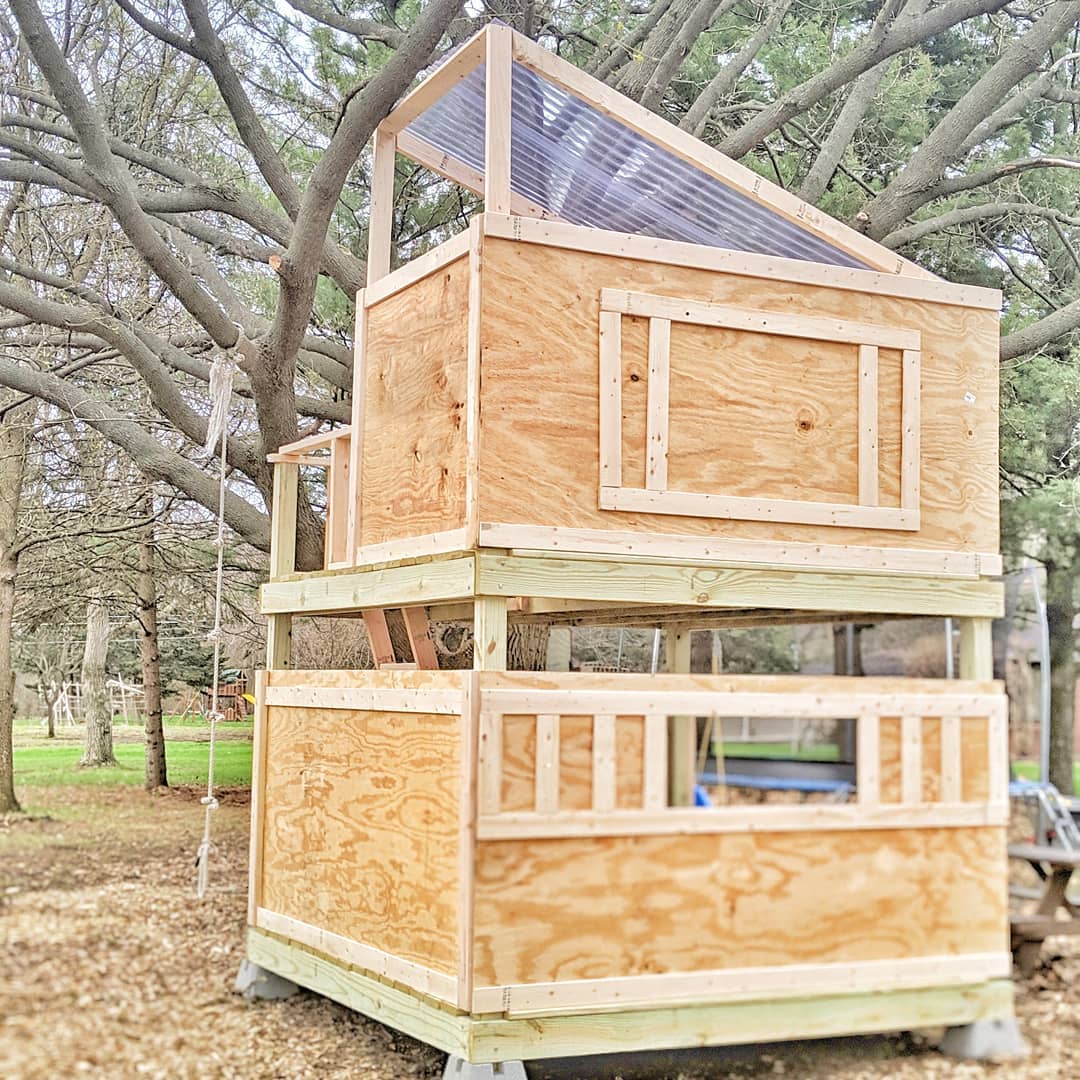
I’m sharing the ideas we came up with for building the ultimate “Up” themed, DIY tree house! We’re hoping to build something sturdy, large enough for 5+ kids, safe enough to sleep in, tall and close enough to a tree to feel like you’re really IN the tree, and (of course) budget friendly.
DIY Tree House
This is the first post in a series I’ll be doing on building our tree house. Look for more to come!
Our old play-set had seen better days and this was the year to take it down. Maybe you’ve been there? Our swing set was a hand-me-down from friends that had been taken apart and transplanted to our yard. Because of this, it was easily 20 years old and visibly falling apart.
Last Fall, we decided to take it apart as soon as the weather was nice again. Well, that time has come! The kids eagerly disassembled it and began drawing pictures of what they wanted our next tree house to look like.
Here were their requirements:
- A roof so they could sit in it when it rains
- High enough so it was easy to climb into the tree
- Big enough so they could all sleep in it
- As cheap as possible (my requirement)
Follow along on Instagram: DIY Treehouse Highlights
The Plan
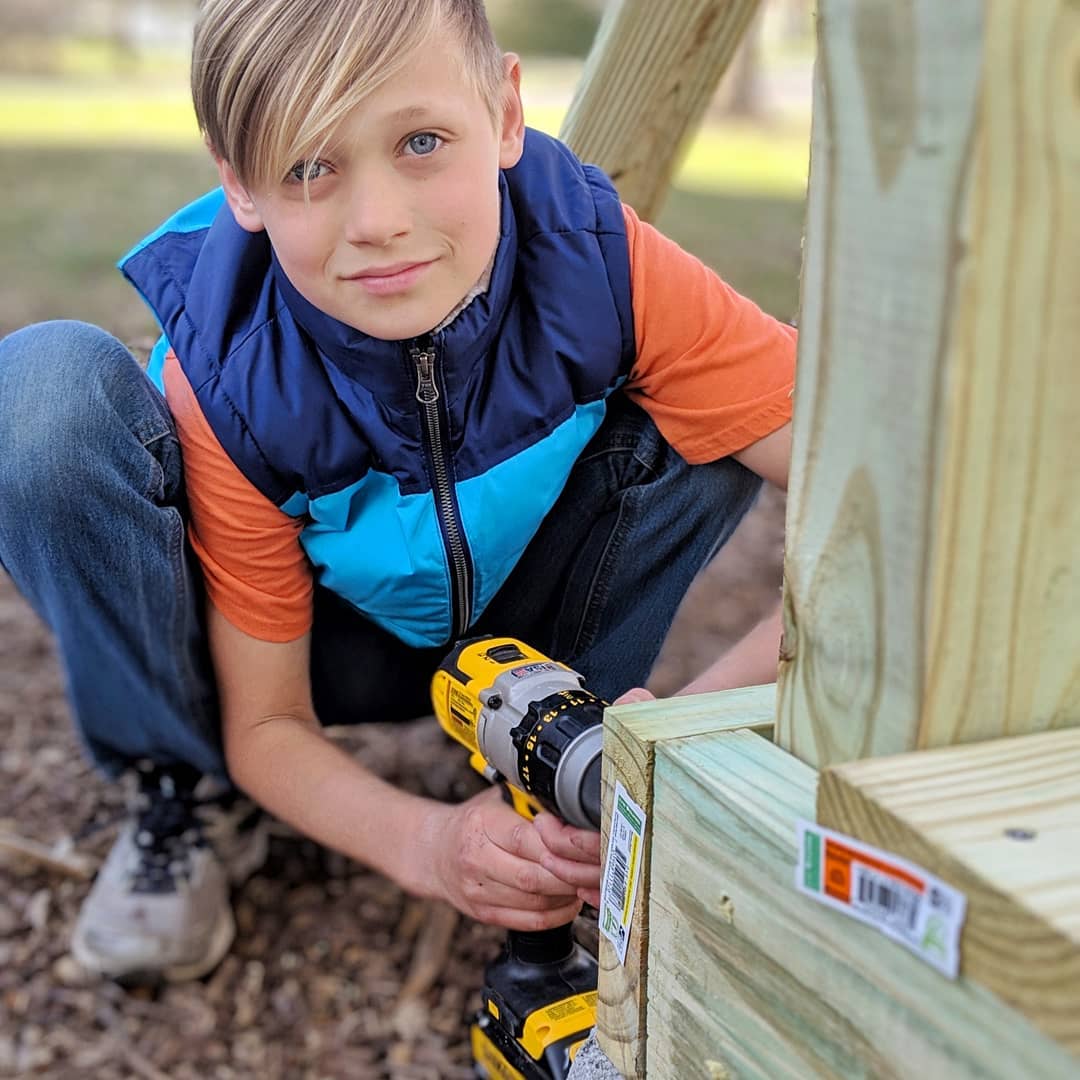
I started by finding out what our city’s ordinances say about tree house building and if they require a permit. We found out at City Hall that they don’t require anything as long as we don’t run electrical, so that was great news! Next, I started pinning like crazy on Pinterest! You can see all those ideas I pinned to my board “The Great Outdoors”
Great DIY Play Houses
Here are my favorite plans I found on Pinterest. These sites have awesome, step-by-step directions and pictures of their play house building progress:
- The Handmade Home: Handmade Hideaway 2.0
- The Handmade Home: Handmade Hideaway
- Houseful of Handmade: Our DIY Playhouse
- Made with Happy: Treehouse
- Bright Green Door: Kids Play Platform
My Plan
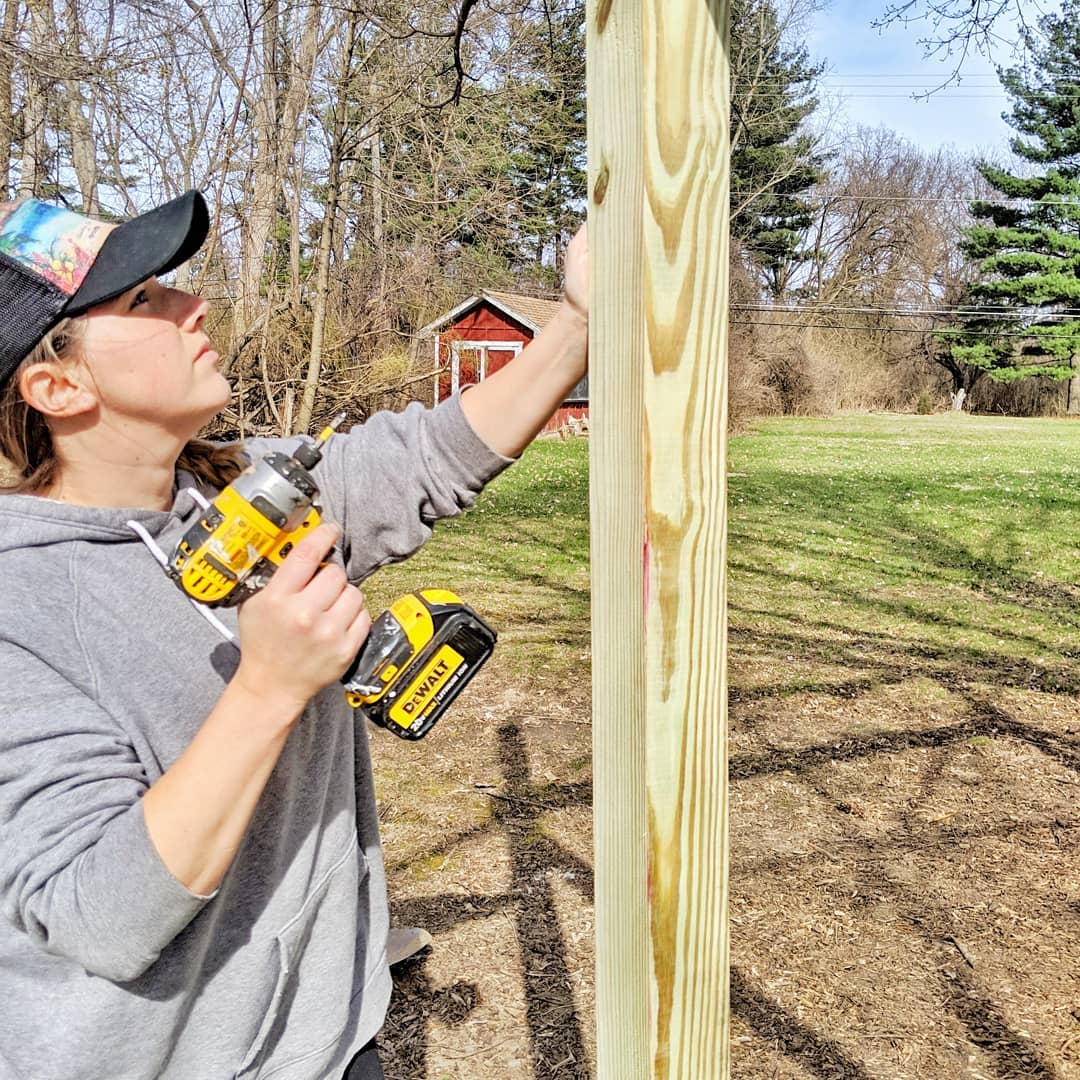
I combined ideas from a lot of these other plans I found on Pinterest. It was important to me to have something that would grow with my kids (ages 1, 8, 10, 11 and 12). I also wanted it to be safe and I wanted it to provide a level of privacy since our yard is fairly visible from a main road. So, we decided to enclose a large area of the tree house with sheets of plywood to provide privacy. I wanted it to be large enough to hold a lot of kids, but I also wanted it to be simple. We ended up going with an 8×8 concept using 8′ boards on every side which meant little to no cutting necessary!
Adventure is Out There!
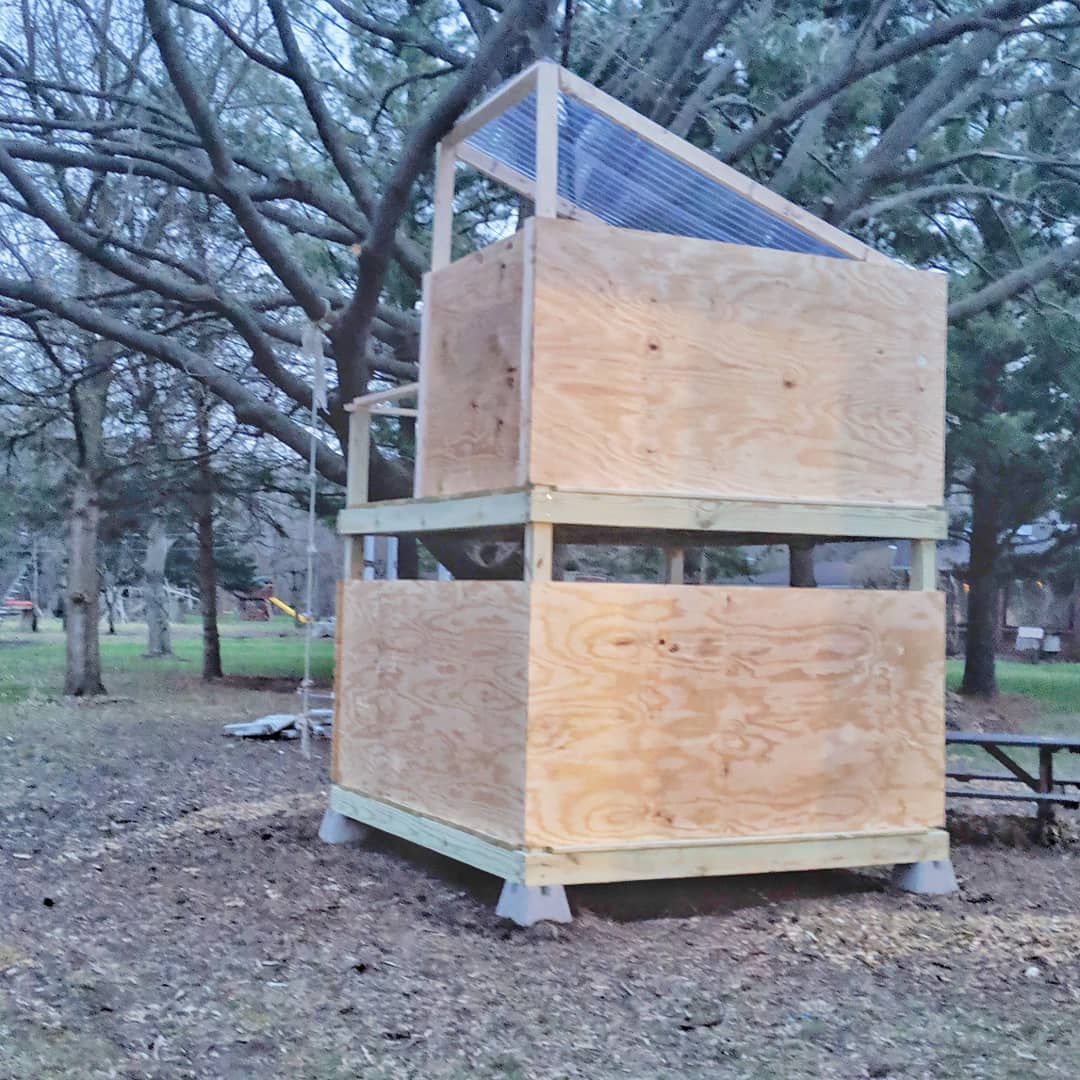
The tree house isn’t done yet, but I wanted to share the progress with you.
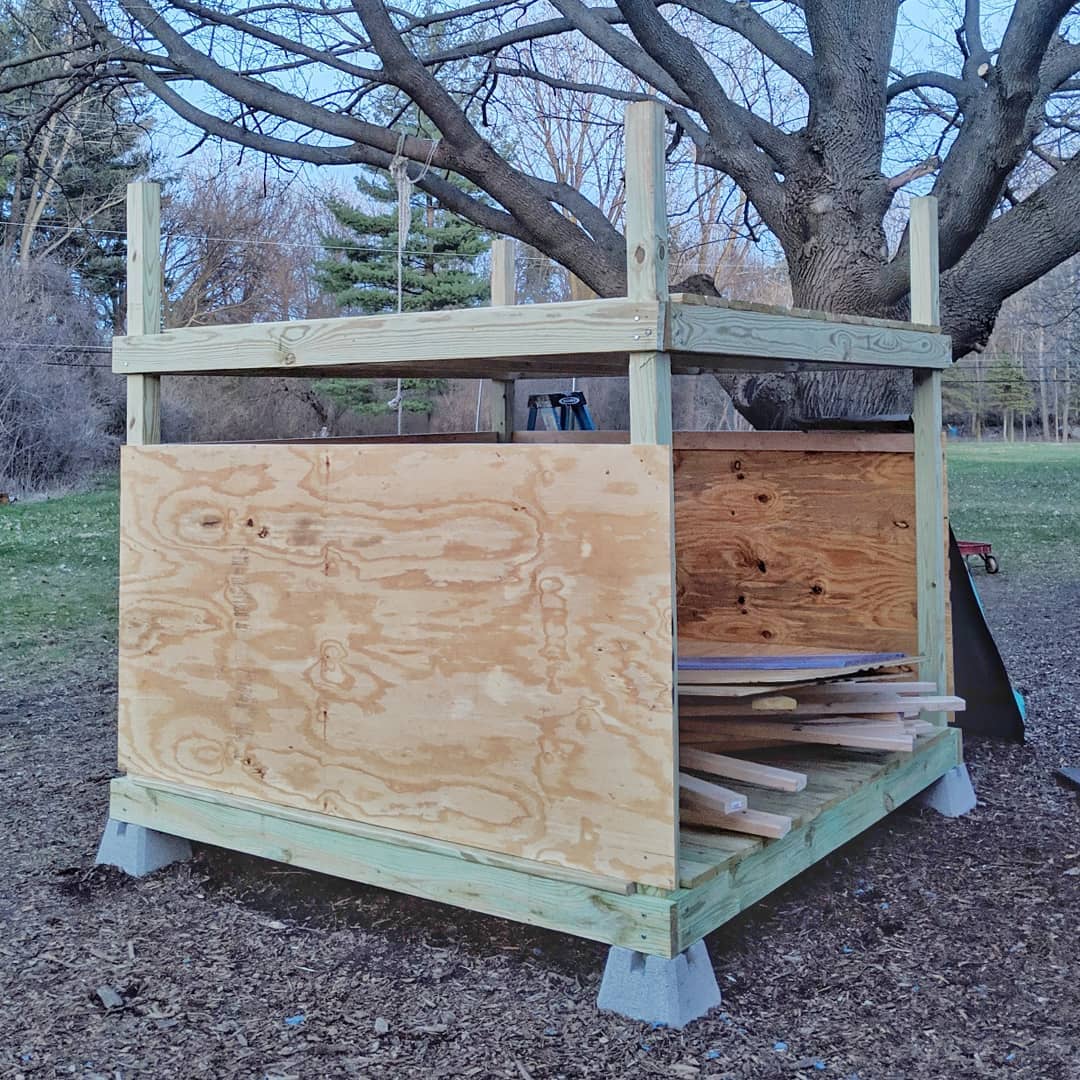
I’ll be sharing more detailed posts in the near future. You can see the basic structure we went with from these photos.
We have decided to go with an “UP” theme for the colors! We used pressure treated wood for the main structure, and regular wood for the trim and support pieces. The pressure treated wood will not be able to be painted for a while, but the regular wood will need to be painted soon for protection. I’m just waiting for a break in the cool, rainy weather to get going on it.
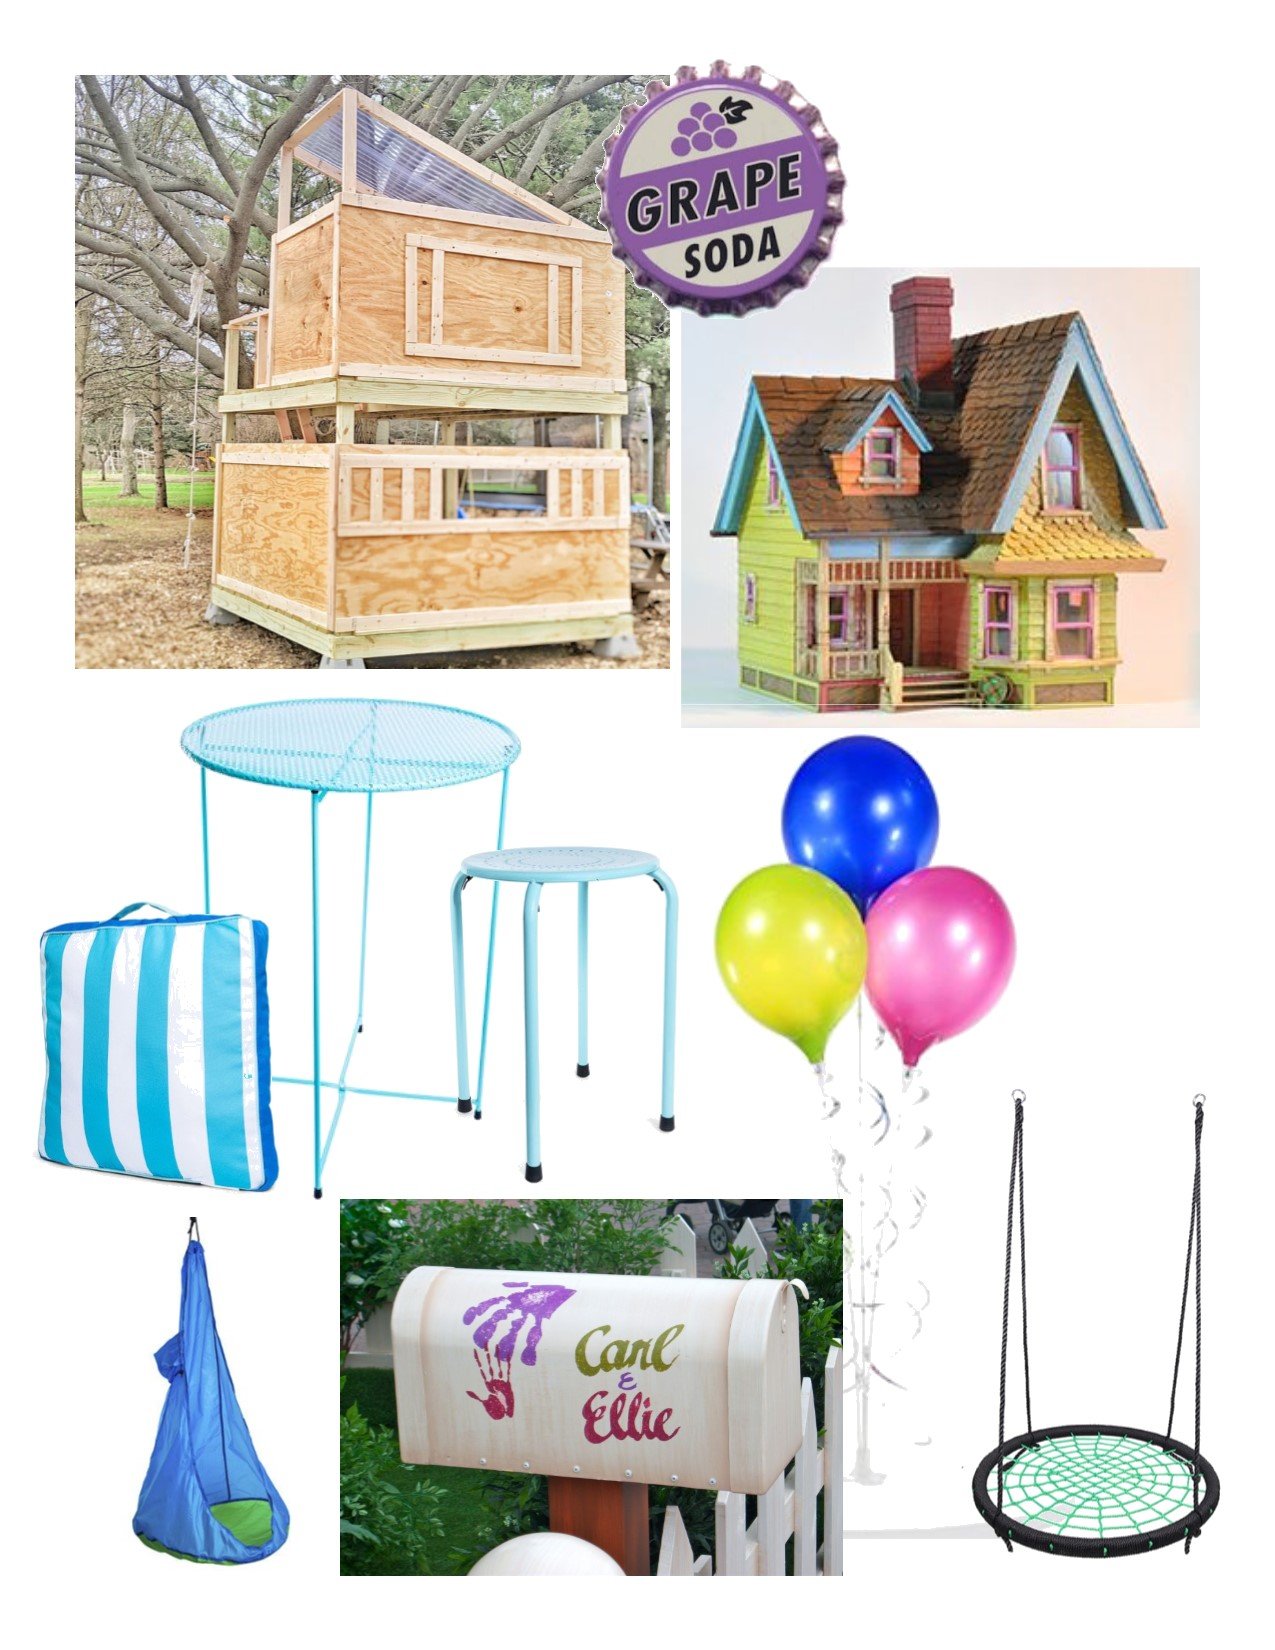
Idea Board
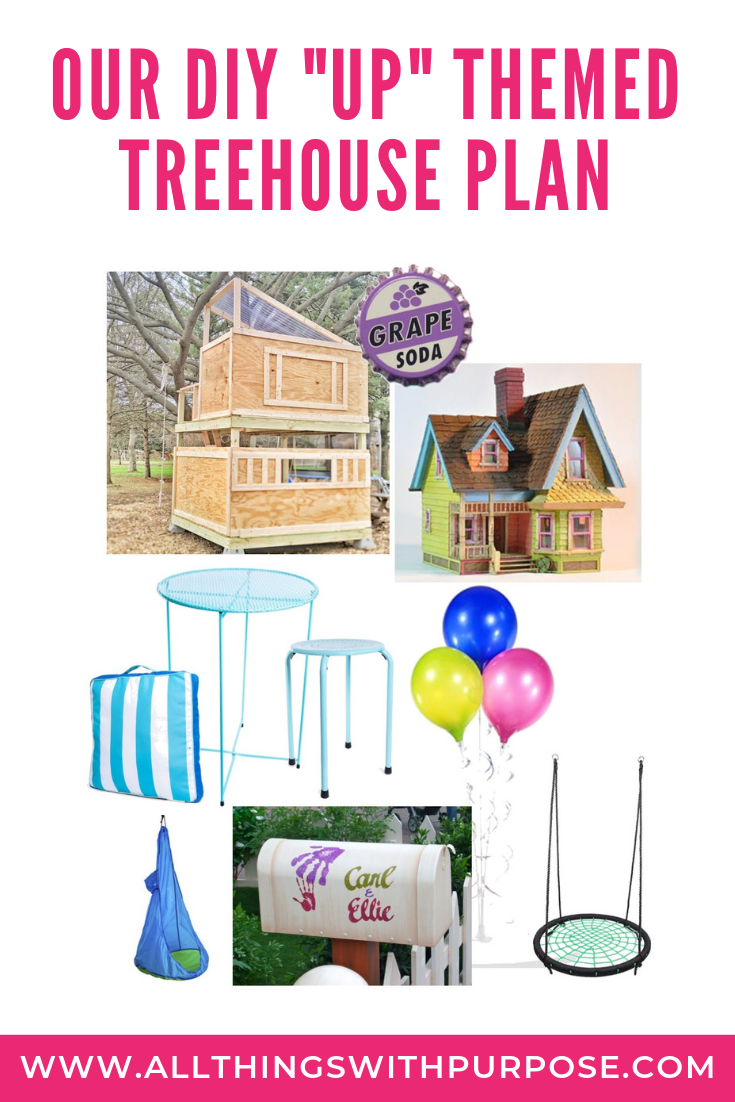
Here’s an idea board to give you a vision of what we’re hoping to do! I’ve bought a lot of fun accessories at Five Below and have the paint ready to go from the Home Depot. I found weatherproof balloons on Amazon and some other fun tree house accessories.
Find them here:
- Rope Ladder
- Weatherproof Balloons
- Outdoor Cushions
- Table
- Stools
- Hammock Chair
- Hanging Chair
- Mailbox (to be painted)
- Swing
Stay tuned for our progress!
This was the first post in my tree house building series.
Follow along on Instagram: DIY Treehouse Highlights

Leave a Reply