I was asked by Facebook Marketplace to share an upcycled project that takes one thing and turns it into something else! I’m sharing how to turn a broken, vintage radio found on Facebook Marketplace, into the cutest multipurpose bar cart!
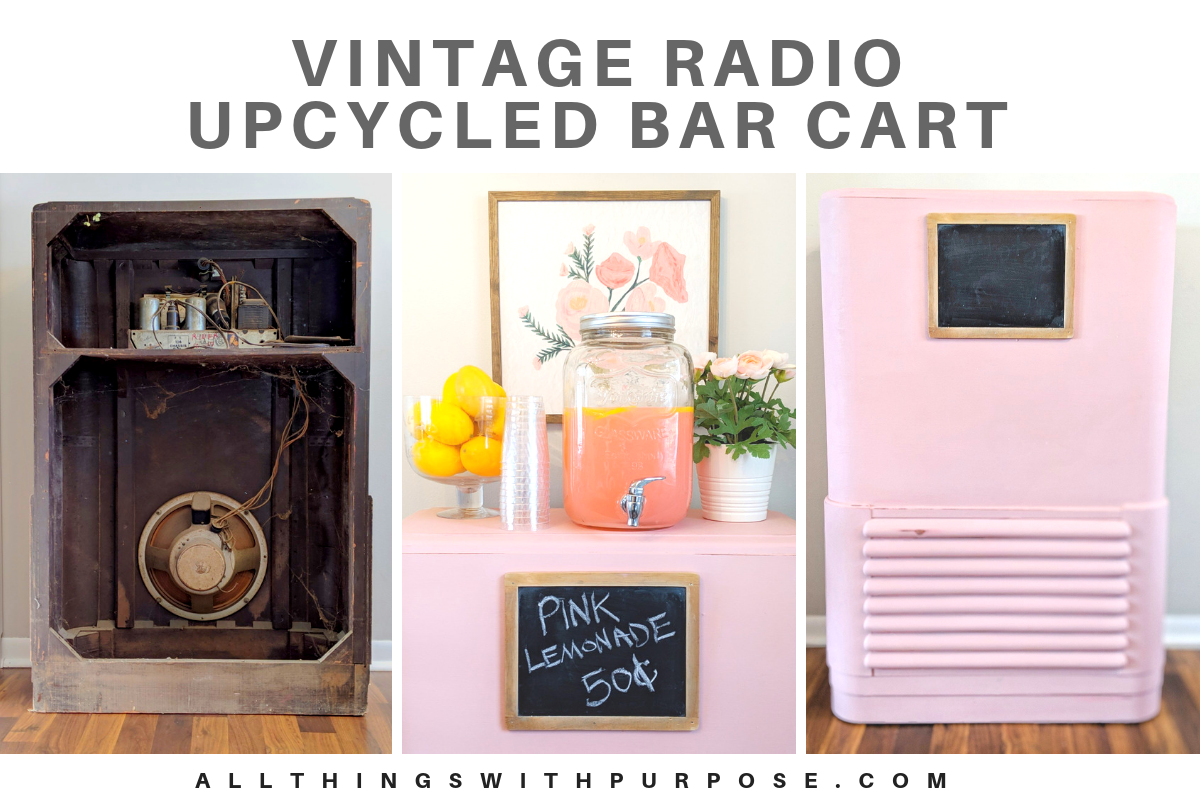
Radio Upcycled to Bar Cart
Today I’m sharing a great DIY project! Do you have an old radio sitting around the house? Have you seen them on Facebook Marketplace and wish you could think of a use for it? Well, this might be the inspiration you need!
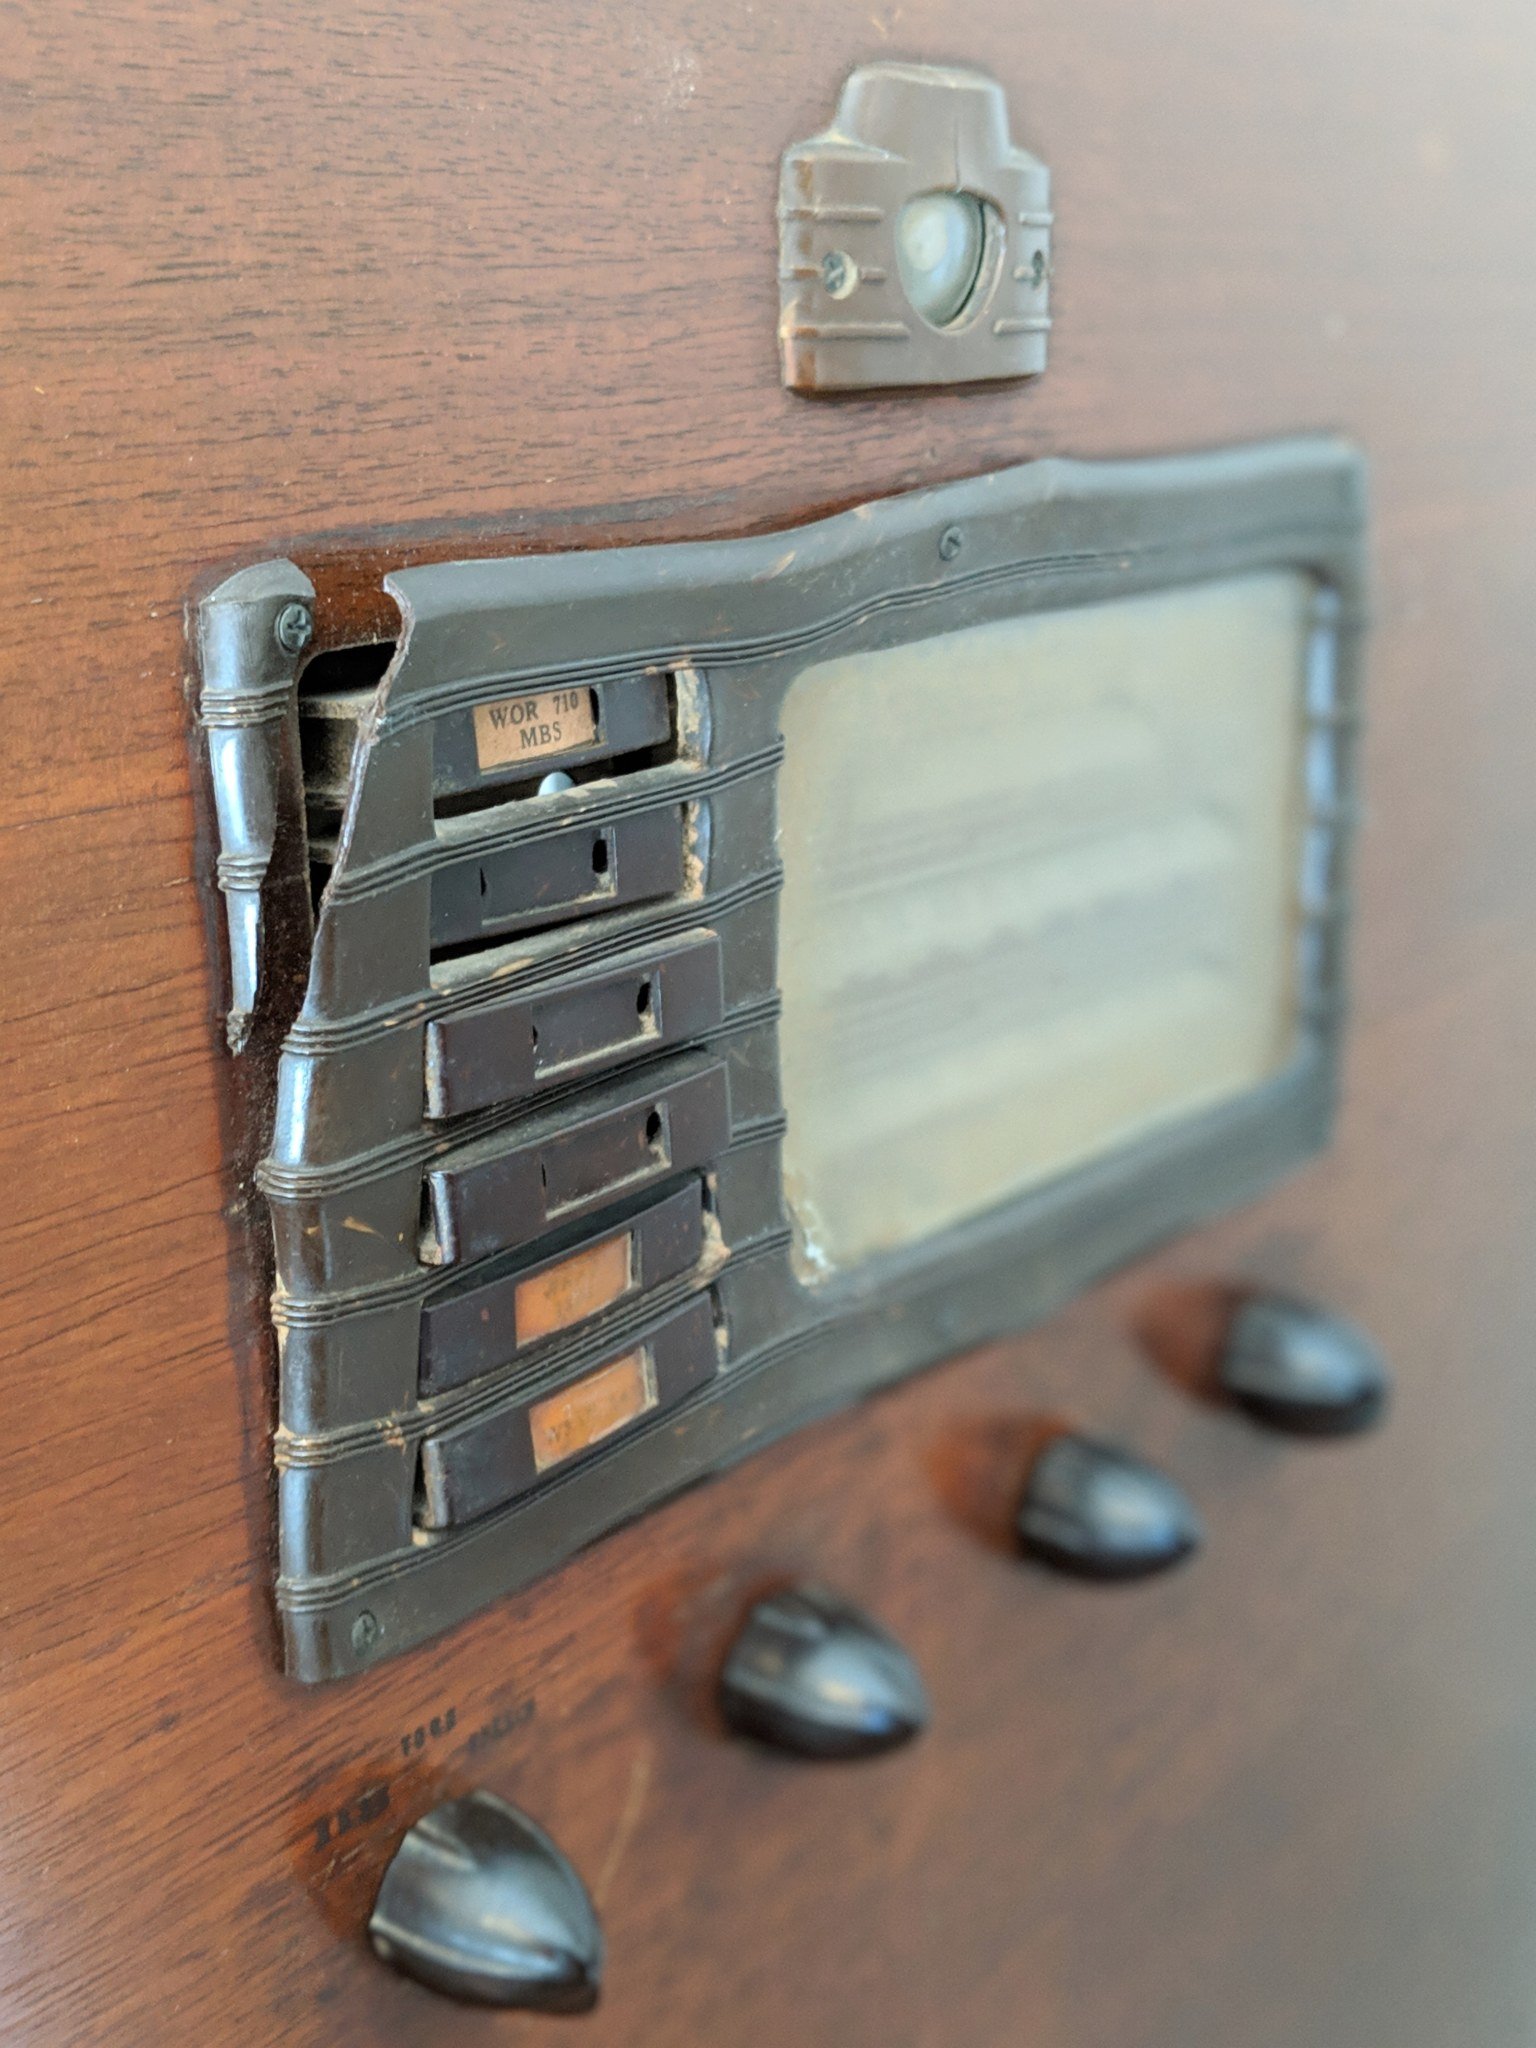
I’ve had this vintage radio for a while now, sitting in the basement while I’ve tried to figure out what I wanted to do with it. It was beyond repair to actually make it work again, but I always loved it for the cool vintage look! I’ve collected quite a few pieces like this. If I see a great deal on a cool item, I’ll almost always buy it and figure out what to do with it later (maybe that’s bad financial advice, but oh well! #hoarder).
TIP: I spend 10 to 15 minutes everyday, on Facebook Marketplace, just to keep up on the local deals in my area. I’ve bought several trailers and RV’s this way. I find that the really great finds don’t last long. They get snatched up pretty quickly, so keep checking back and contacting sellers right away!
Read: How to find and transform used furniture found on Facebook Marketplace
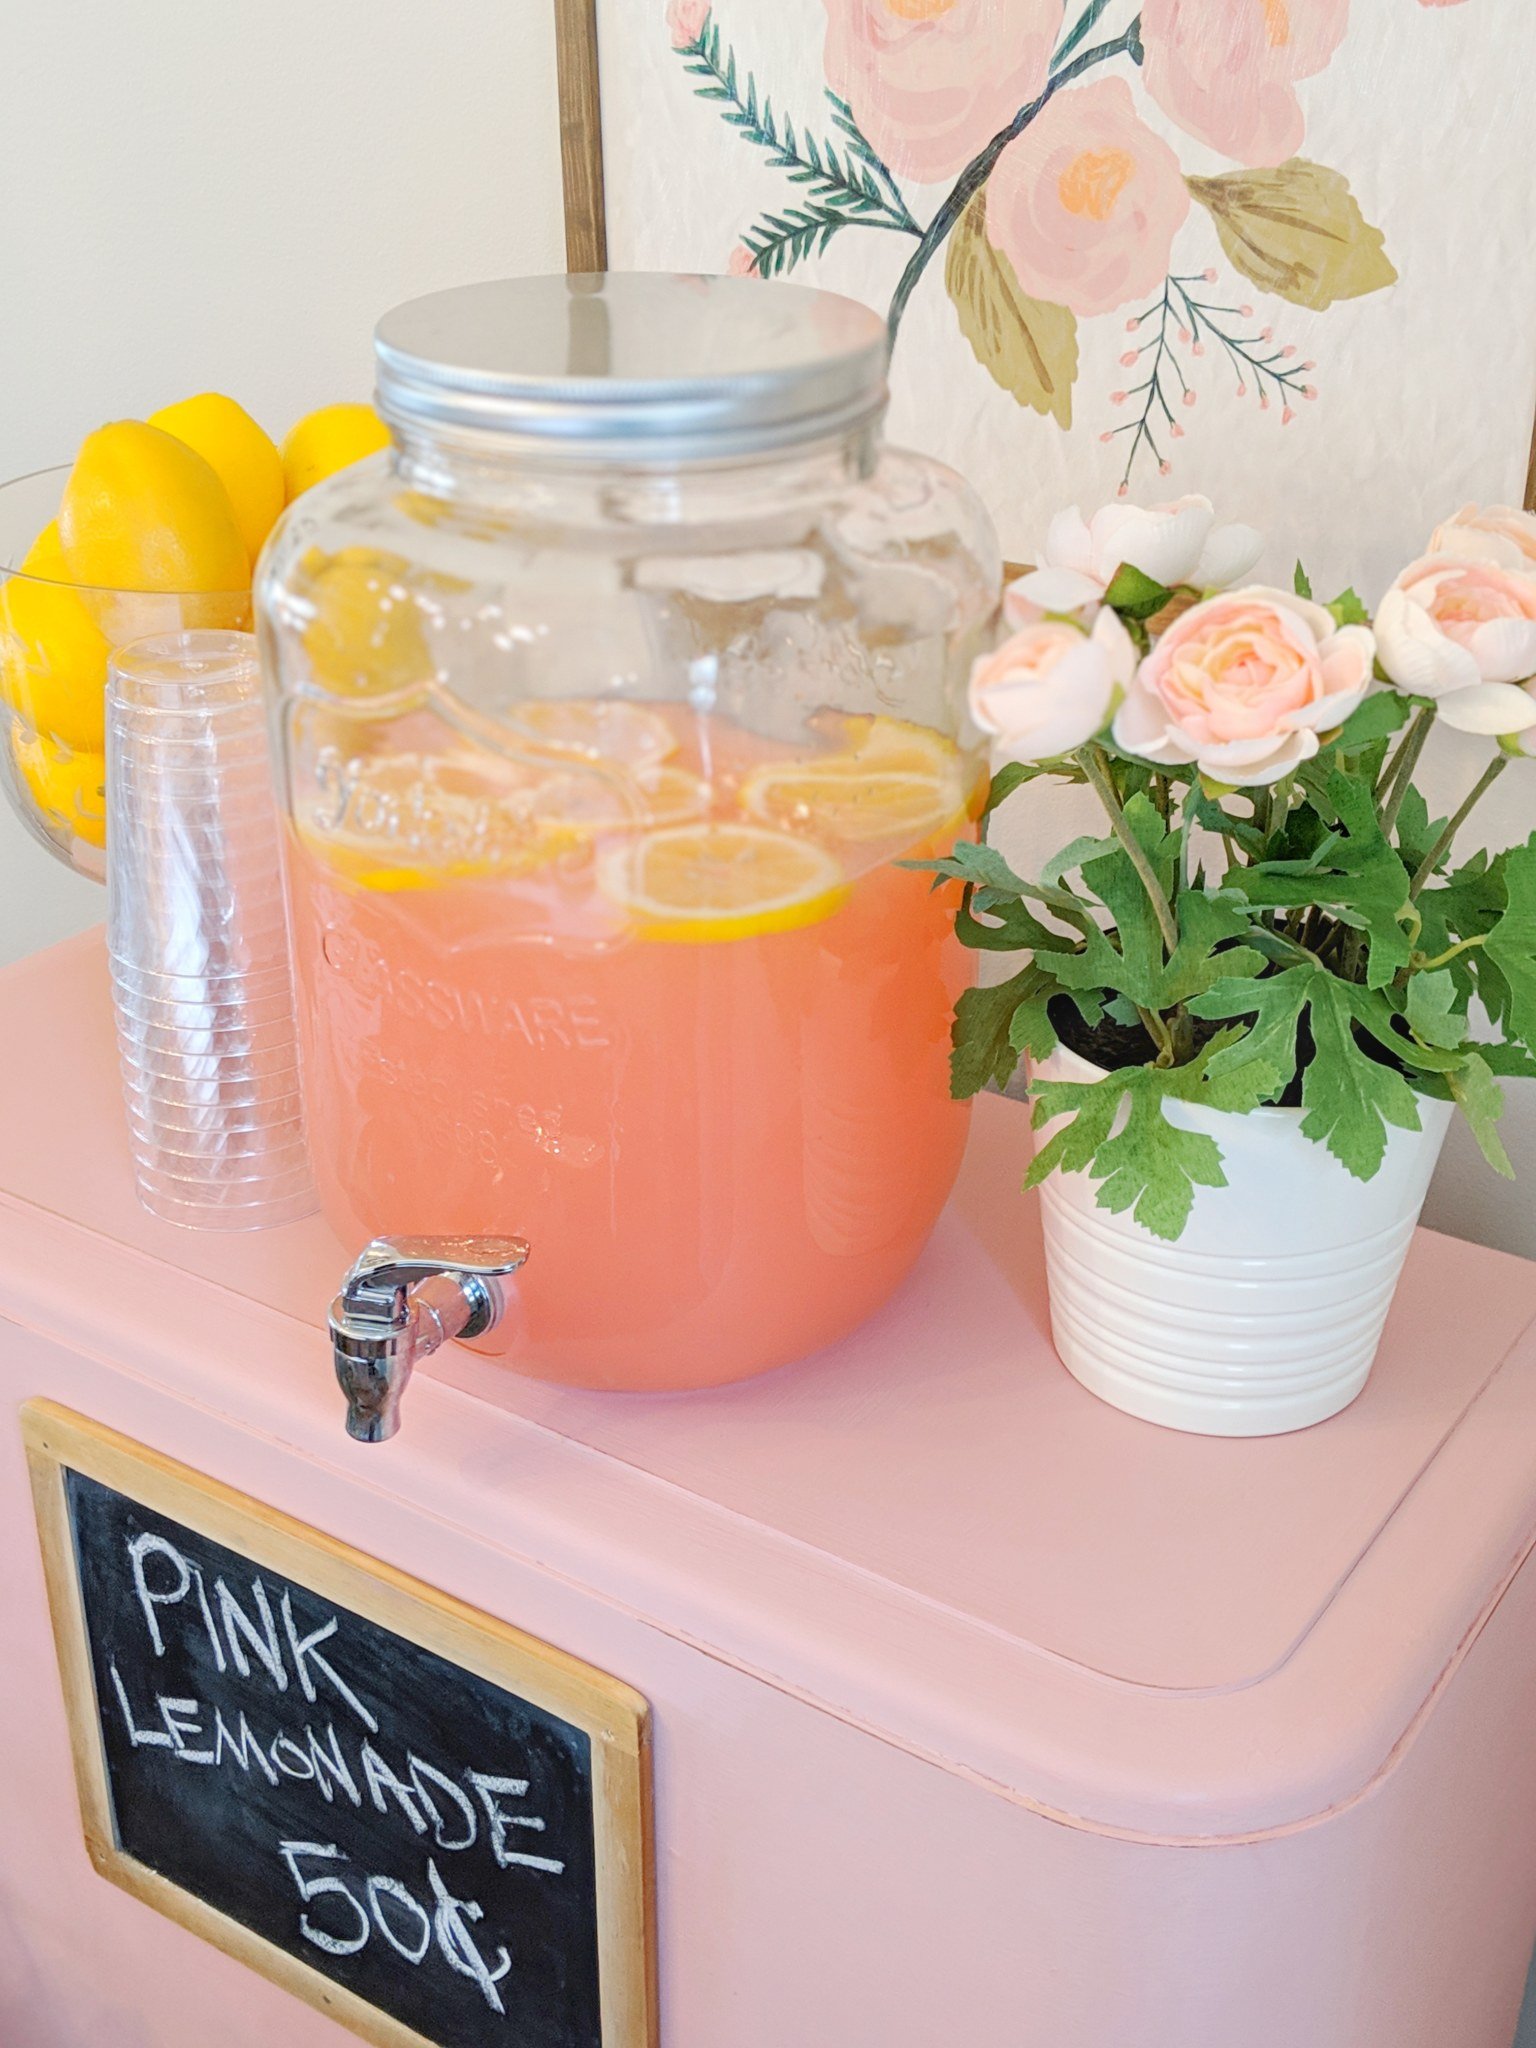
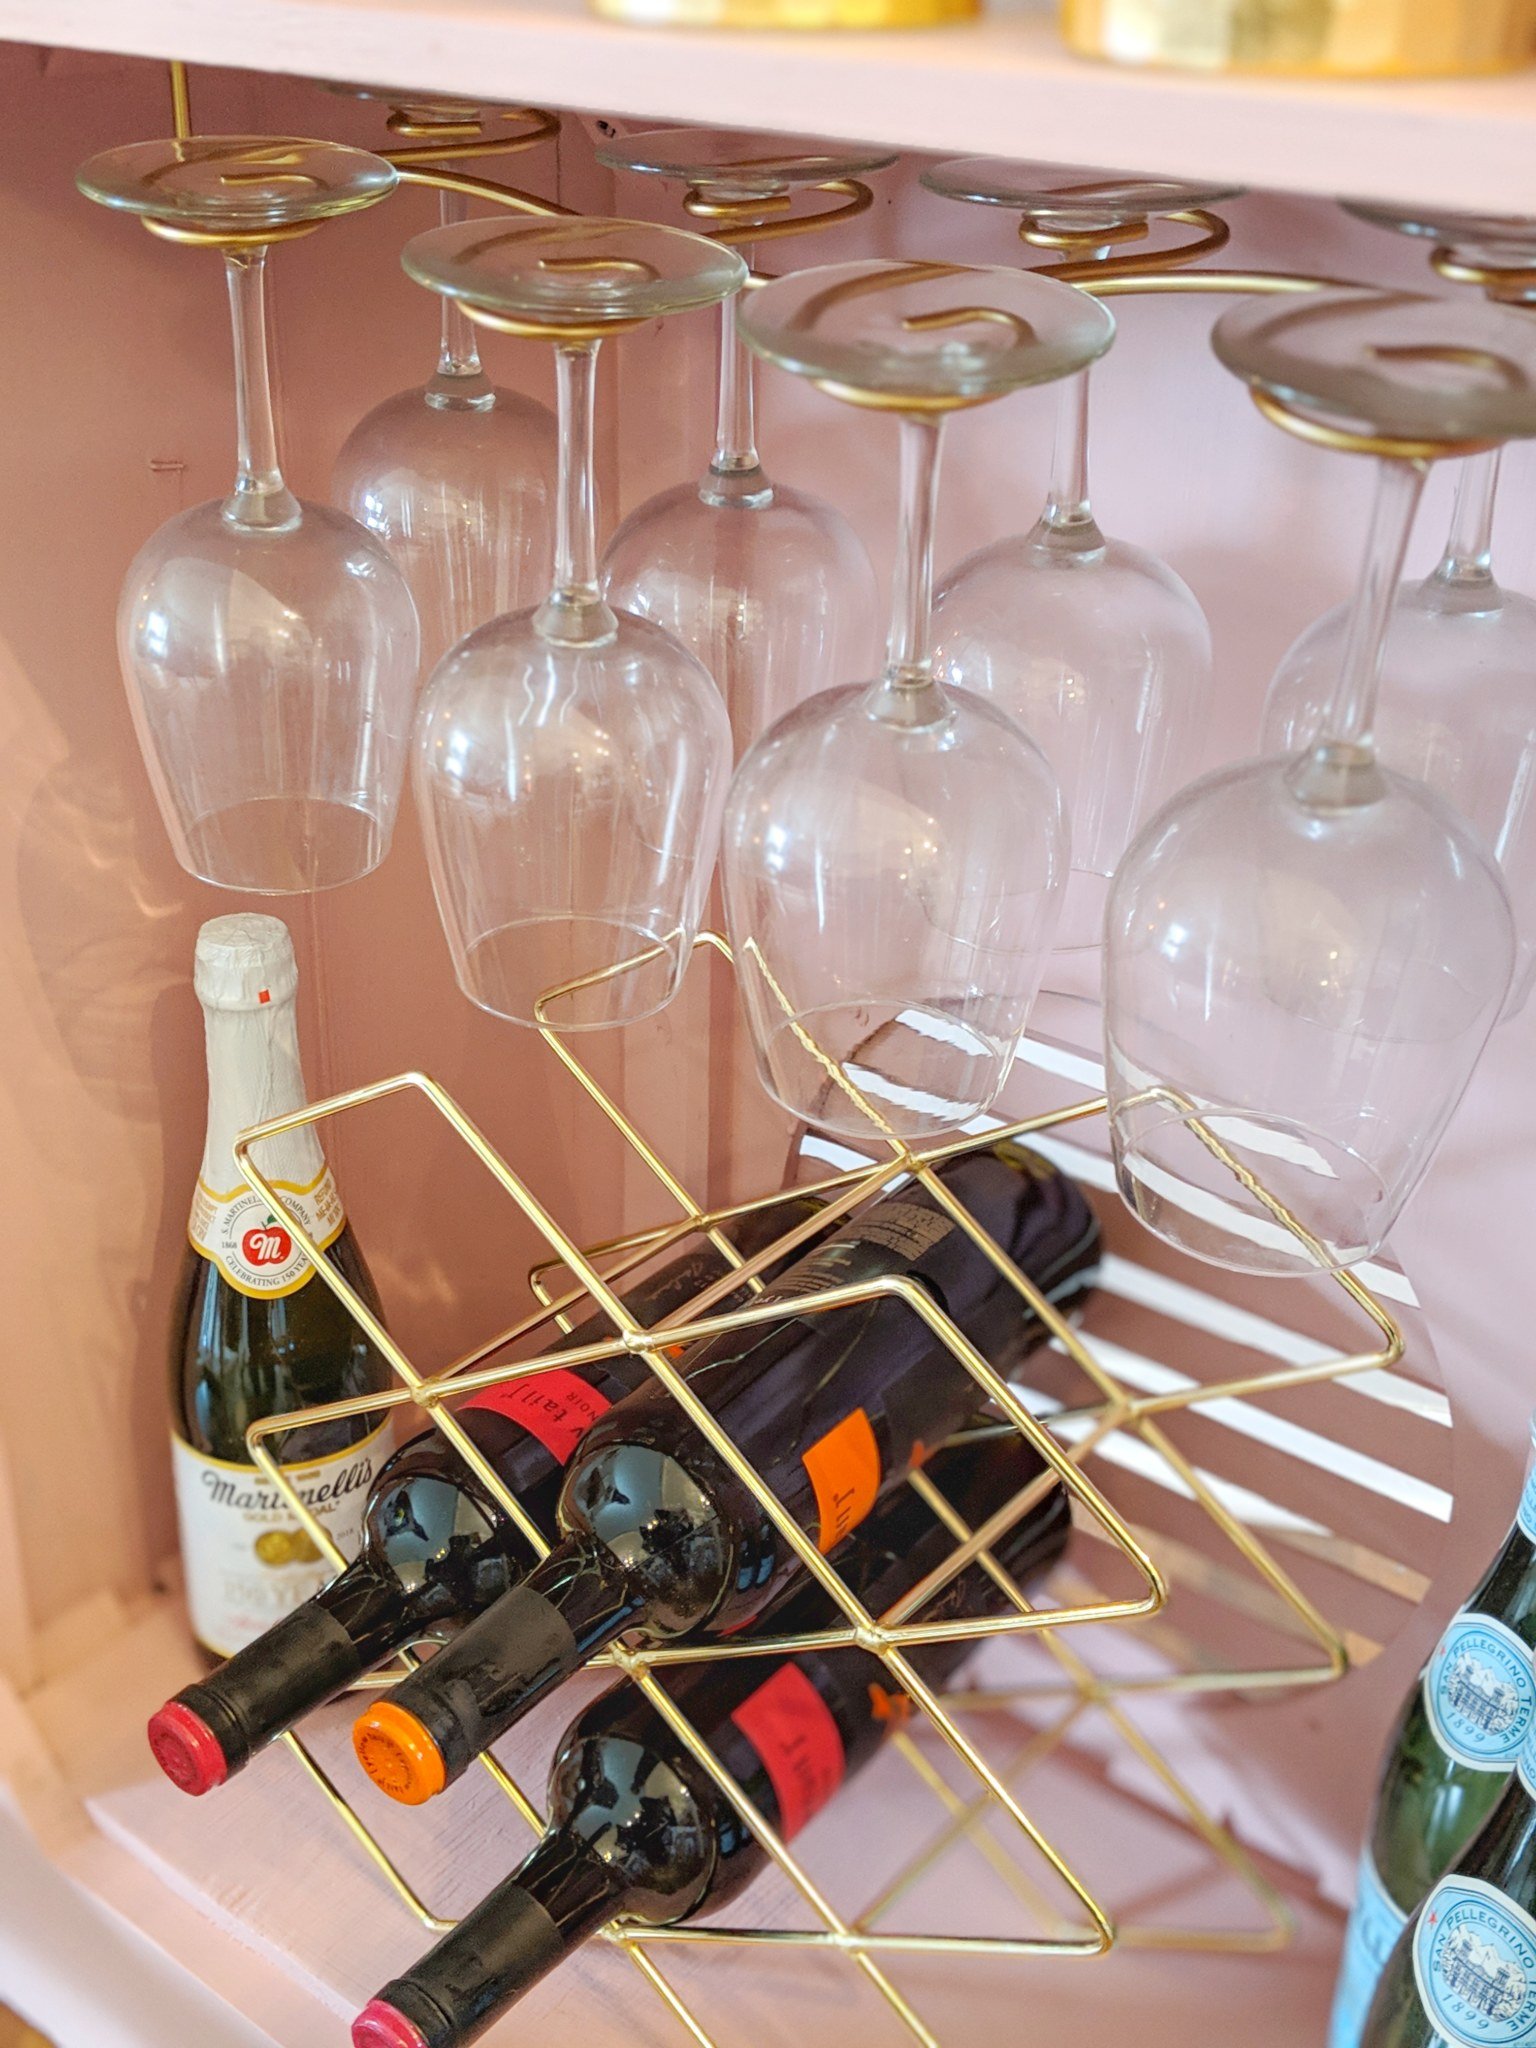
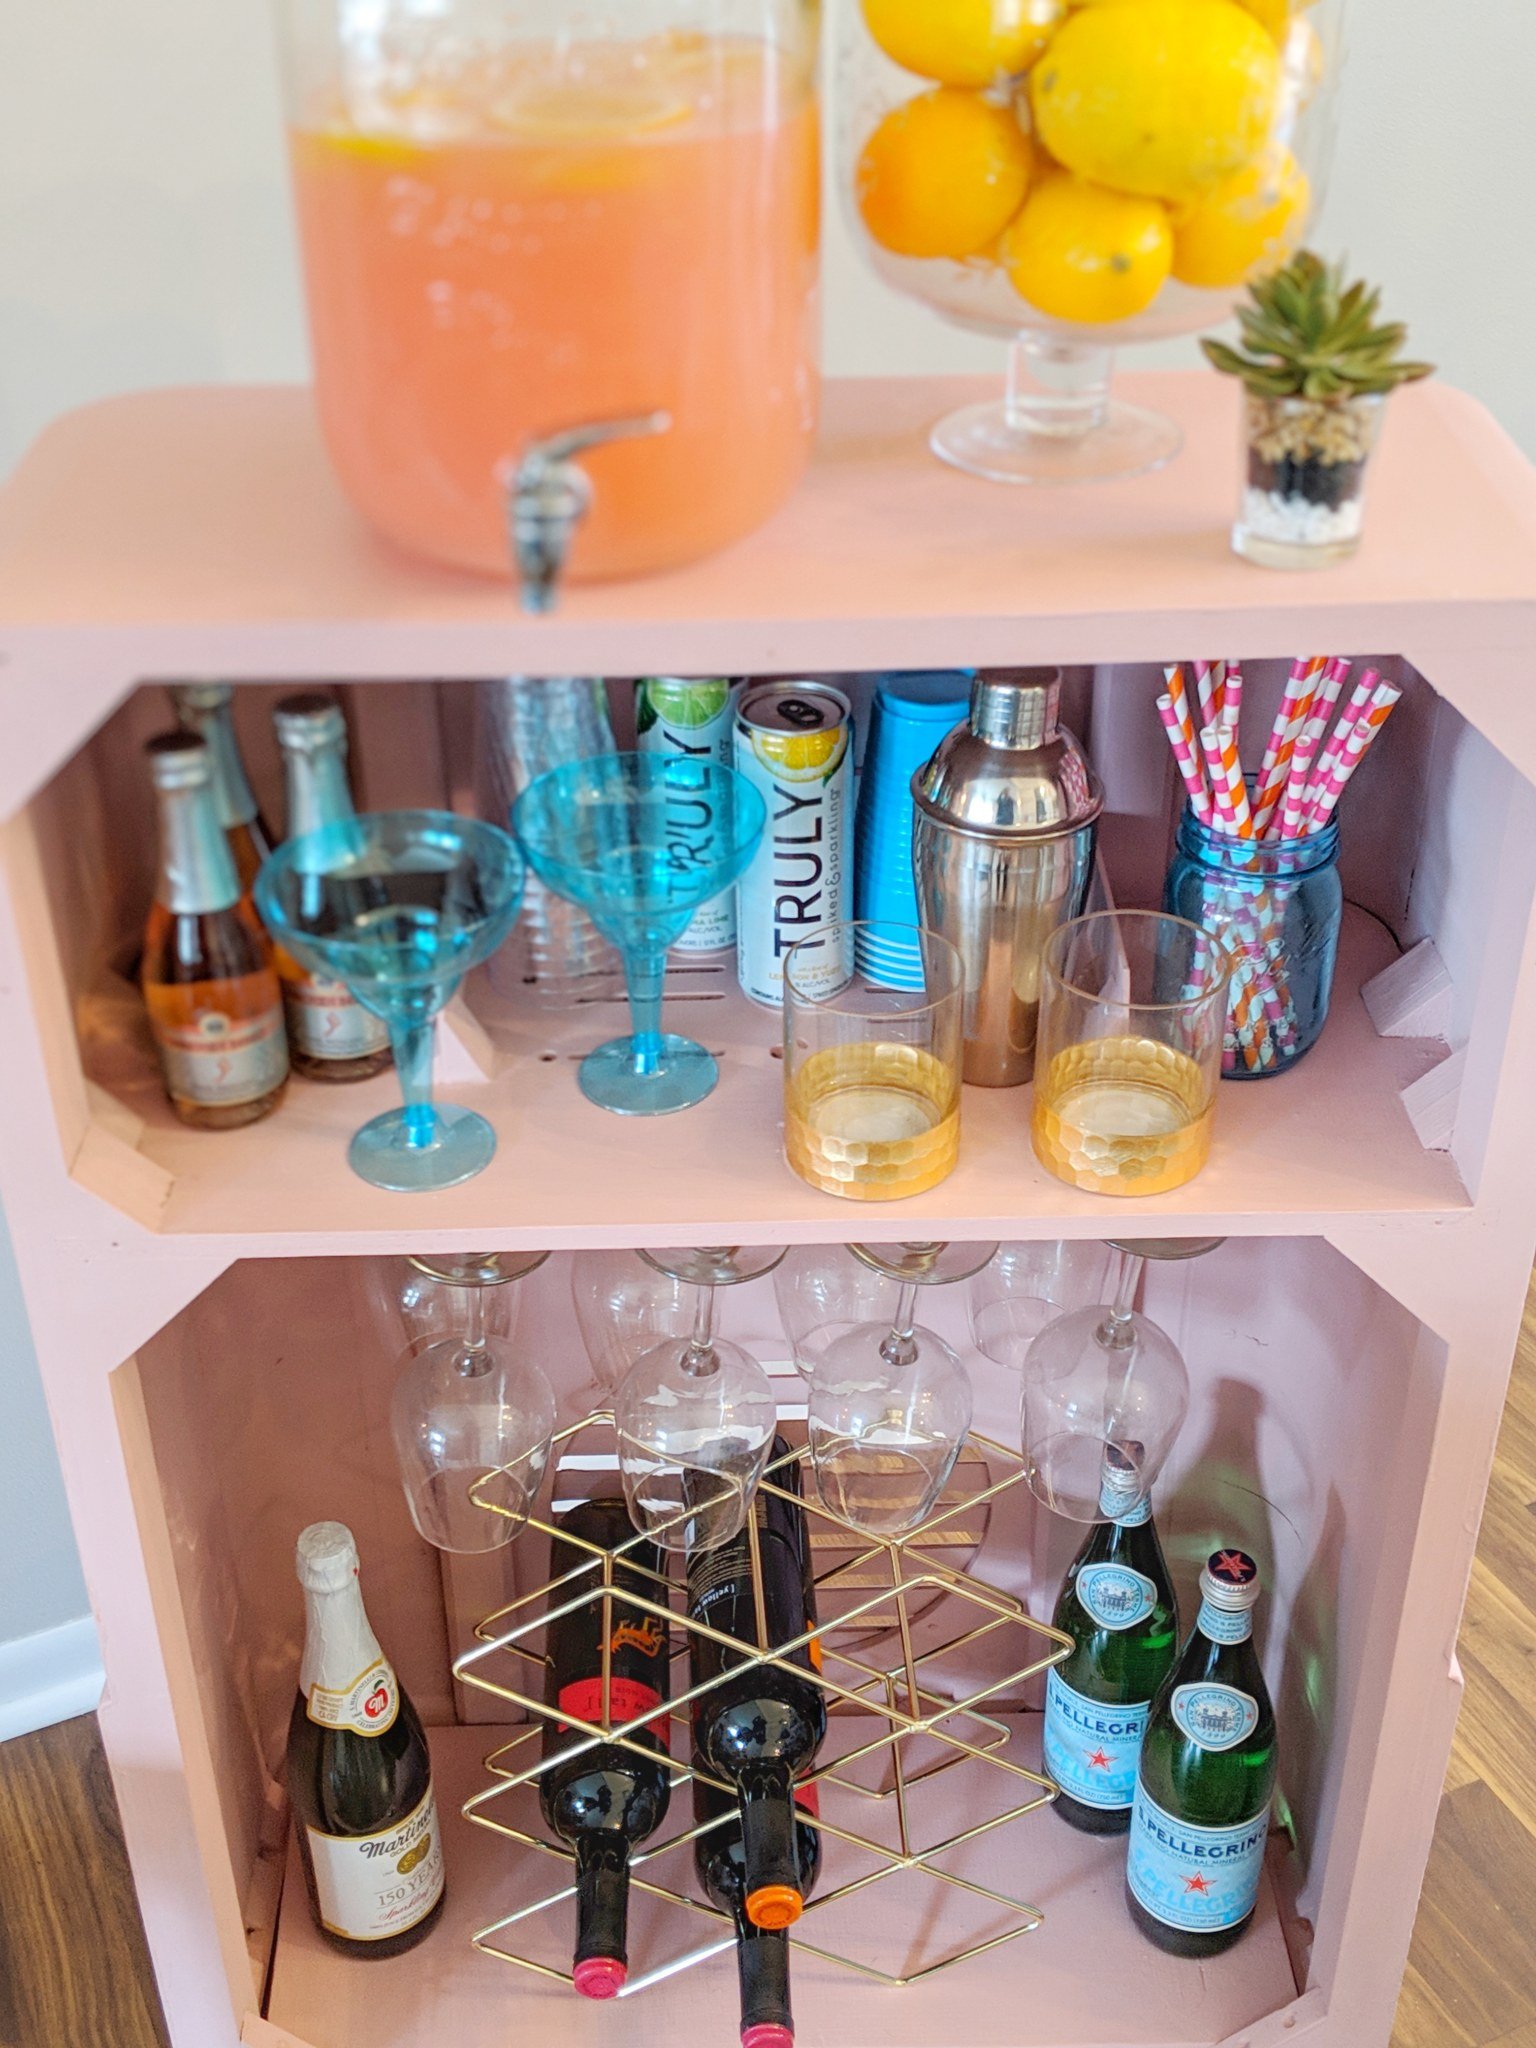
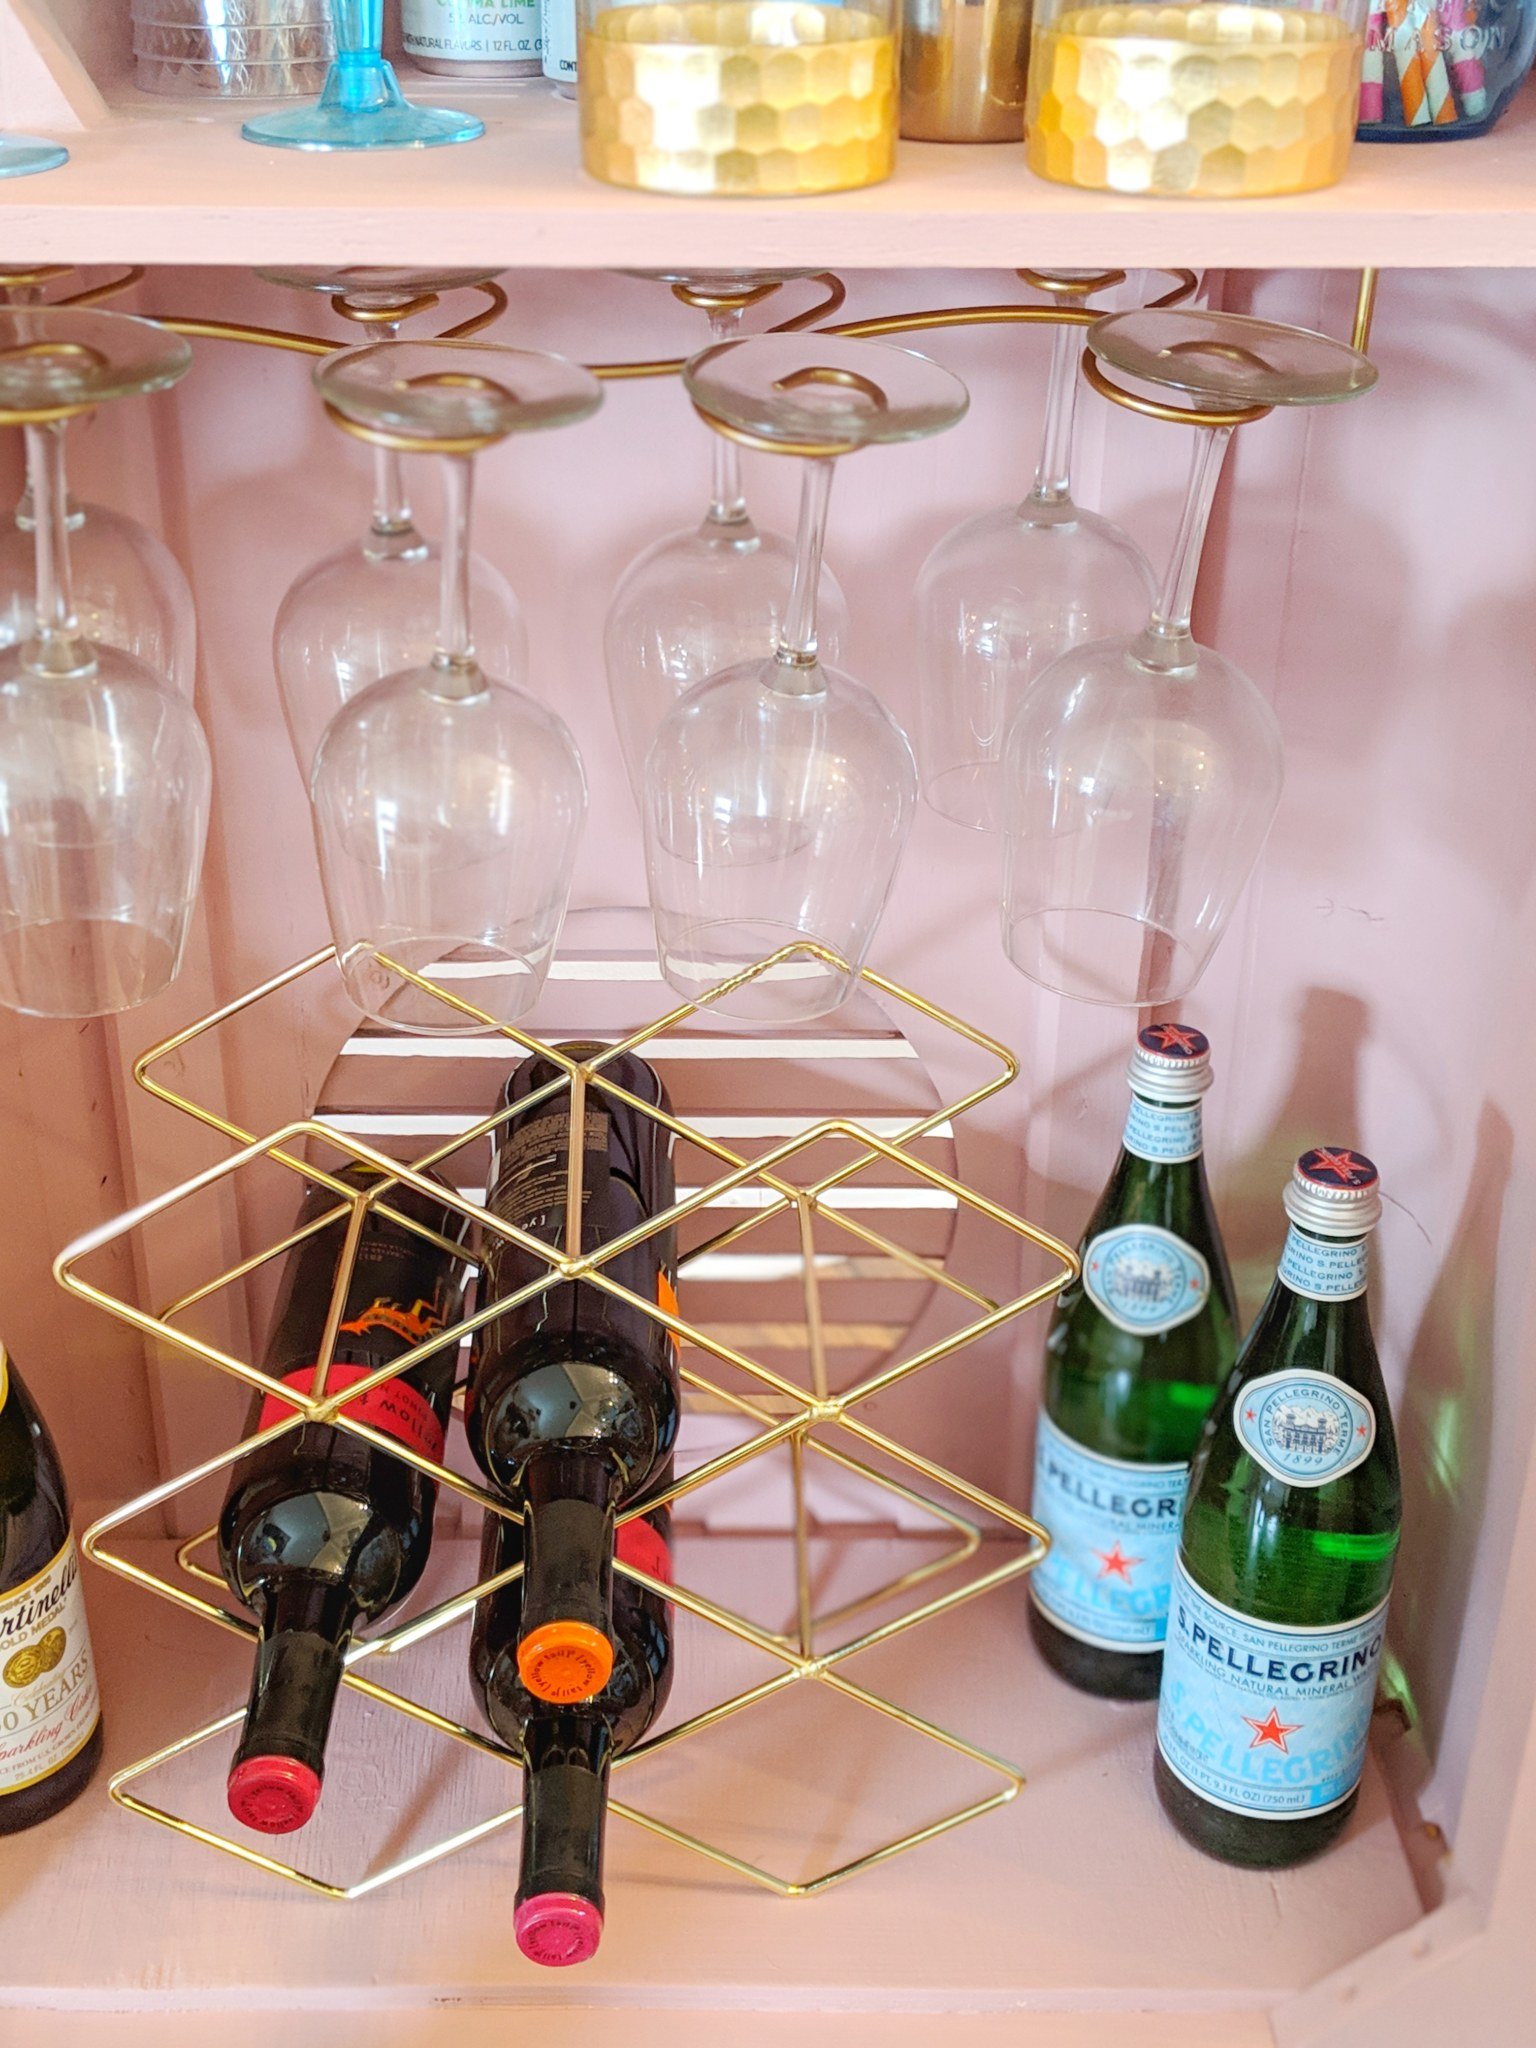
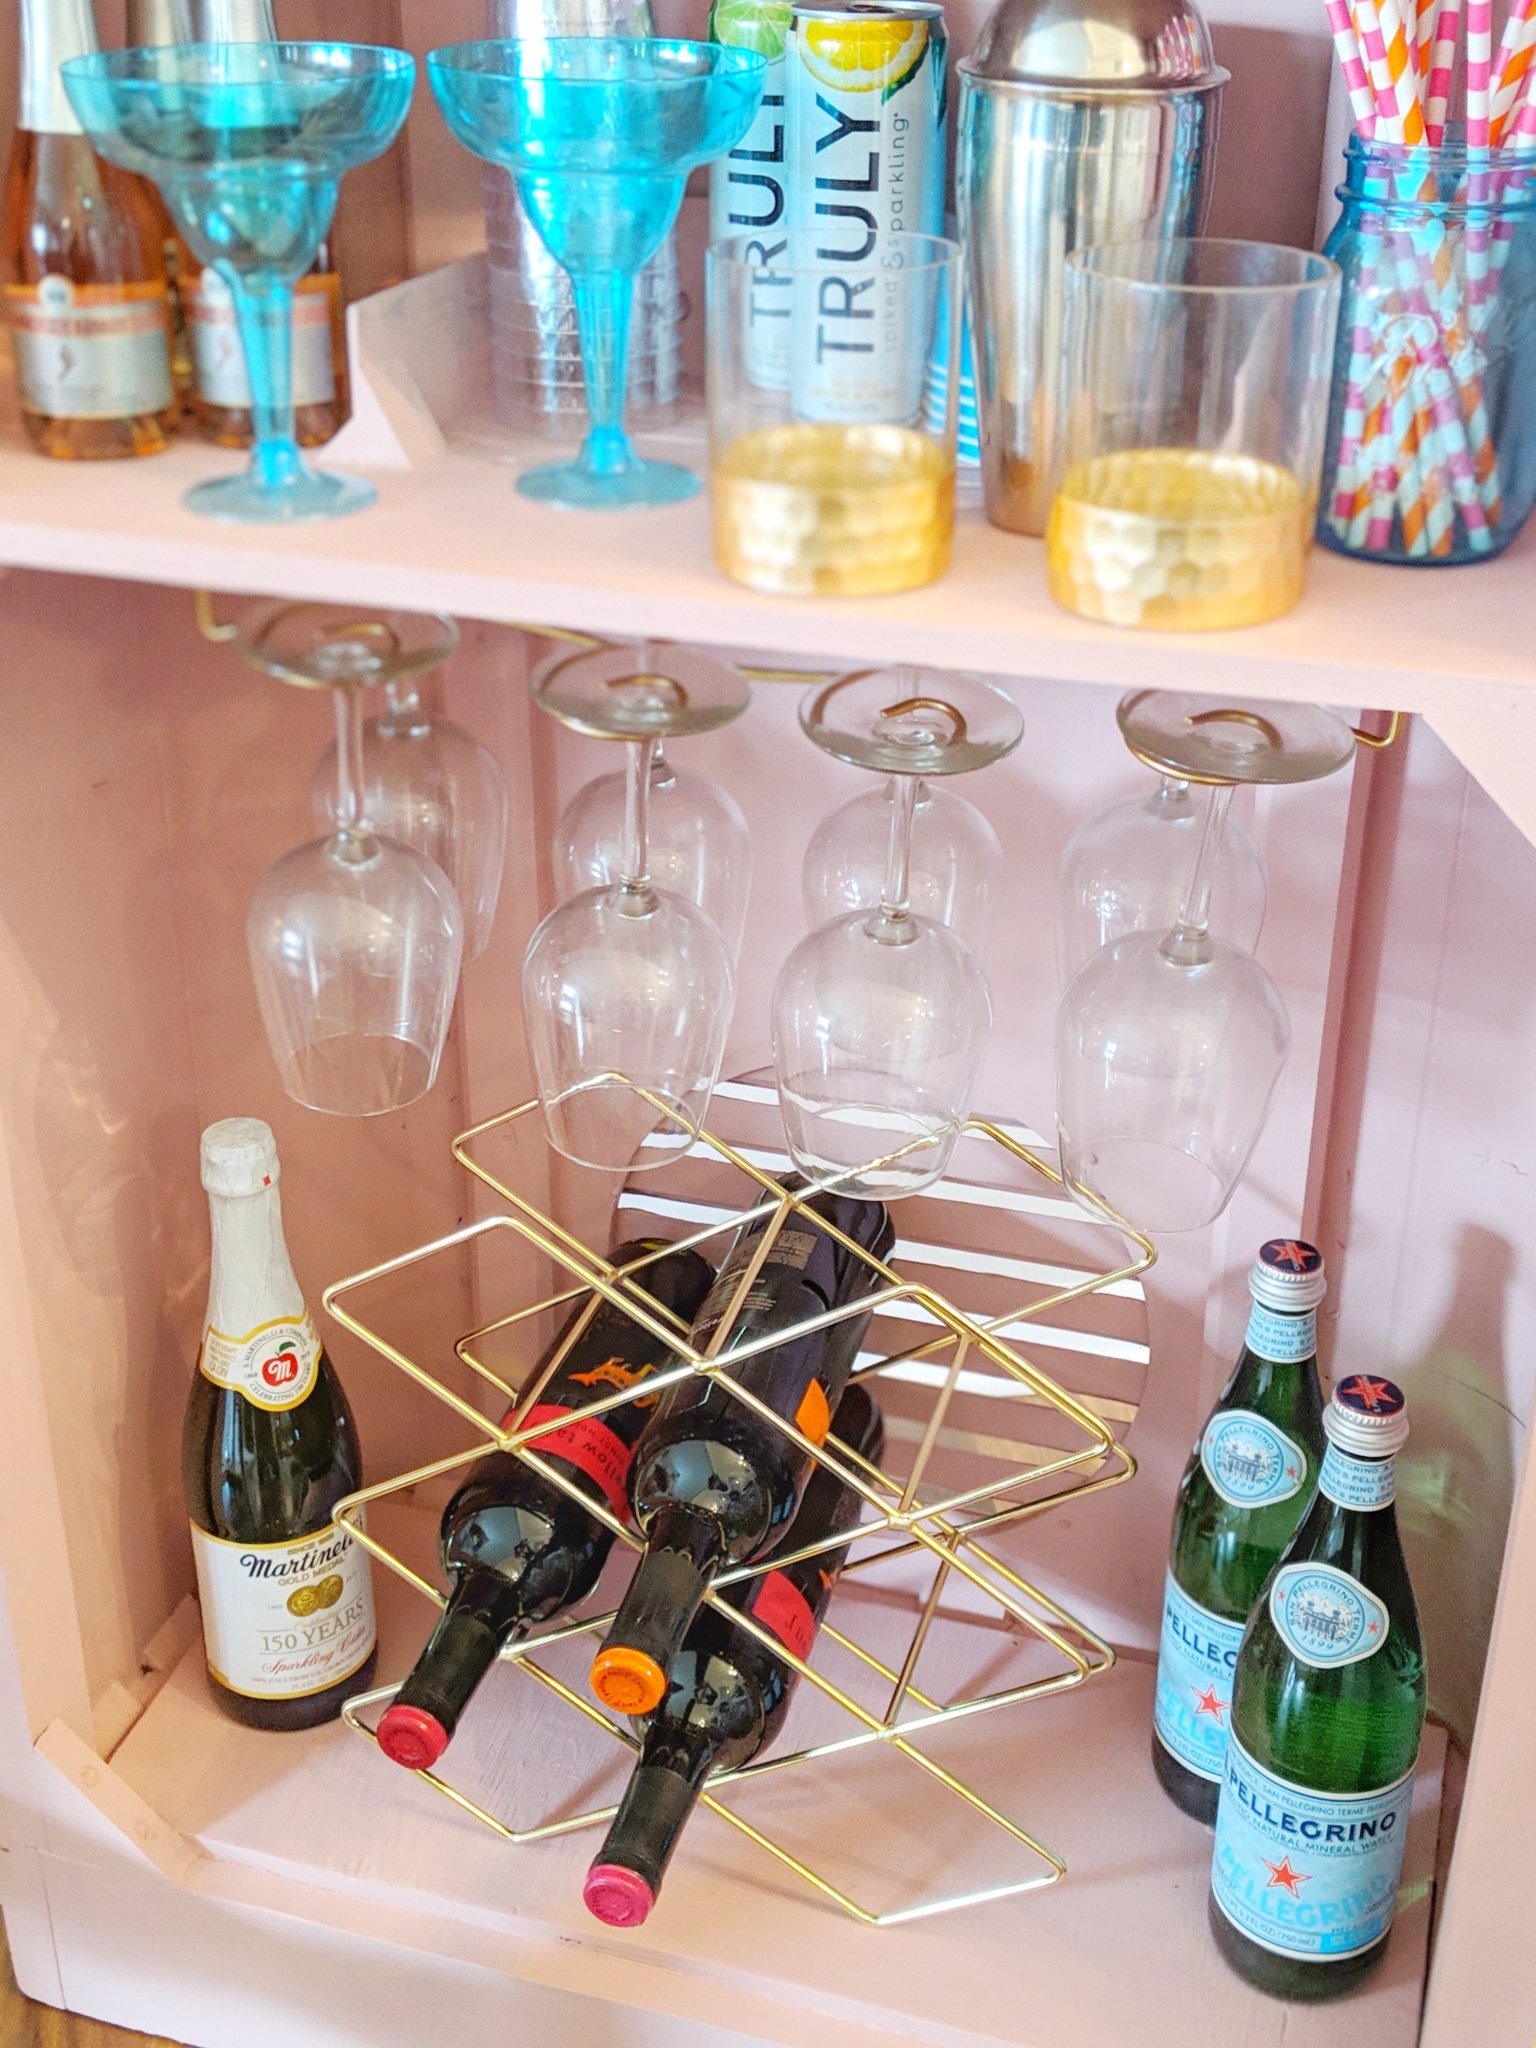
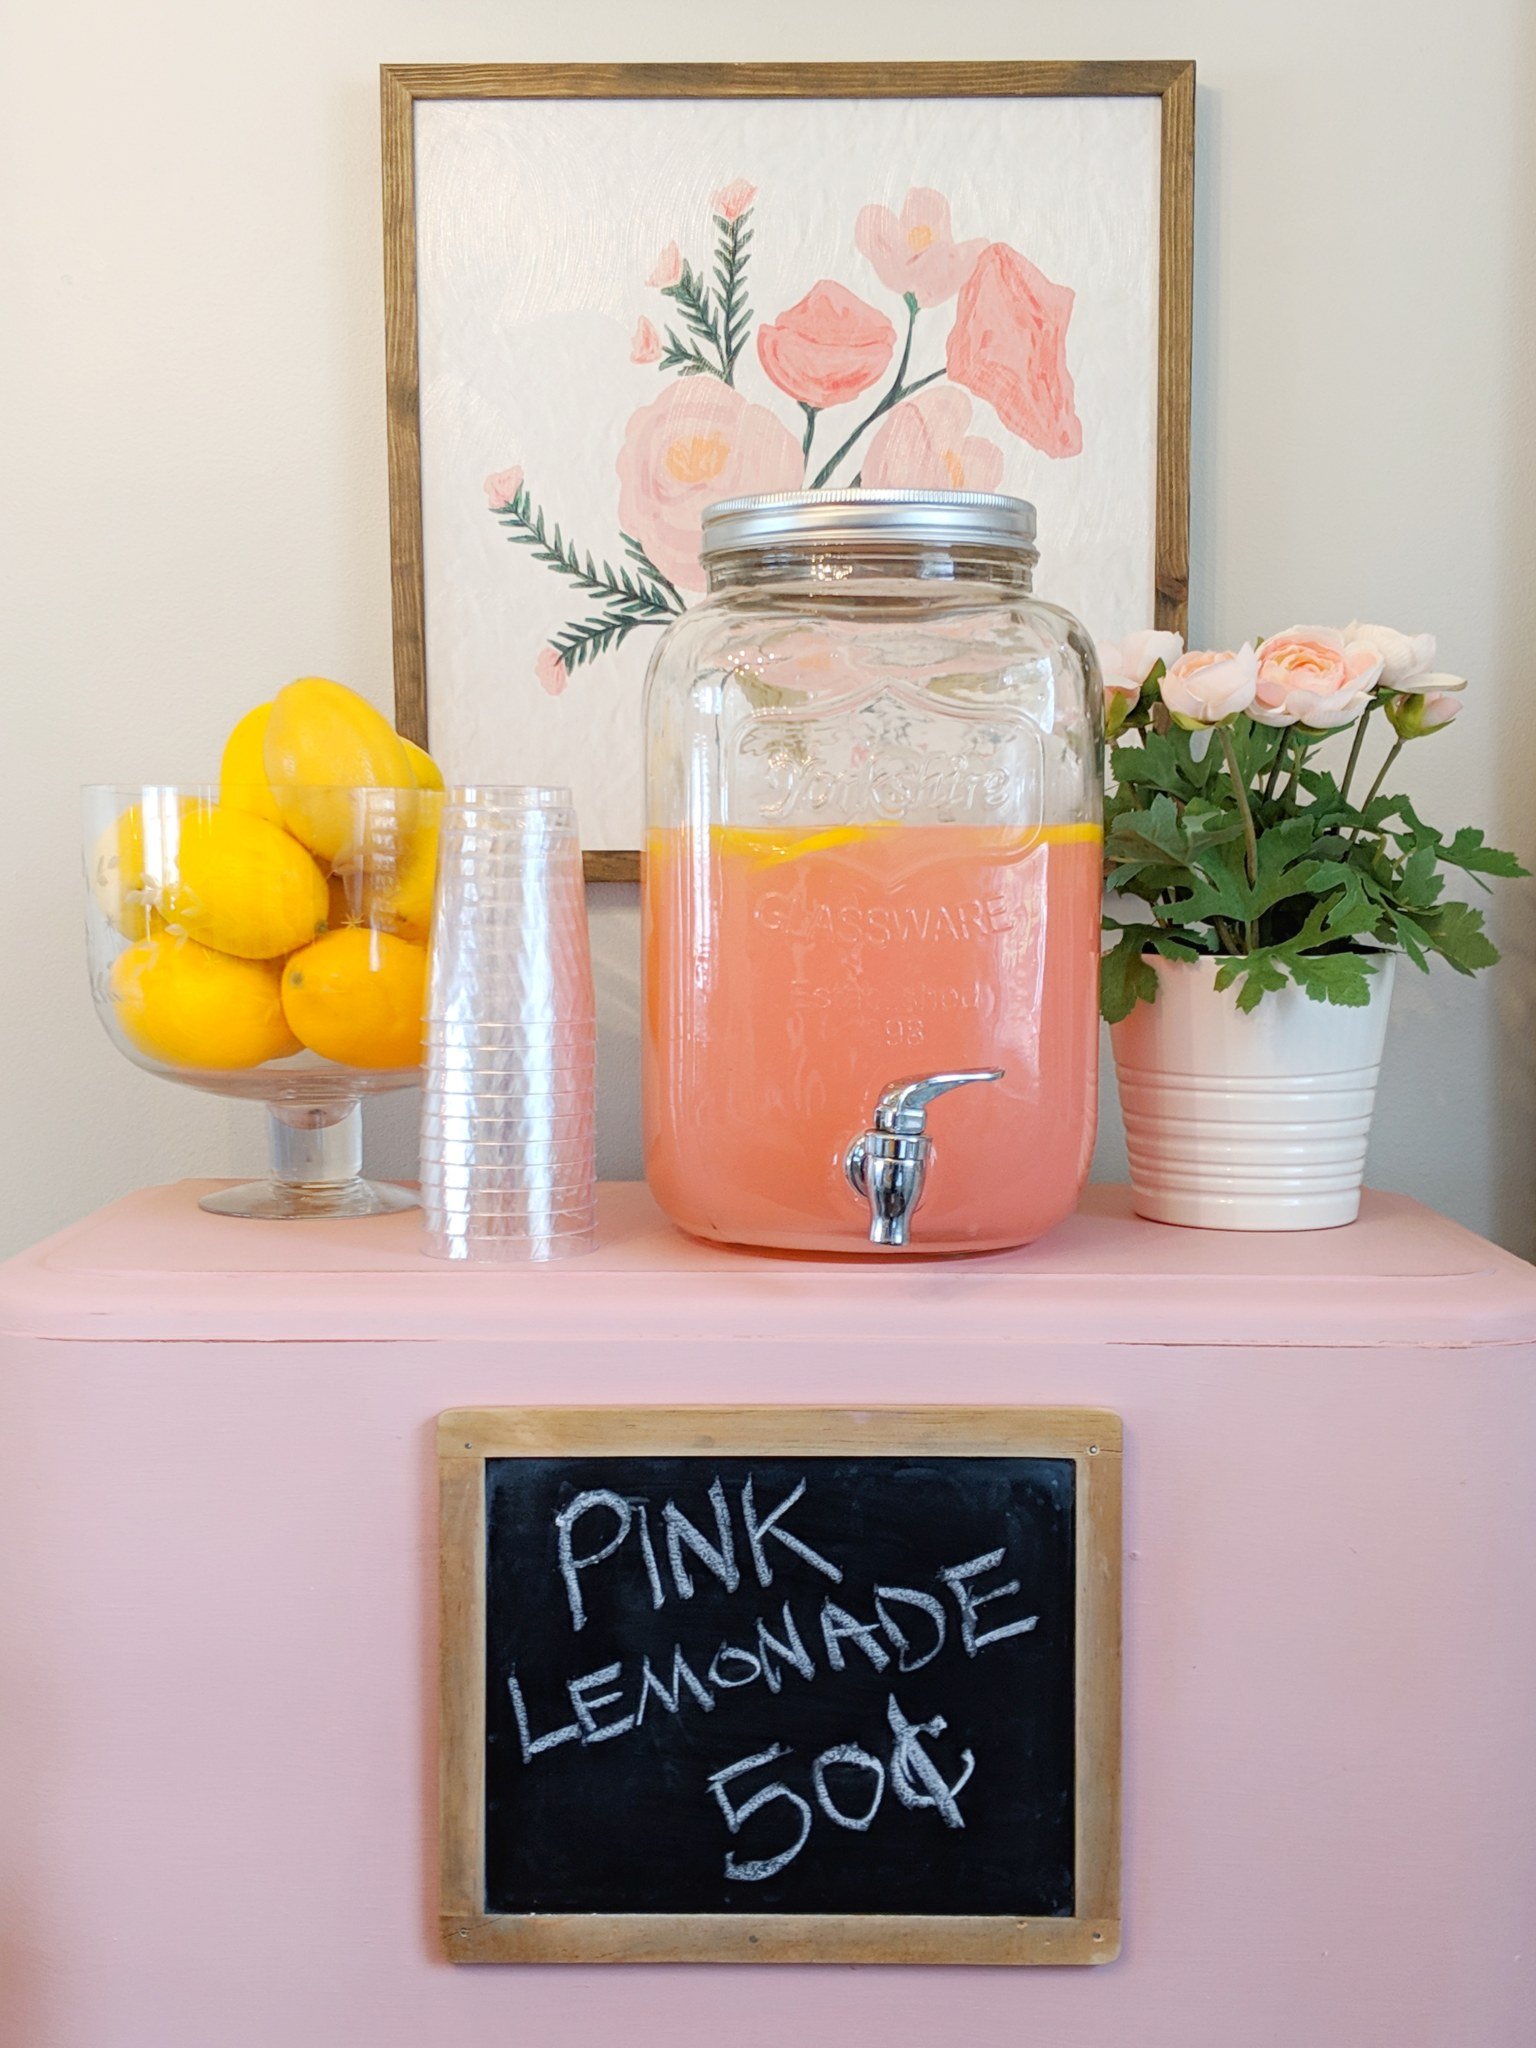
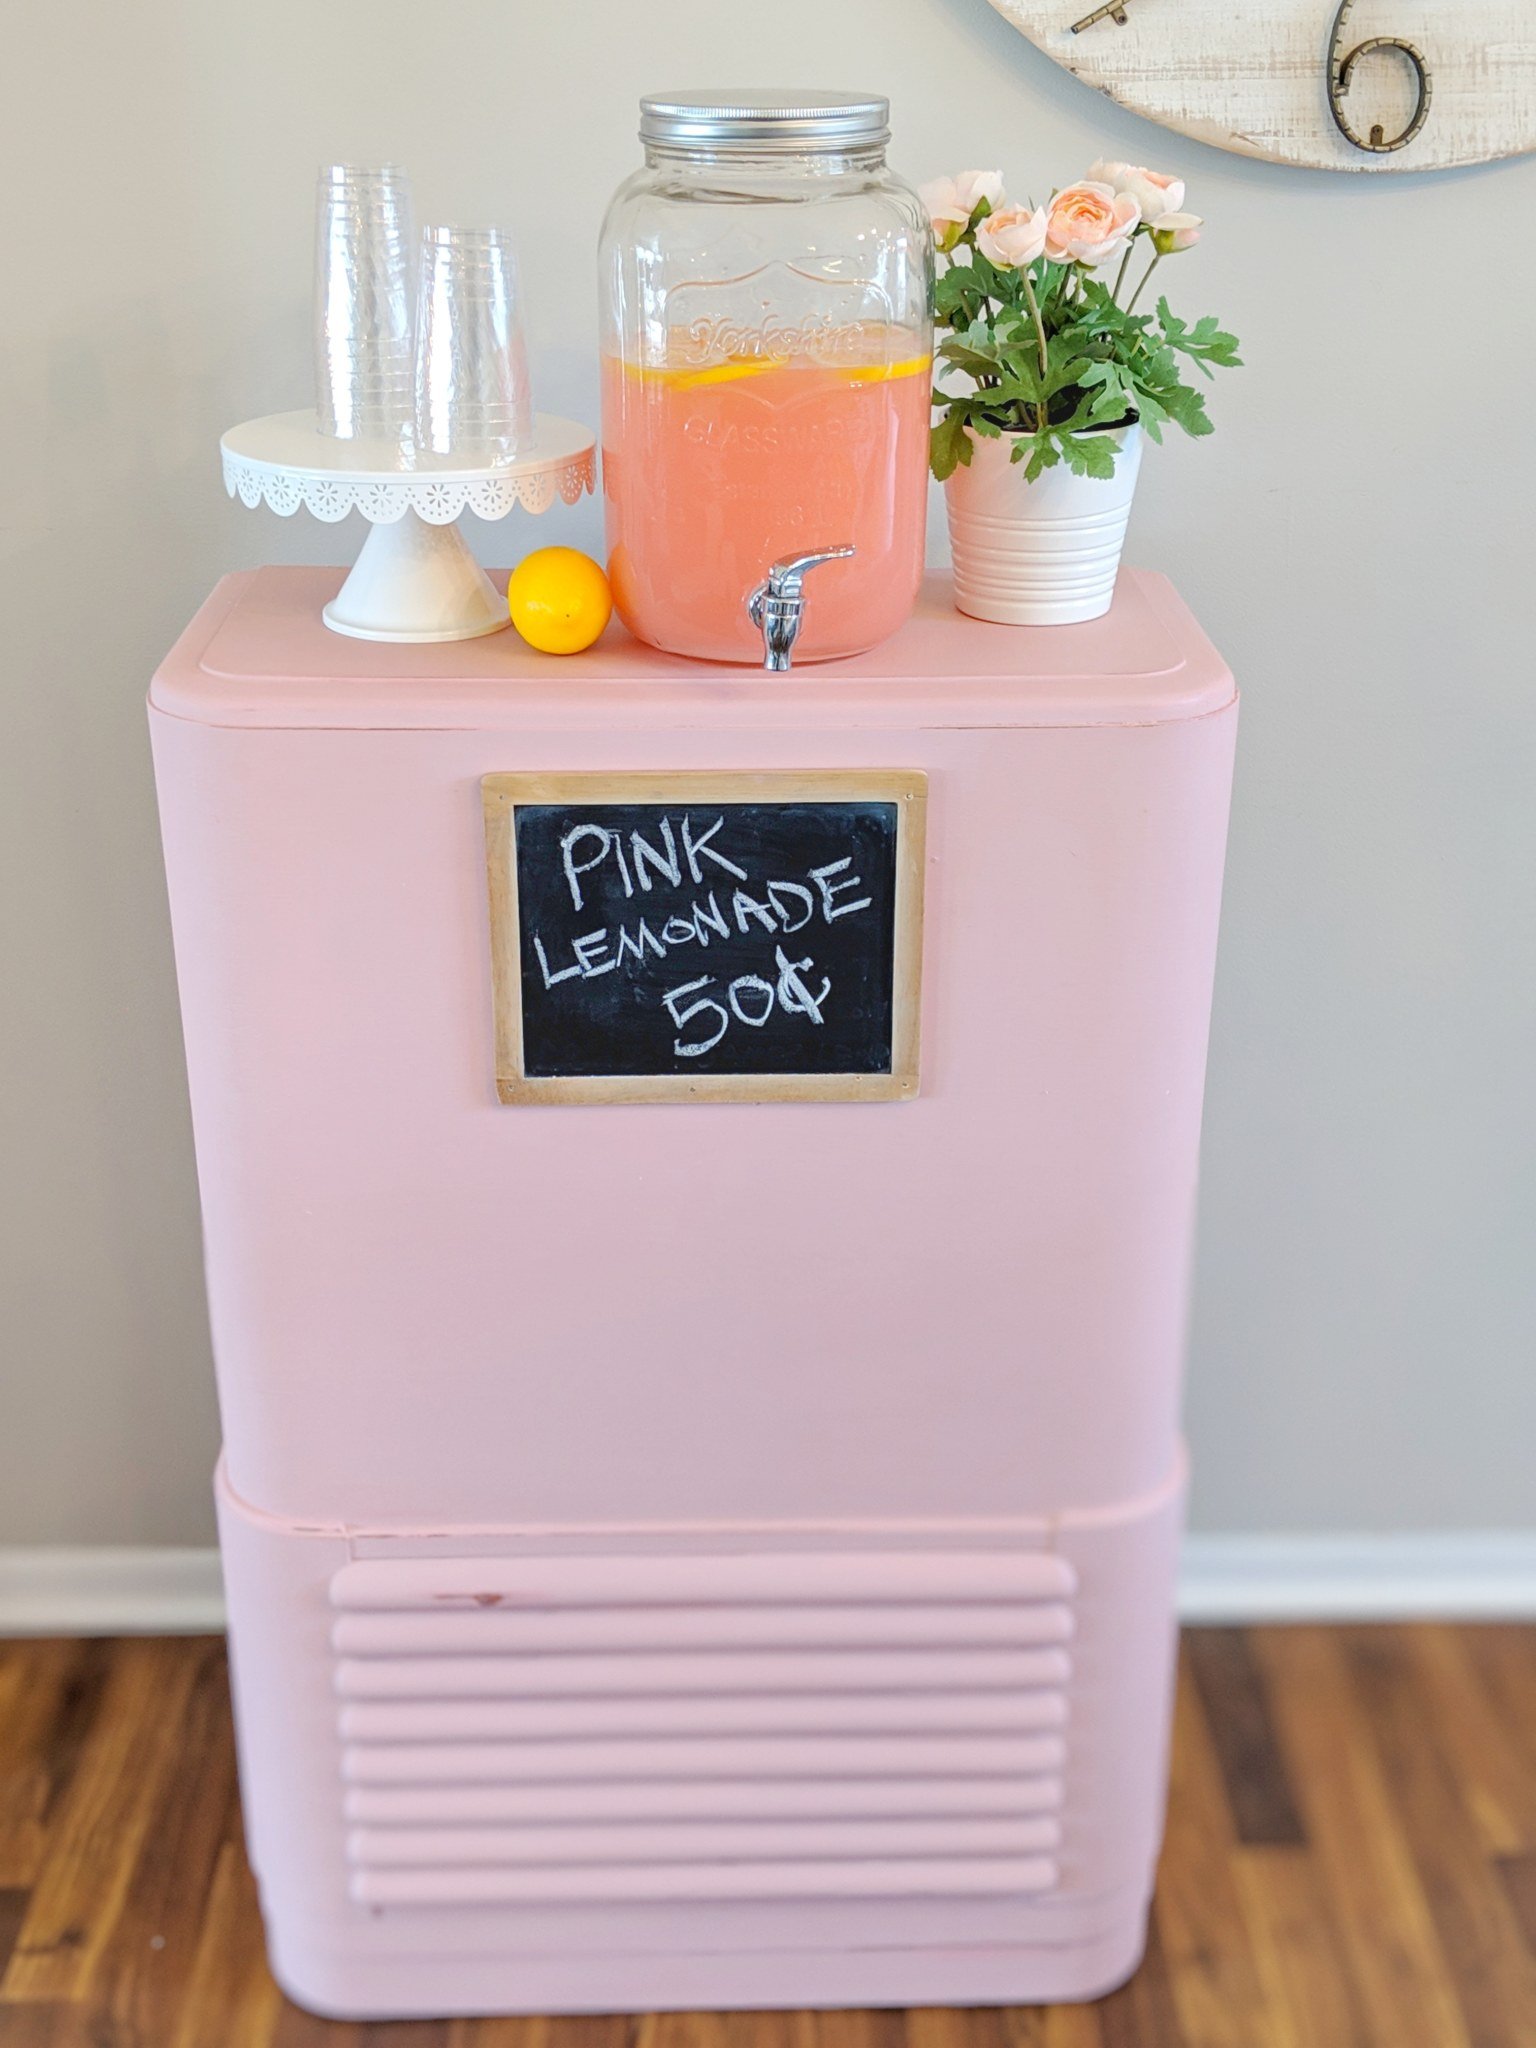
This project is great, because you keep the cool, vintage personality of this piece, but turn it into something much more usable! I love that it can store glasses and fragile items on the inside, which can be pushed up against the wall (out of reach of toddlers!) and pulled out when needed. My kids are excited to use it as a lemonade stand this Summer!
Read more about my camper renovations here!
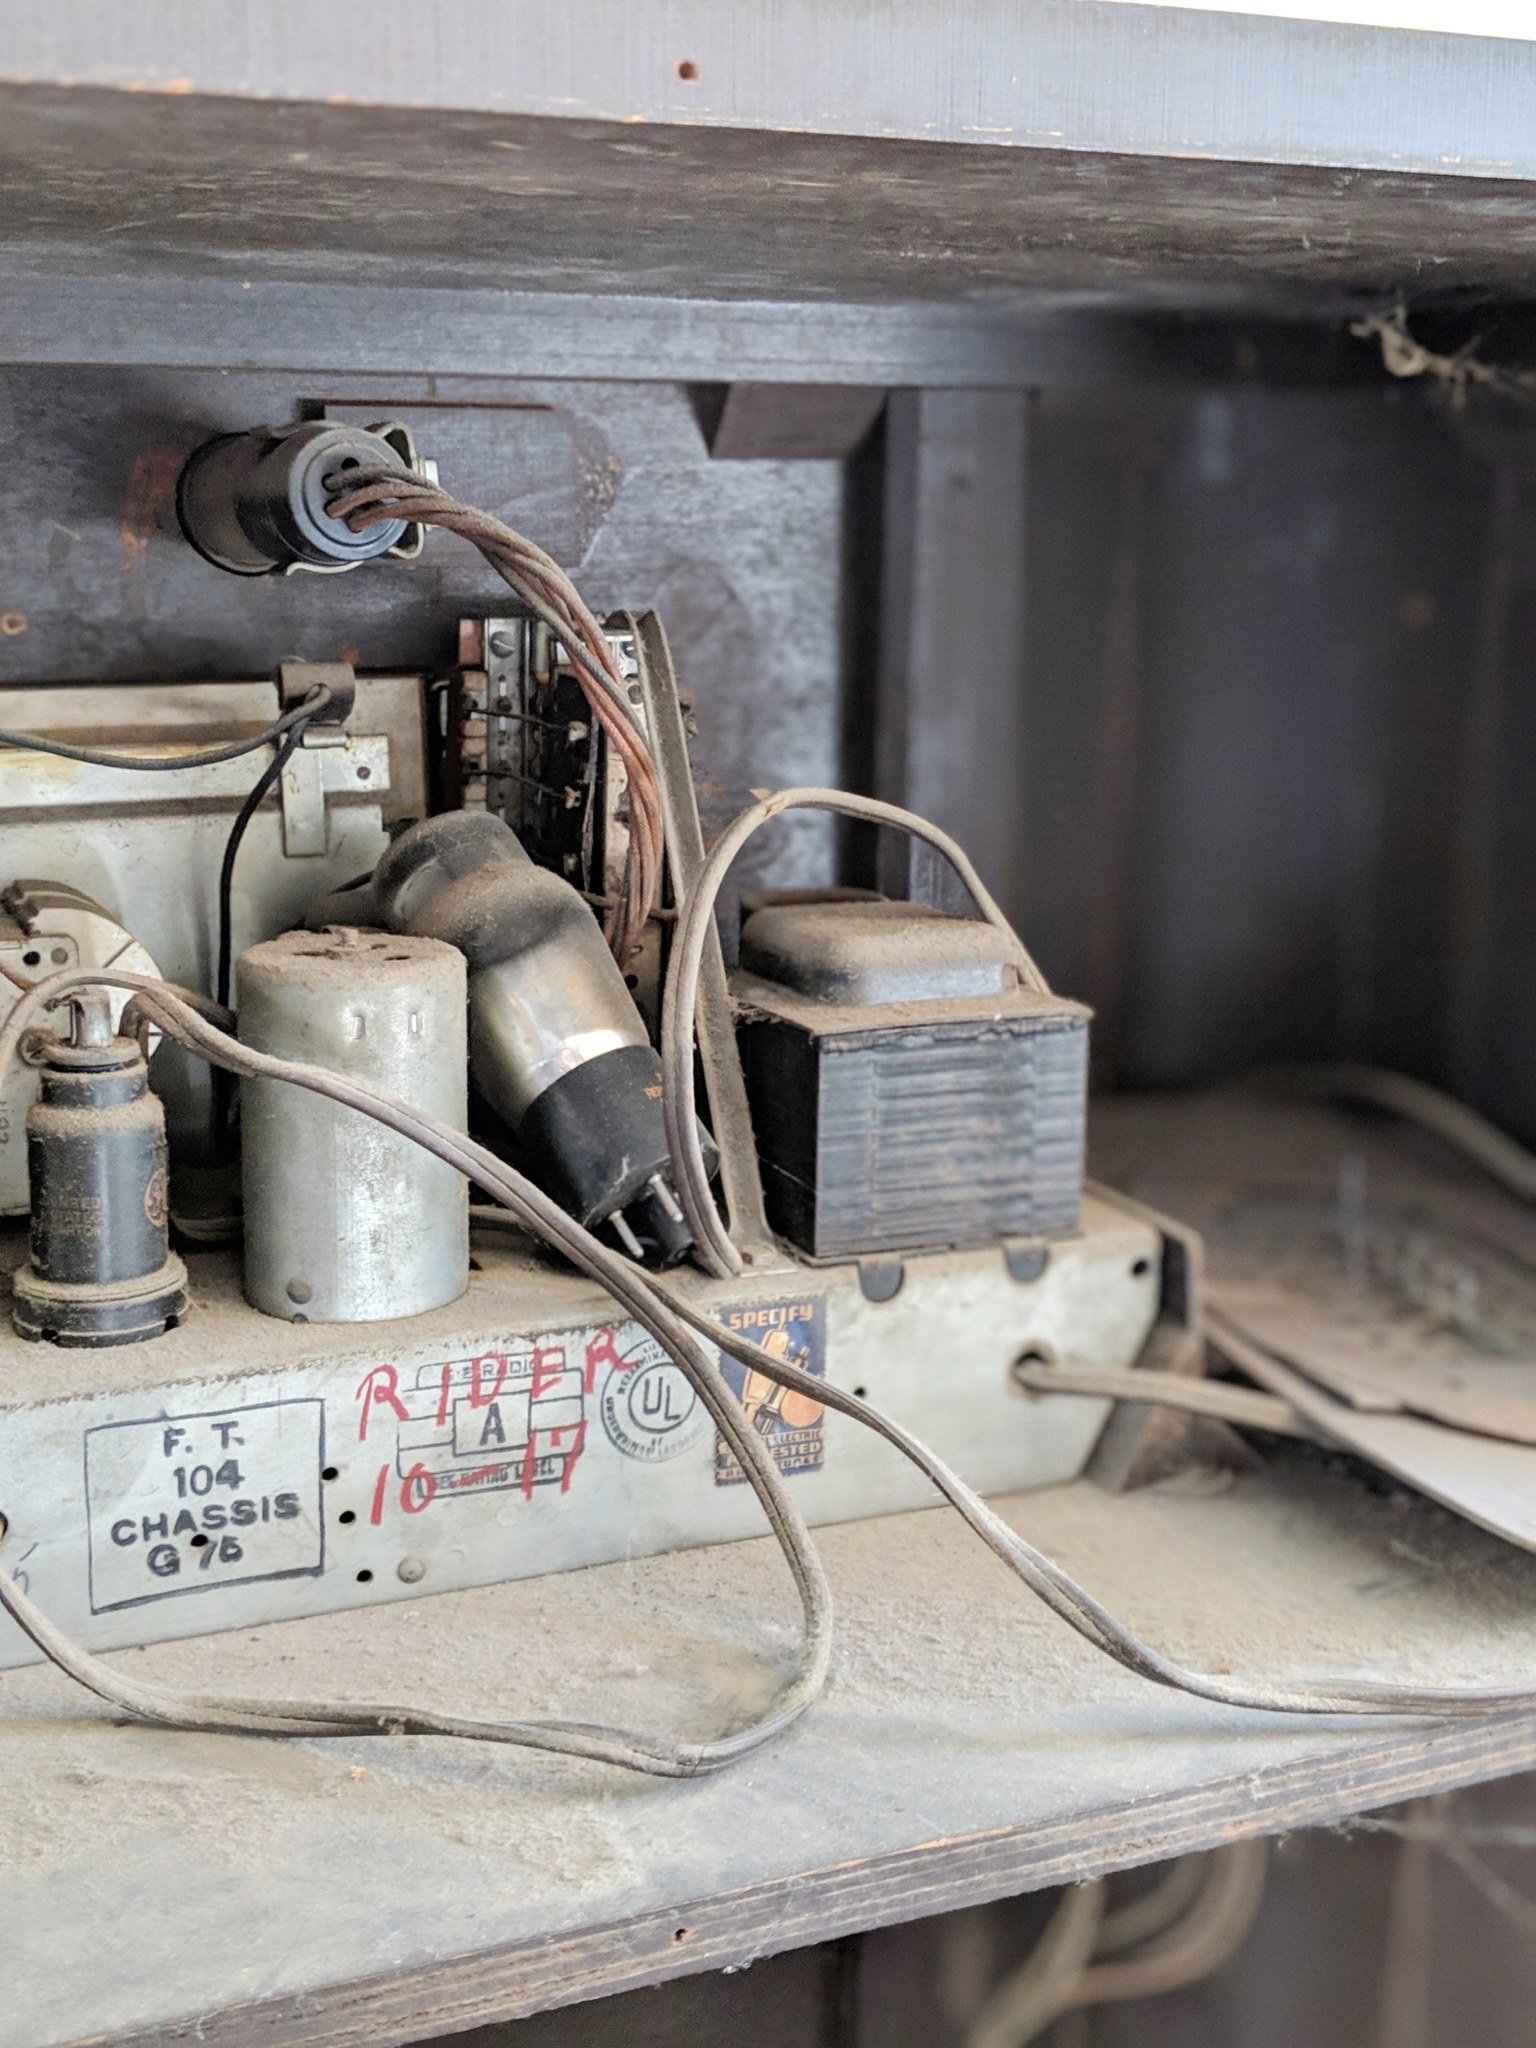
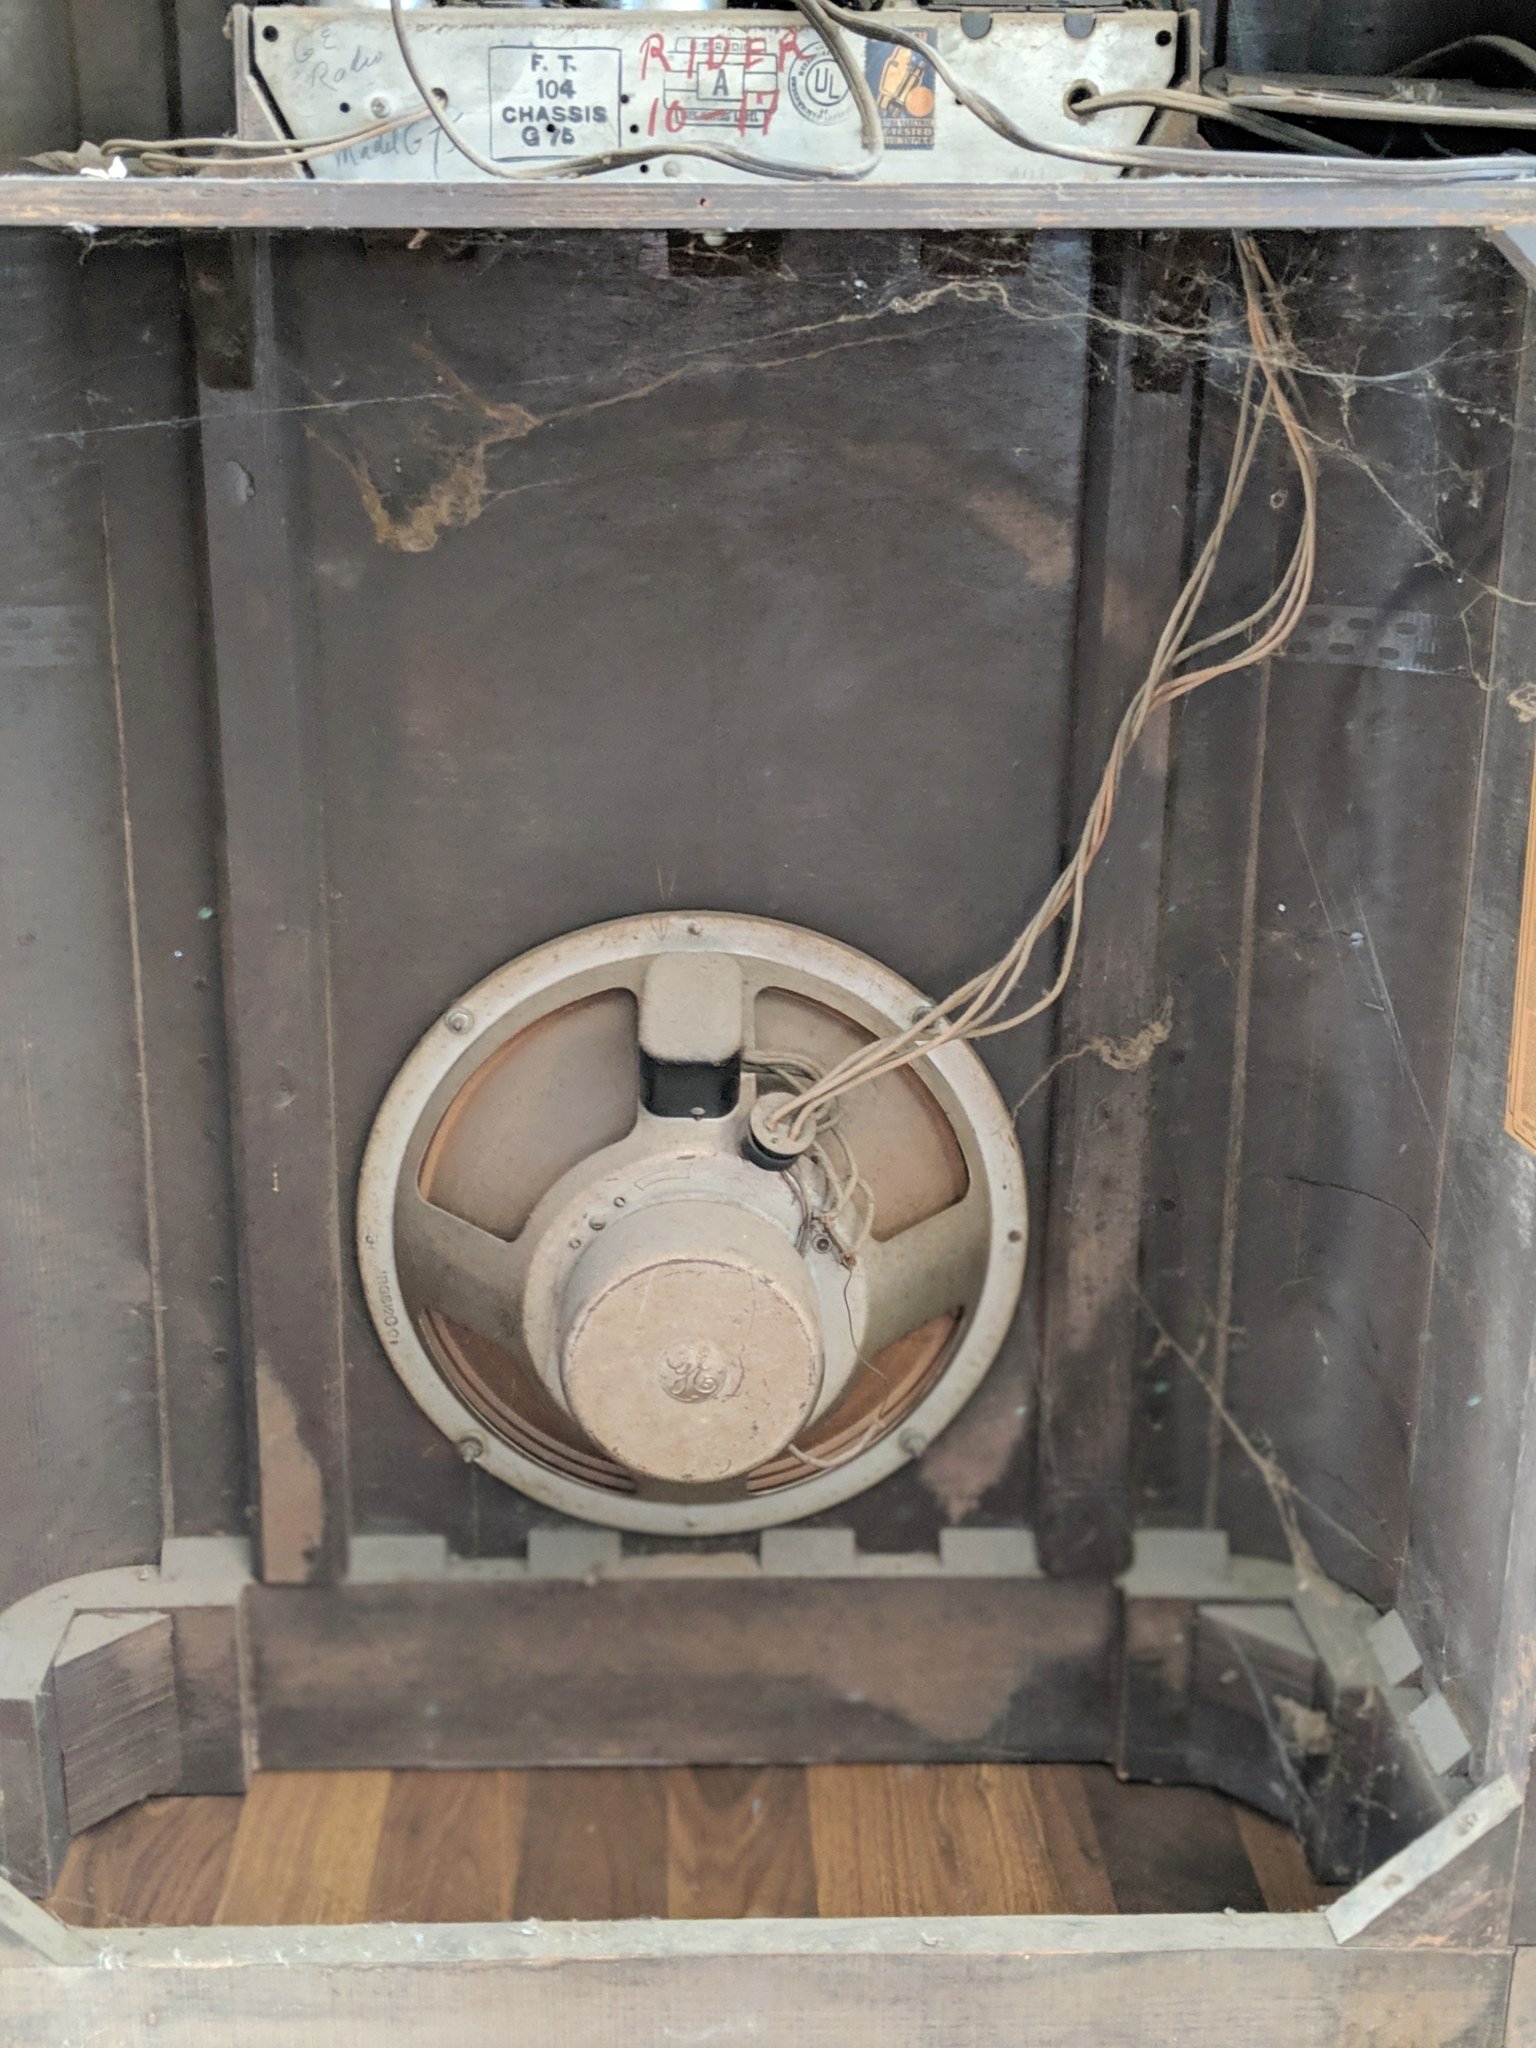
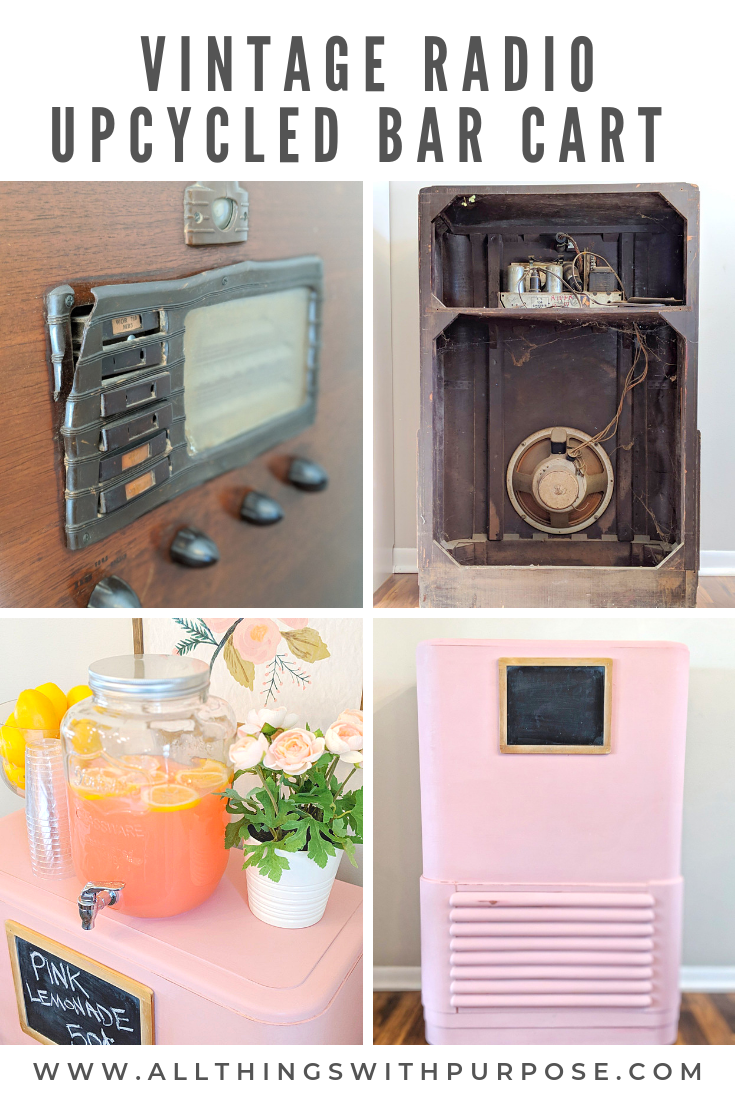
Before and After Comparisons
I’ve shared some of the original pictures of this radio. Before I get into the “how-to’s” I thought I’d share a couple comparison shots! Slide the arrow back and forth between the two pictures.
[twenty20 img1=”49199″ img2=”49202″ offset=”0.5″]
[twenty20 img1=”49201″ img2=”49221″ offset=”0.5″]
What to Do
Here is the process that I used to convert this broken radio into a usable, adorable piece of furniture!
- Vacuum thoroughly all the cobwebs and dust
- Wipe down all surfaces and inside with a damp cloth
- Remove radio parts and wires
- Cut wood to fit inside bottom (if yours doesn’t have a bottom shelf like mine)
- Wipe down all surfaces with a deglossing liquid sander (I like this one)
- Lightly sand all surfaces
- Wipe down with a damp cloth and allow to dry
- Paint using 1 to 2 coats of chalk paint
- Sand edges to lightly distress
- Seal using a soft wax (I like this one)
- Add casters to the bottom to easily move
- Add bar accessories to inside
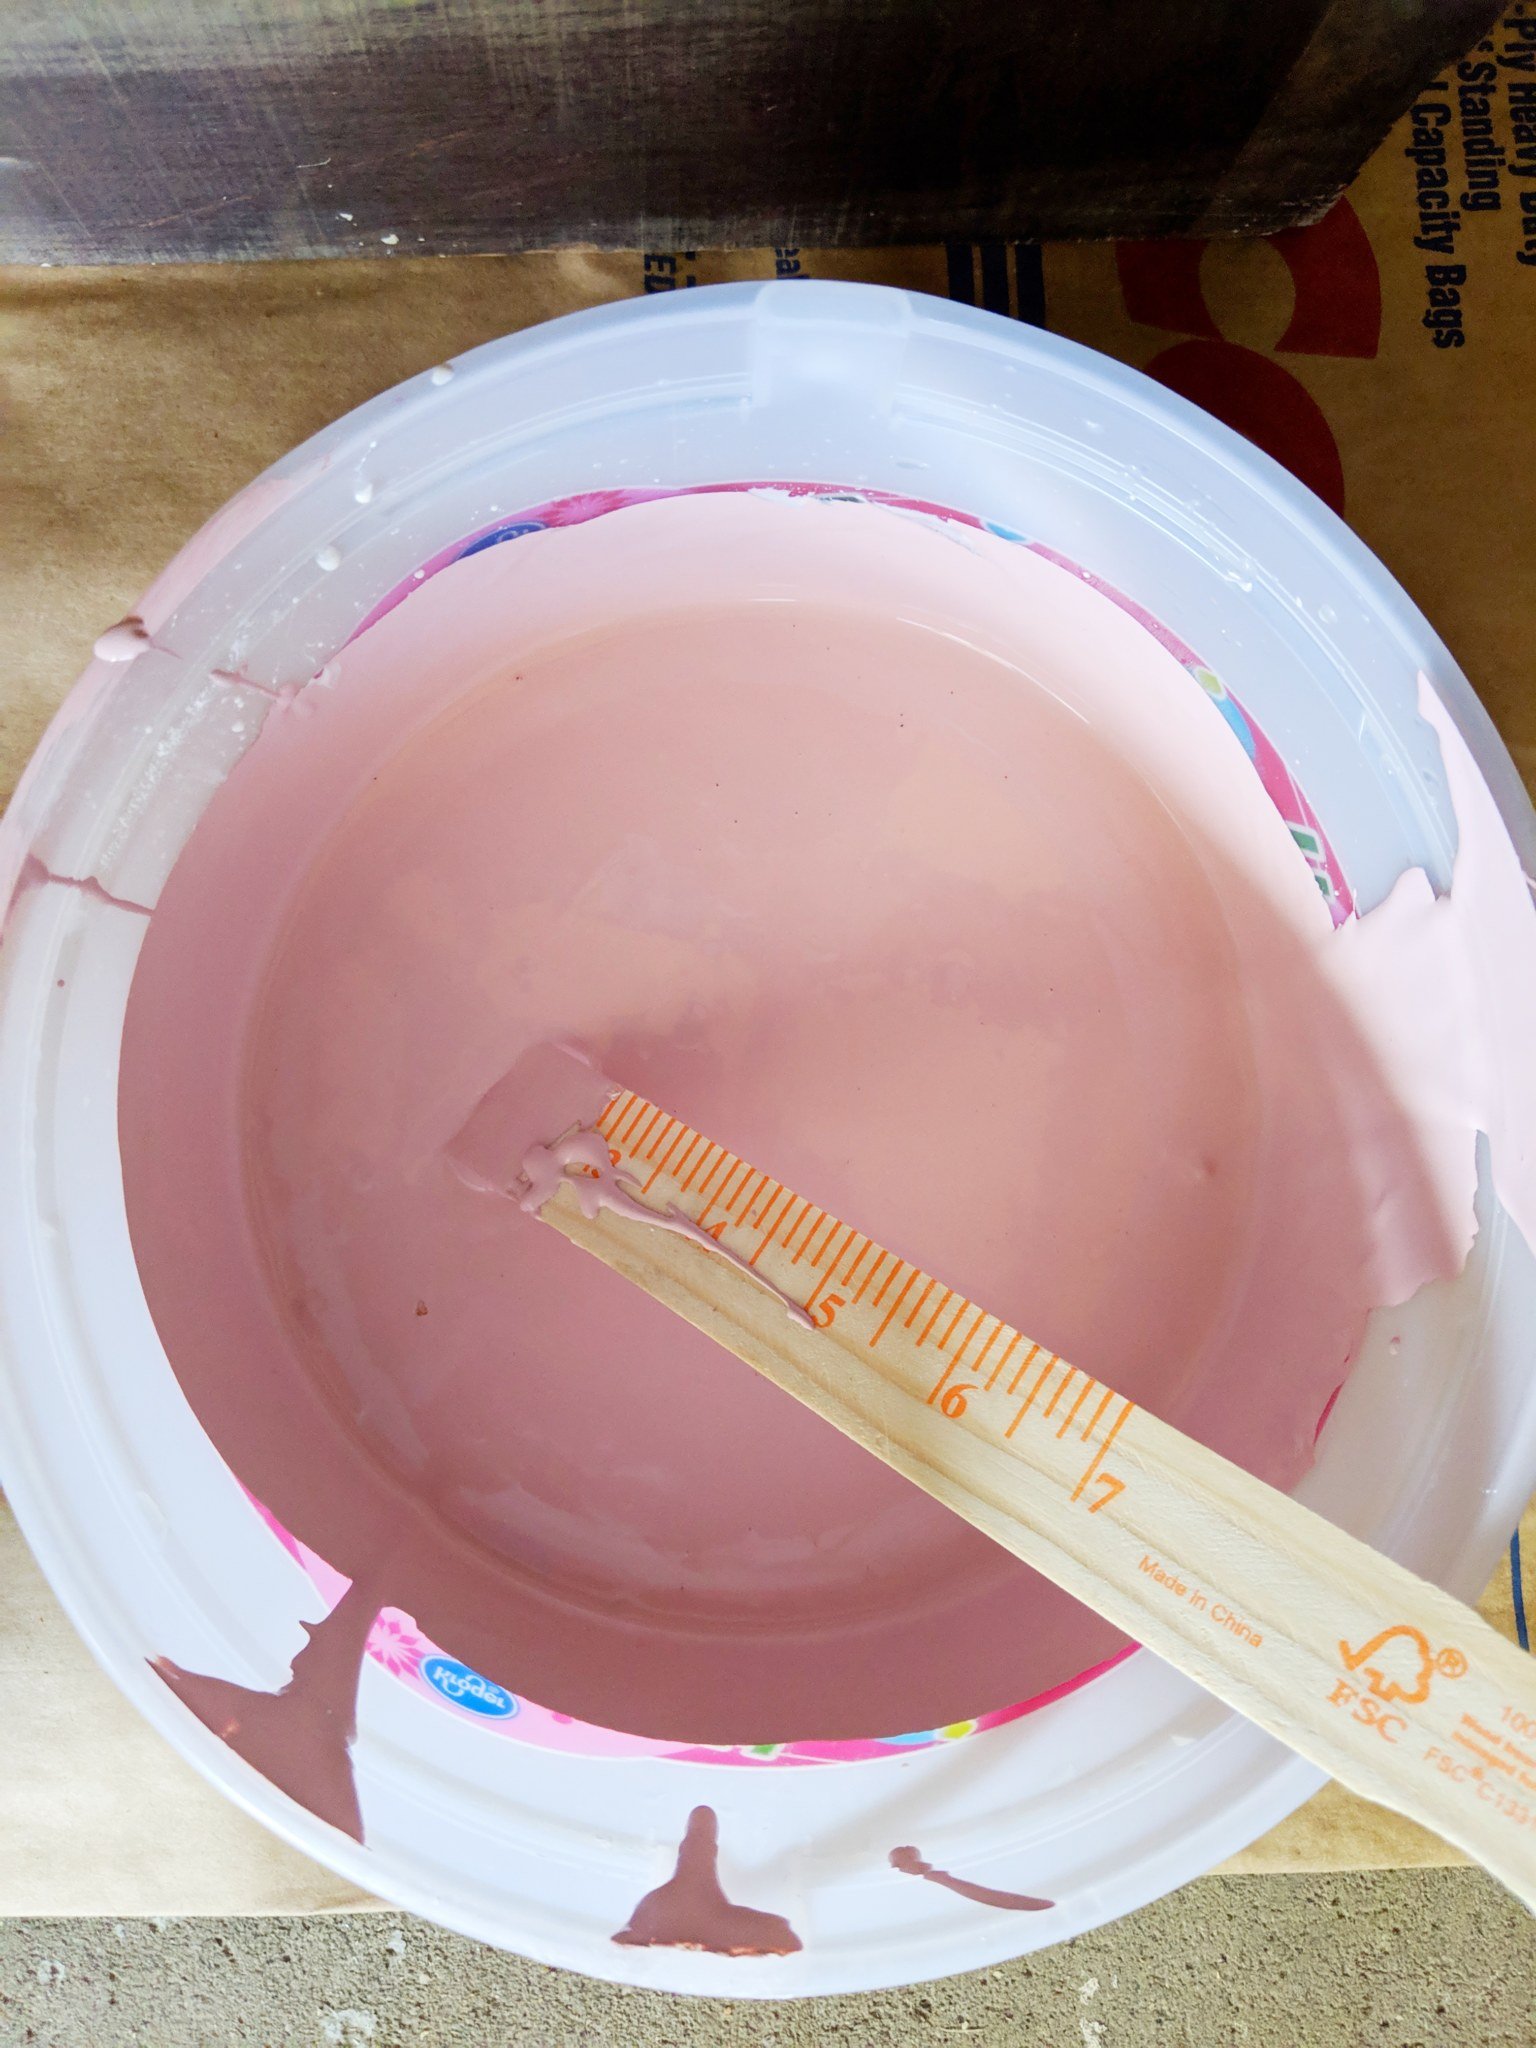
Find my recipe for DIY chalk paint here:
Chalk Paint Recipe
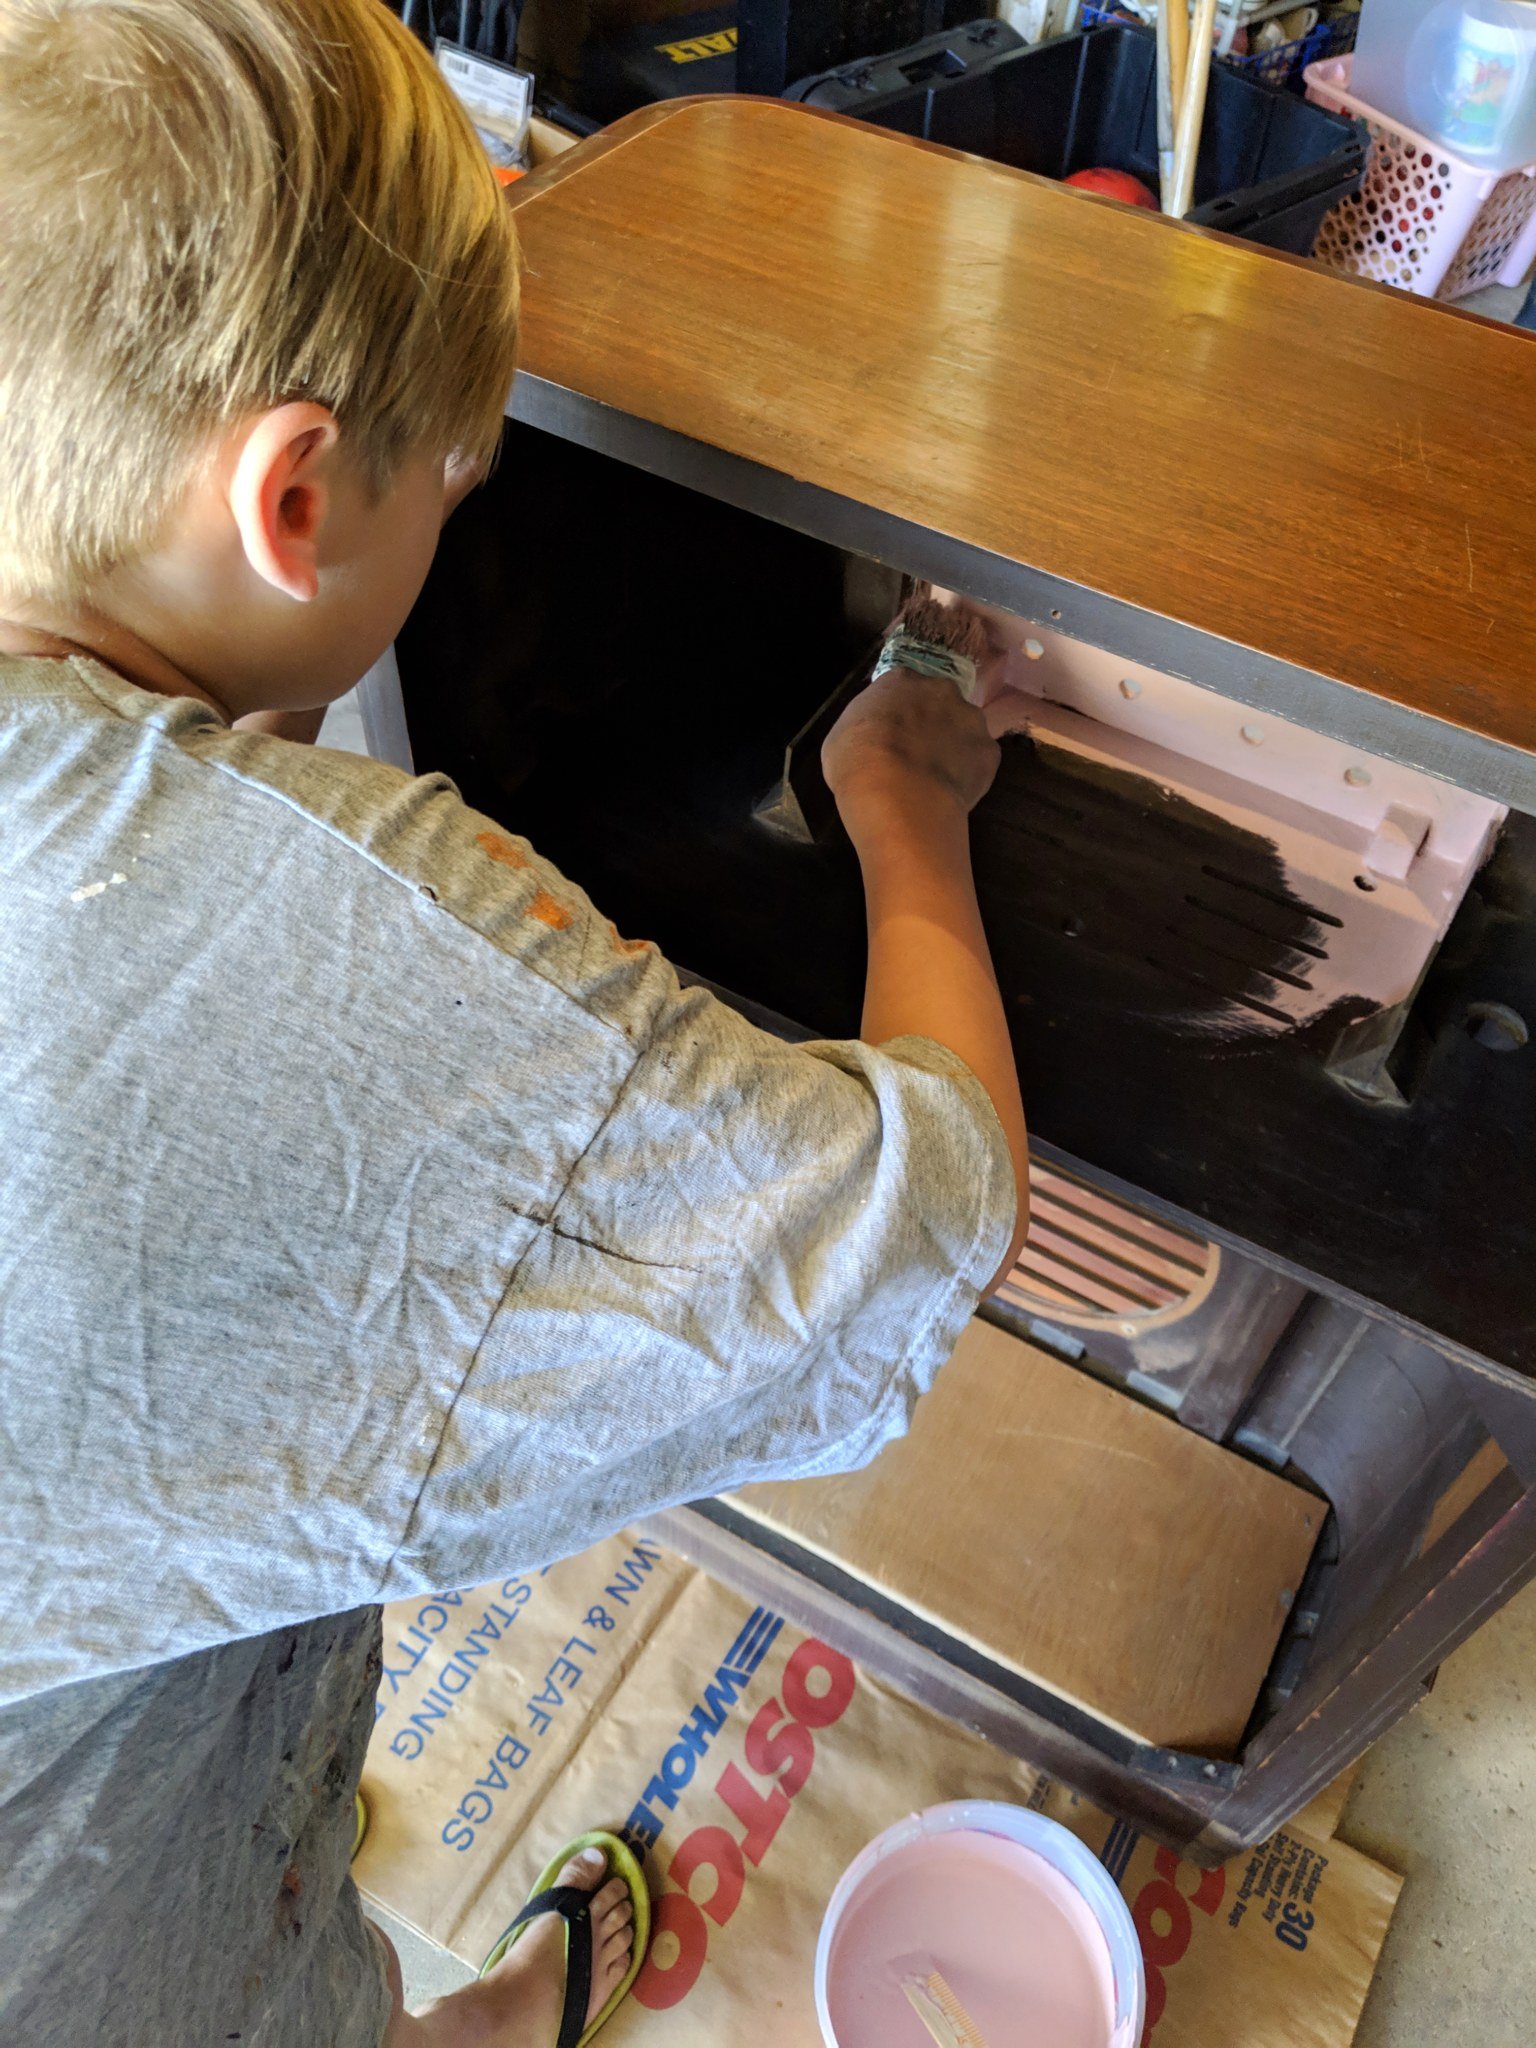
My helper for the day!
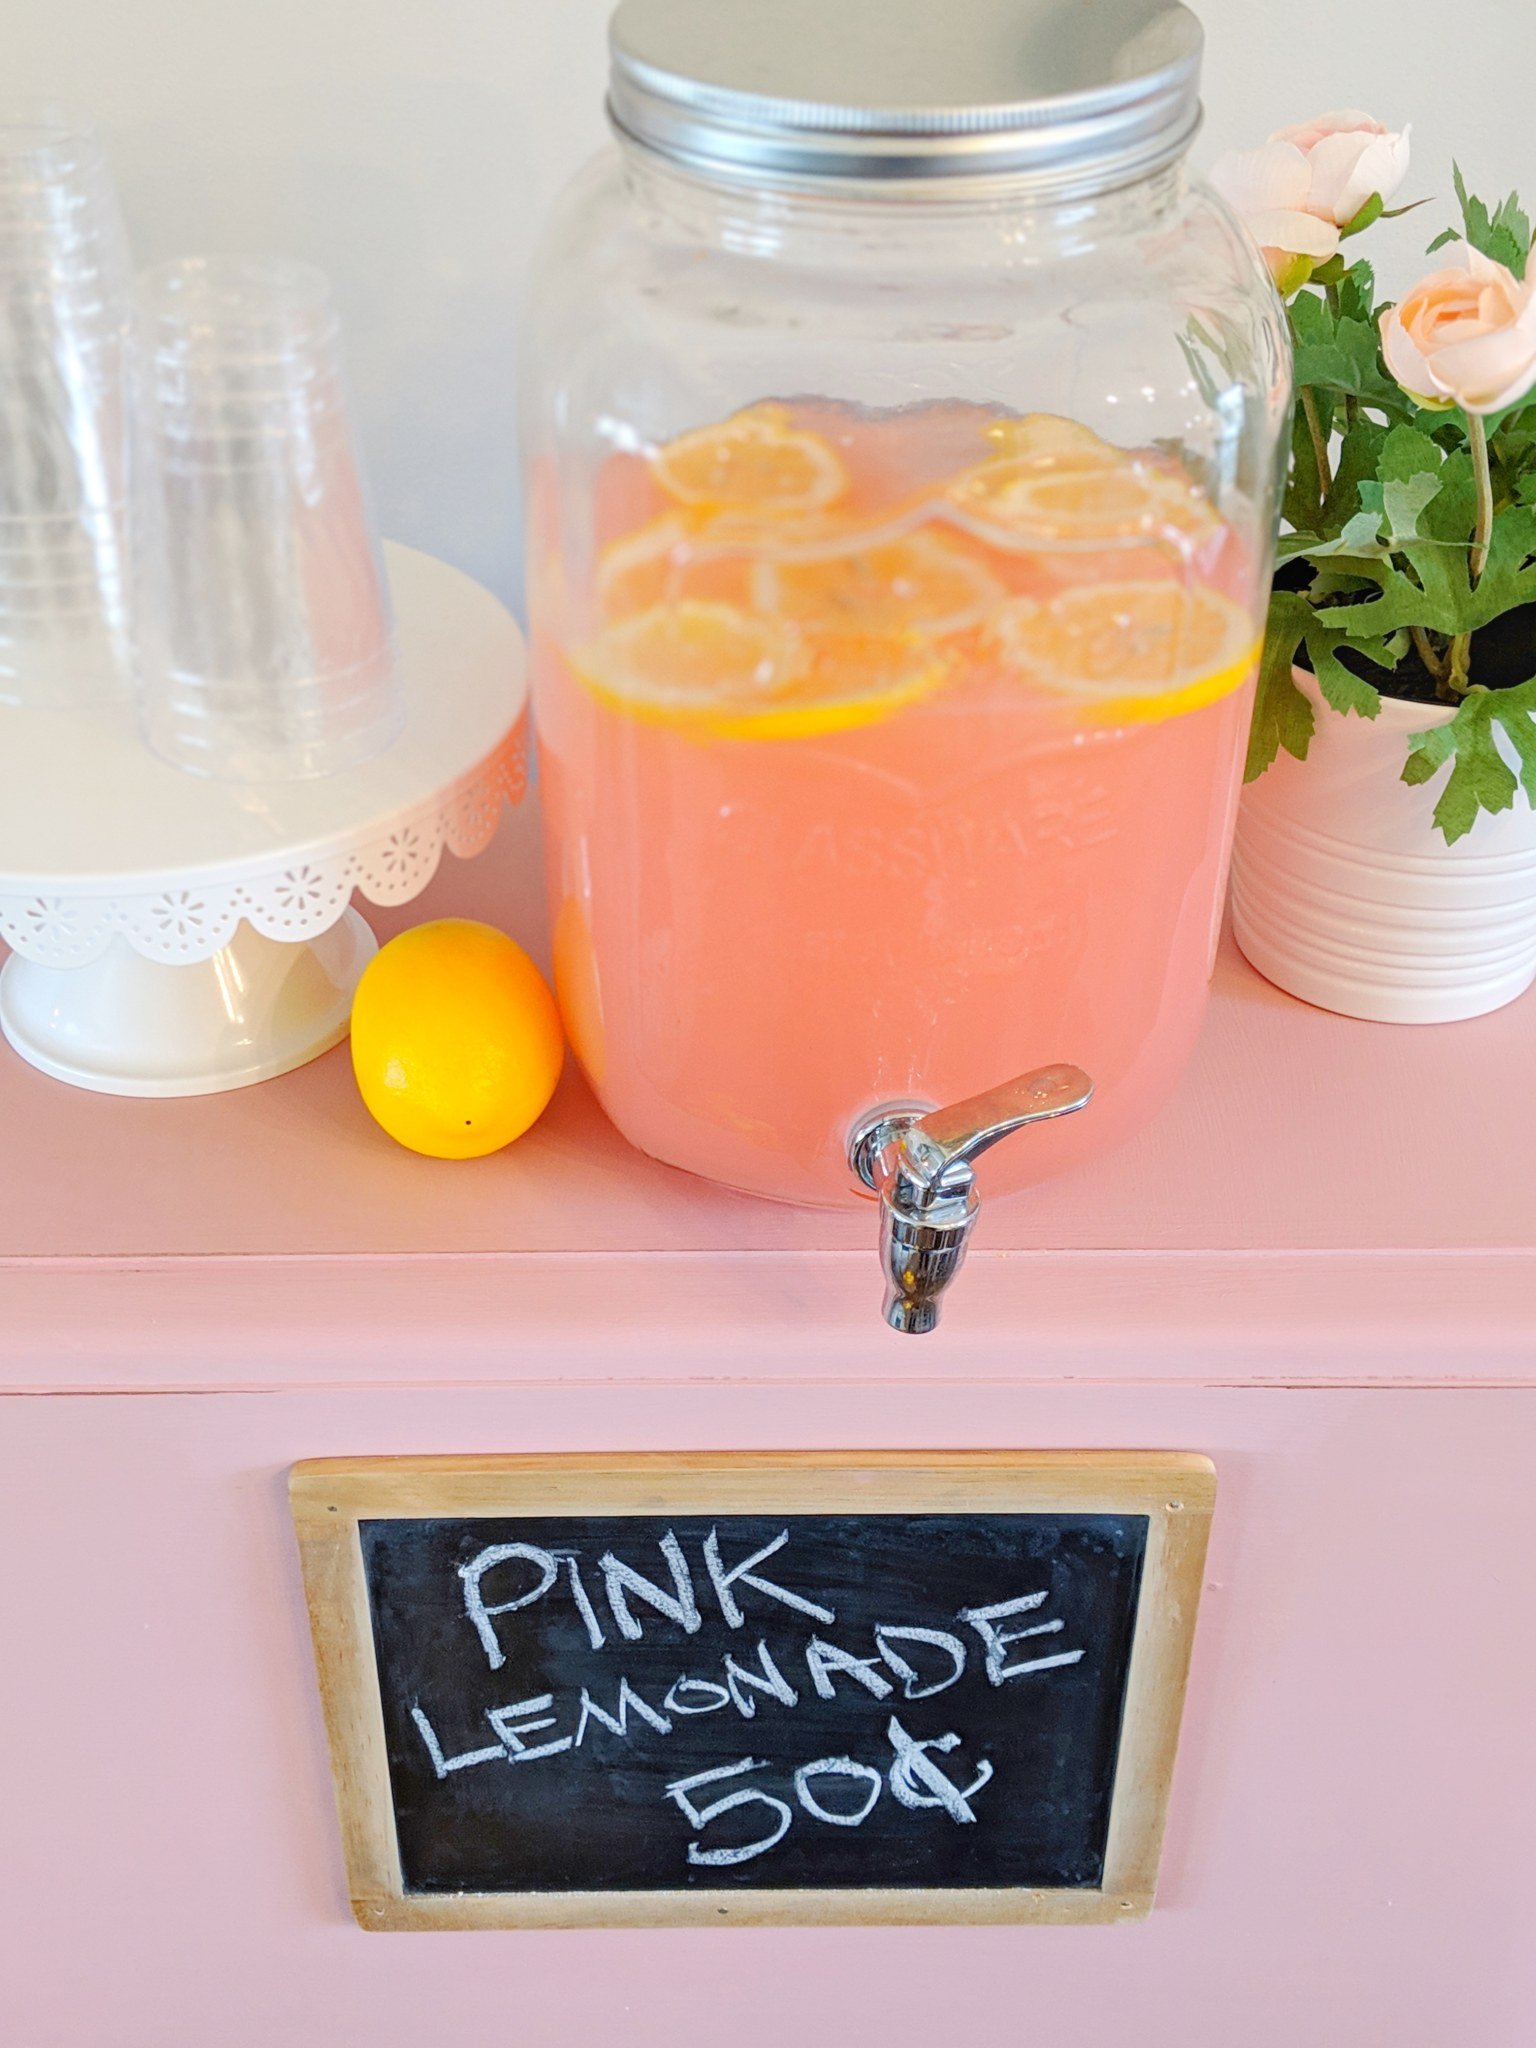
Decorative Accessories I Used
Here are the few items I bought for this cart
- Gold stemware hanger
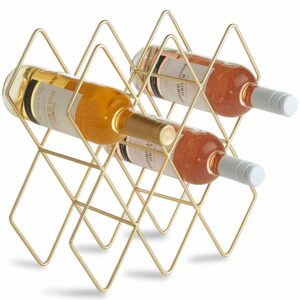
- Gold wine bottle rack
- Chalkboard
- Large Mason jar glass dispenser
- Plant (IKEA)
- Floral pictures (Hobby Lobby)
Read: Lemonade stand using free pallet wood
What will YOU upcycle next?
Pin-It for Later!

Leave a Reply