Just over a year ago, we purchased Gidget! She wasn’t much to look at, in fact she was hideous and and what most people called a “lost cause.” My mother said she wouldn’t have paid 2 cents for Gidget and both my father and father-in-law hung their heads in shame… or confusion… one or the other.
We faced so many road blocks and what we thought were dead ends. But in the end… I think you know how it turned out!
See all the before pictures here: Gidget the Vintage Trailer: Before
See all the interior pictures here: Gidget the Vintage Trailer: Come on In!
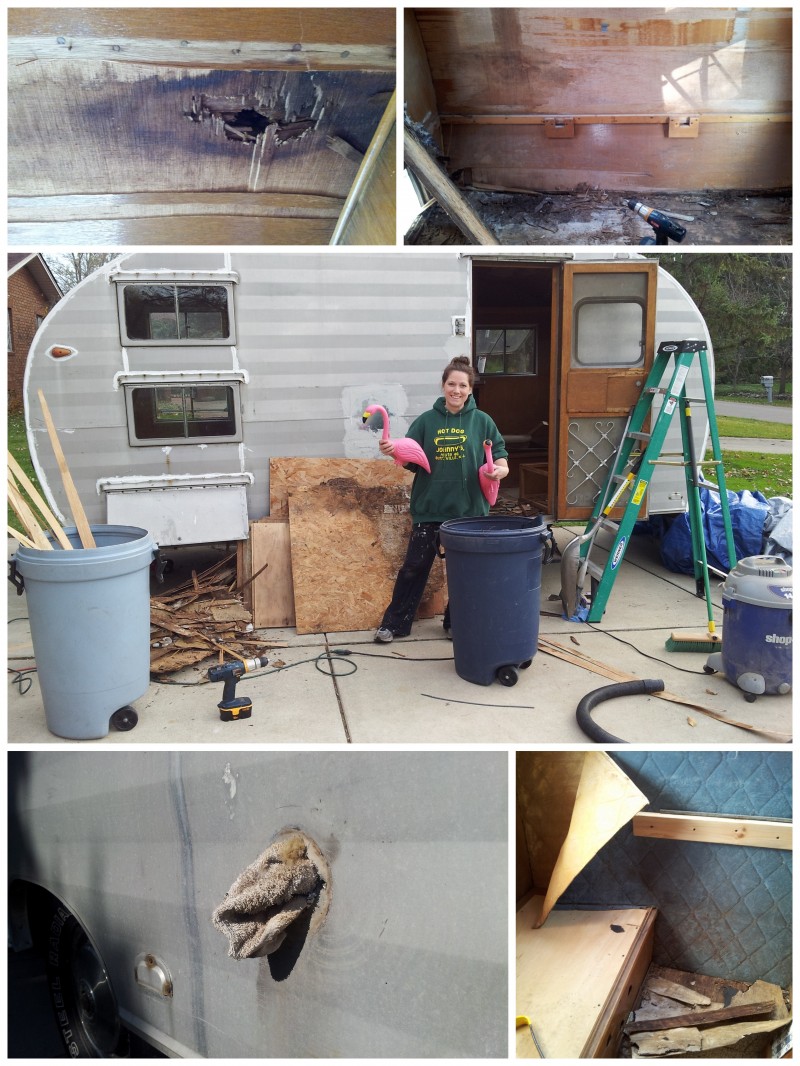
We had been searching craigslist, ebay and Tin Can Tourists for a year or so. We bought Gidget for $1,700. Upon inspection, Gidget was obviously in desperate need of repair. The frame was rusted, but we weren’t completely sure how bad. There were a couple holes filled with socks and a hole in the ceiling covered with a bucket. A door was closed with duct tape and a window was patched with cardboard.
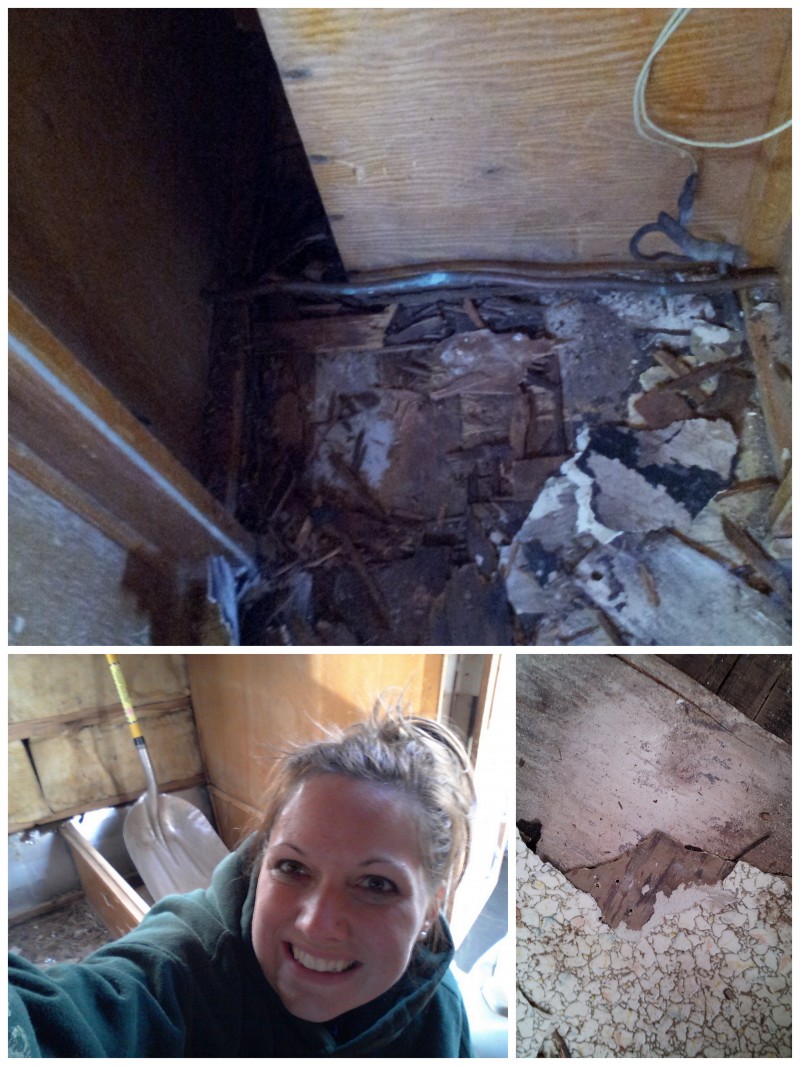 For all the details on the frame and tongue repair, see this post:
Gidget the Vintage Camper Welding and Frame Repair
I thought I’d do a quick recap of some of the most commonly asked questions I’ve received lately.
- WHAT PAINT DID YOU USE ON THE INTERIOR?: Behr Latex Premium paint and primer in one from the Home Depot in satin finish, color white. Even though oil based paint is known to have better coverage, I had also read that oil based paint dries harder and is more likely to crack. Because of that, I thought oil based paint in a moving trailer might not be best. I know it’s a toss up and am still not sure what the absolute best solution is… but in the end I went with latex. I even skipped the step of a primer because of it being paint and primer in one. It took a good 3 coats to cover the wood, but at that point there was no going back. My tip would be to wait longer between coats. I probably got too impatient and rushed into each one a little too soon.
- WHAT PAINT DID YOU USE ON THE EXTERIOR?: Rustoleum Oil Based Enamel on top and Behr Latex Exterior paint on the bottom. Rolled on with a foam roller. Again, I read so many different opinions on this. In the end, my aluminum was so damaged I knew I had to paint it. I used Rustoleum’s aluminum finish paint to get a polished aluminum shine without having to repair and polish. This went directly on the bare aluminum. No prep other than hosing it down and letting it dry really well.On the bottom, I used an exterior latex primer for bare aluminum, then Behr exterior latex paint in True Turquoise. I chose to roll everything on with a foam roller and foam brushes for the edges. I know spraying it on may look more professional, but I am more experienced and confident with a roller. I’m happy with the results and both colors have held up well! The only thing with the aluminum paint, is that it is hard to touch up. When our welder repaired the frame, he burnt the side pretty bad and it had to be repainted. No one else may see it, but I don’t think the spot I touched up completely matches.
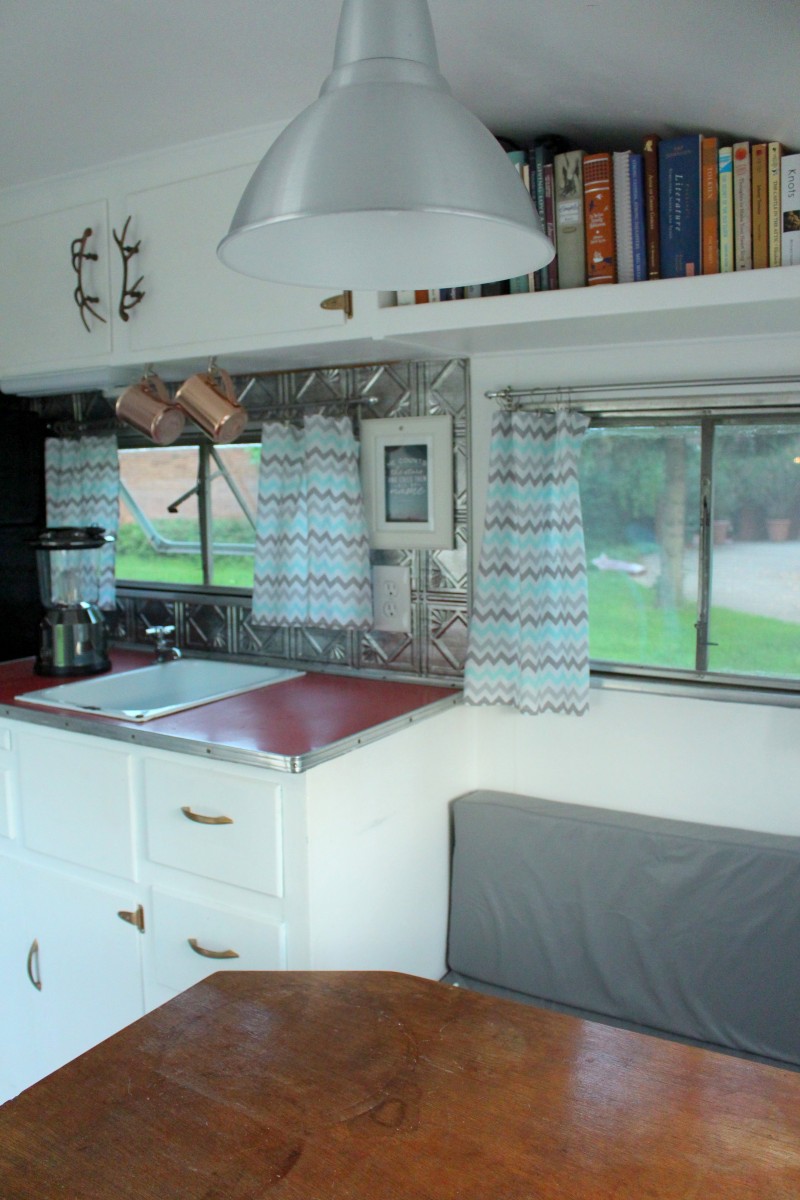
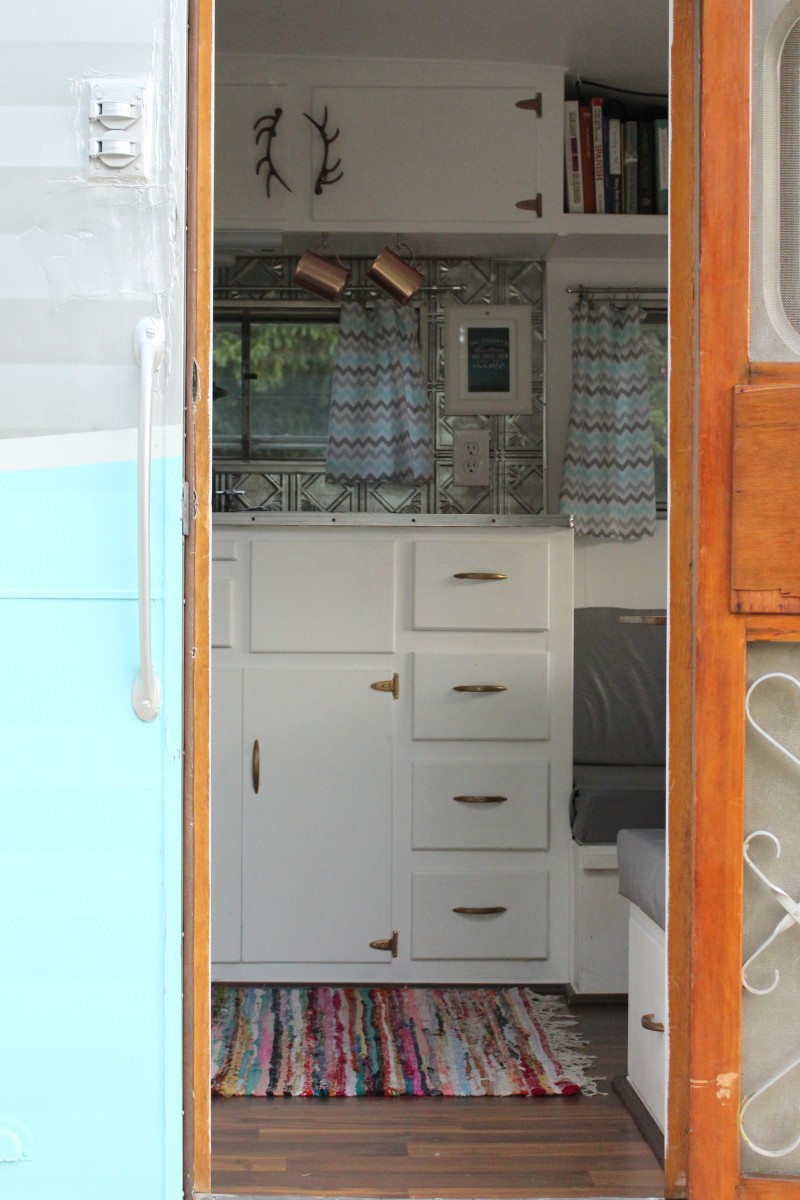
- WHERE DID YOU GET THE METAL BACK-SPLASH?: It is faux metal and it came from Menards. It is actually vinyl and can be cut with scissors! It was much cheaper than actual metal and looks great. I used this to cover part of the wall that was badly damaged and I didn’t want to have to repair… It covered it all nicely! Here is a similar one from Amazon: Easy Installation Back-splash
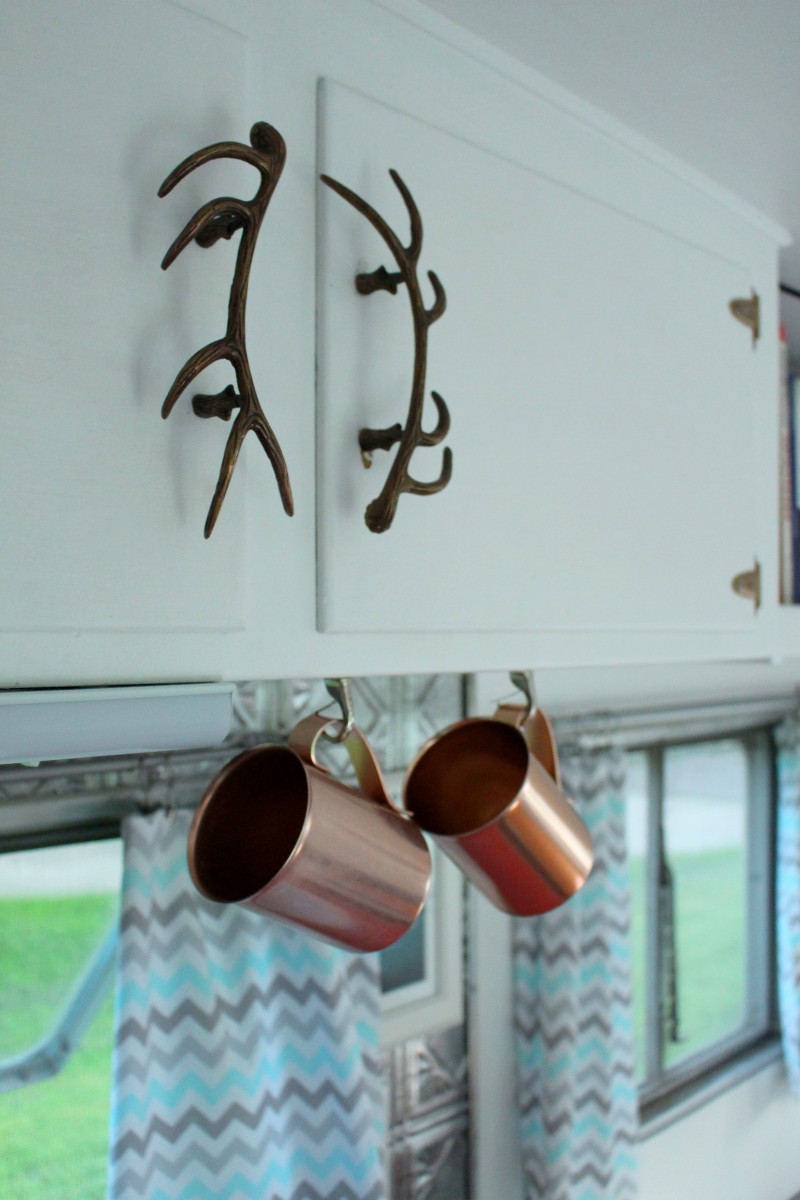
- WHERE DID YOU GET THE ANTLER CABINET PULLS?: I bought them at Anthropologie. Here is a similar version from Amazon that you could always paint gold or brass: Antler Pulls
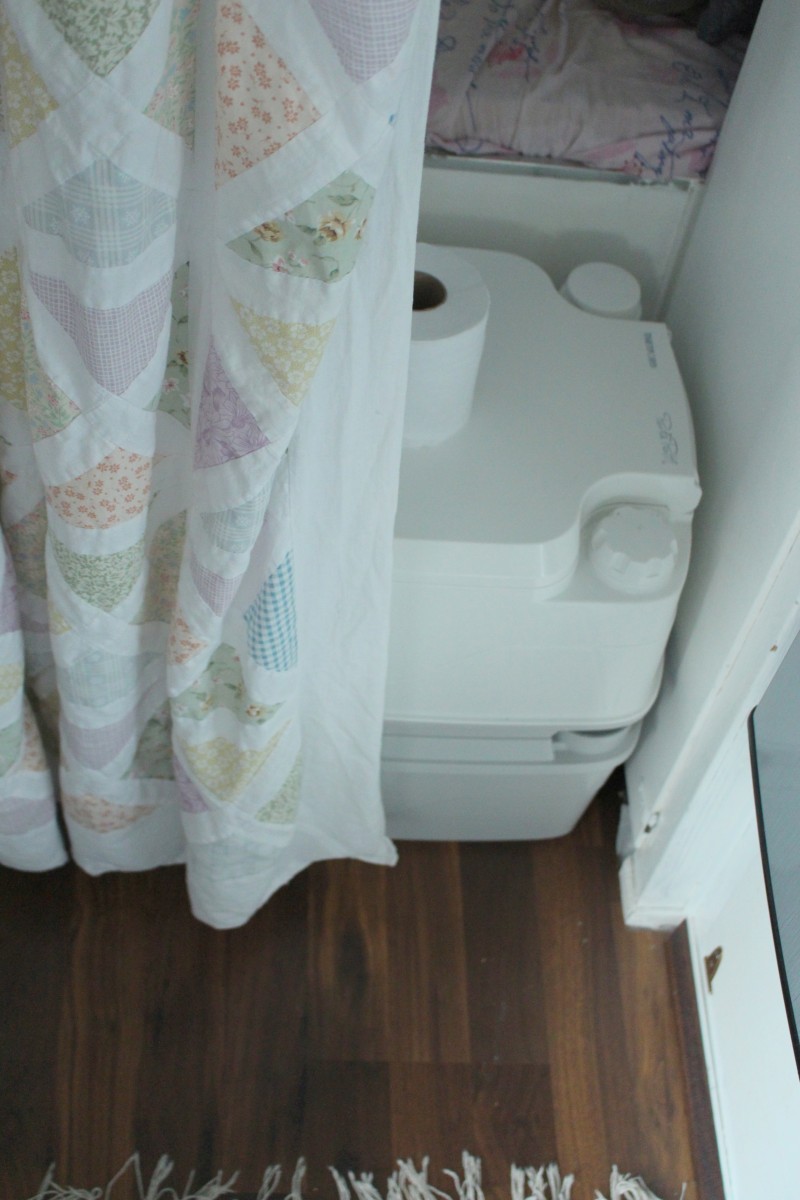
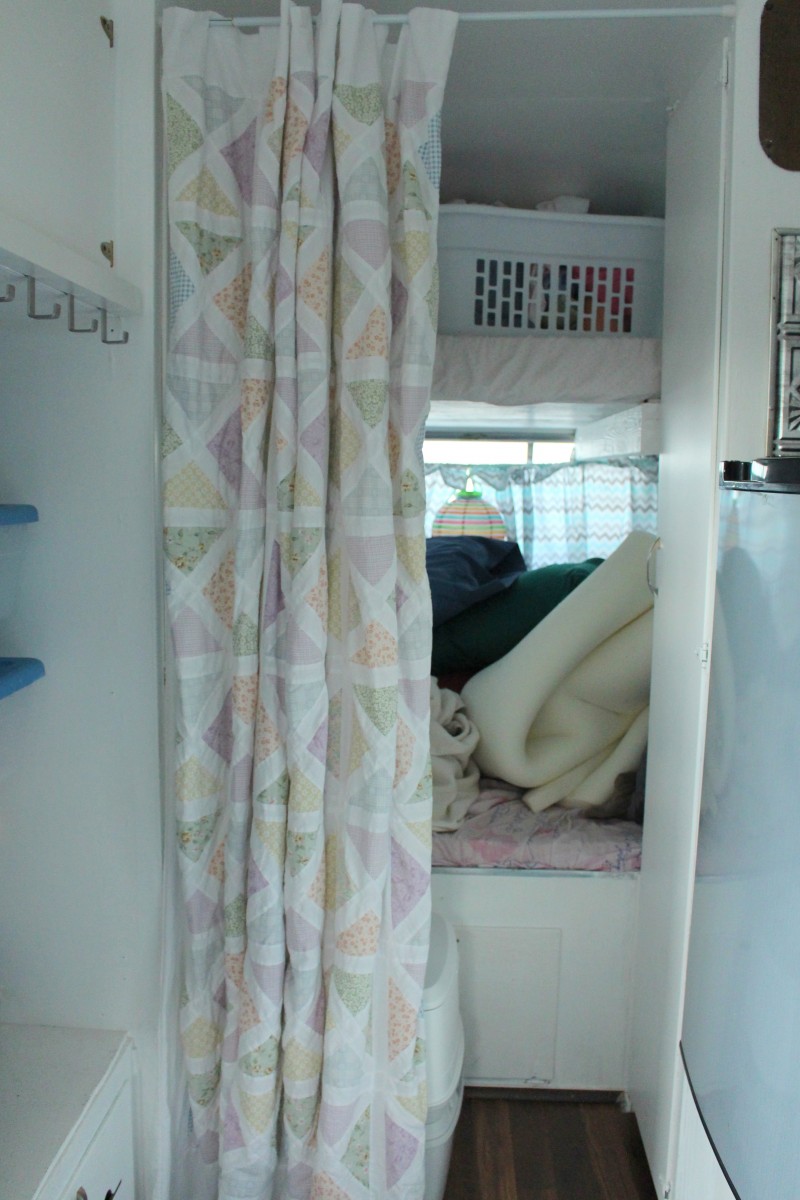
- DO YOU HAVE A BATHROOM?: No, there is no “official” bathroom, but we have a toilet! Because of the small size, the layout accommodates 6 people for sleeping but does not leave space for a bathroom. I’m am totally fine with using the bathrooms at a campground for showering, but we knew we needed something for the kids at night. We have a sink with running water for hand washing, so we hung a curtain and bought a Marine style toilet like this one: Portable Toilet It has worked great!
- HOW MANY DOES GIDGET SLEEP?: Technically 6! It is tight, but the table turns into a bed where Jay and I sleep, and the bunk beds in back could fit 2 on the top and 2 on the bottom. Right now all 3 kids are small enough to sleep on the bottom and we use the top for storage. I feel like I’ll need to reinforce the top bunk a little better once the kids get bigger, but it is feasible.
- WHY BUY A VINTAGE TRAILER?: Because it’s adorable, it’s a conversation starter, it has character and you can pay in cash! Even if you end up putting money into it in the long run, chances are you’re going to spend less than you would on a new trailer. We paid $1700 in cash up font, and figure we may have put another $1700 into it. It’s hard to tell because it was spaced out over the course of a year. The largest chunks of money were for the frame repair, flooring and wood to repair the walls.
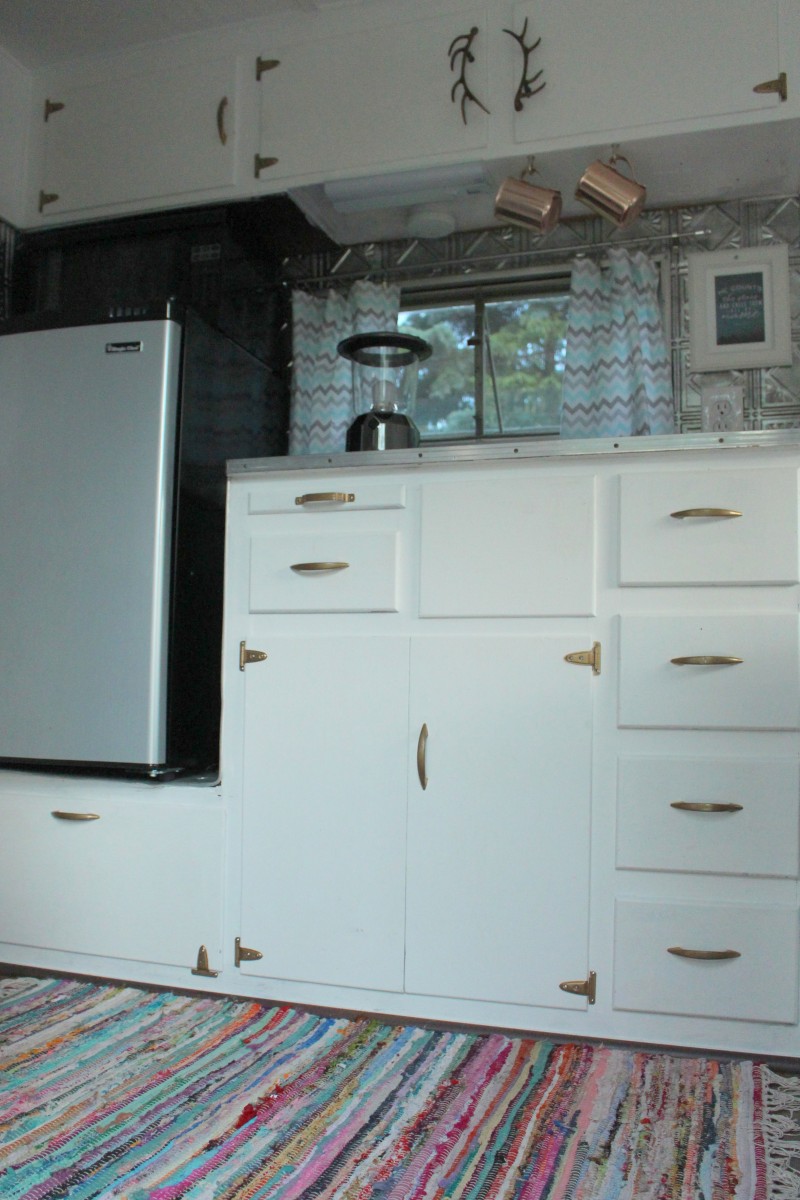
- WAS THE OVEN/STOVE IN WORKING ORDER?: Yes, but we chose not to use it. As cute as the original oven and stove was – it just wasn’t practical for us. I removed it and bought a mini fridge and microwave to put in it’s place. When we camp, I do cooking in an electric skillet, in the microwave or over the fire/grill. I really thought the stove was a fire hazard and didn’t want to mess with gas lines.
- WHAT KIND OF FLOORING DID YOU USE?: I used a laminate flooring from Menards. Similar to this one: Laminate Flooring It is a floating, glueless floor. I went back and fourth on what to use. I considered a vinyl plank floor, but ultimately thought the floating laminate would reinforce the floor better and I happened to have some left over from another project, so I went with it. I also considered a padded linoleum roll out floor because of how light weight it would be, but knew it wouldn’t help at all with reinforcing the floor or smoothing over rough areas.
- WHAT DID YOU DO WITH THE ELECTRICAL?: I ran all new lines, installed new polarized outlets with ground wire, added a new 110 breaker box and 12 volt converter. I had several friends and a couple professionals give me opinions and quotes on the electrical. In the end, I decided to play it safe and run all new lines. The professional at RV World actually told me he would be fine to use the original lines, but I just wasn’t feeling great about that. There was no way to know what condition they would actually be in. If you’ve got the walls torn out already, it’s a great time to run new lines. If not, it was interesting to learn that there are no codes as far as electrical lines in an RV are concerned. You can run a line along the wall if you can’t get behind it. I did this on the ceiling of a cabinet in one spot.
- WHAT ABOUT AIR CONDITIONING?: It’s called camping, we don’t have air conditioning! With the size breaker box we have, we knew it wouldn’t be able to handle a fridge, microwave and air conditioning. Instead, we bought a 12 volt vent fan like this one: Maxxair Fan it has a reversible fan to pull air in or push it out and a thermostat. This thing is pretty powerful and made it quite comfortable by pulling in the cool night air, all Summer long!
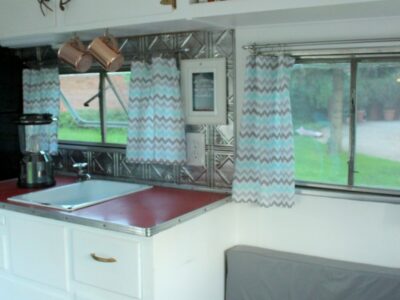
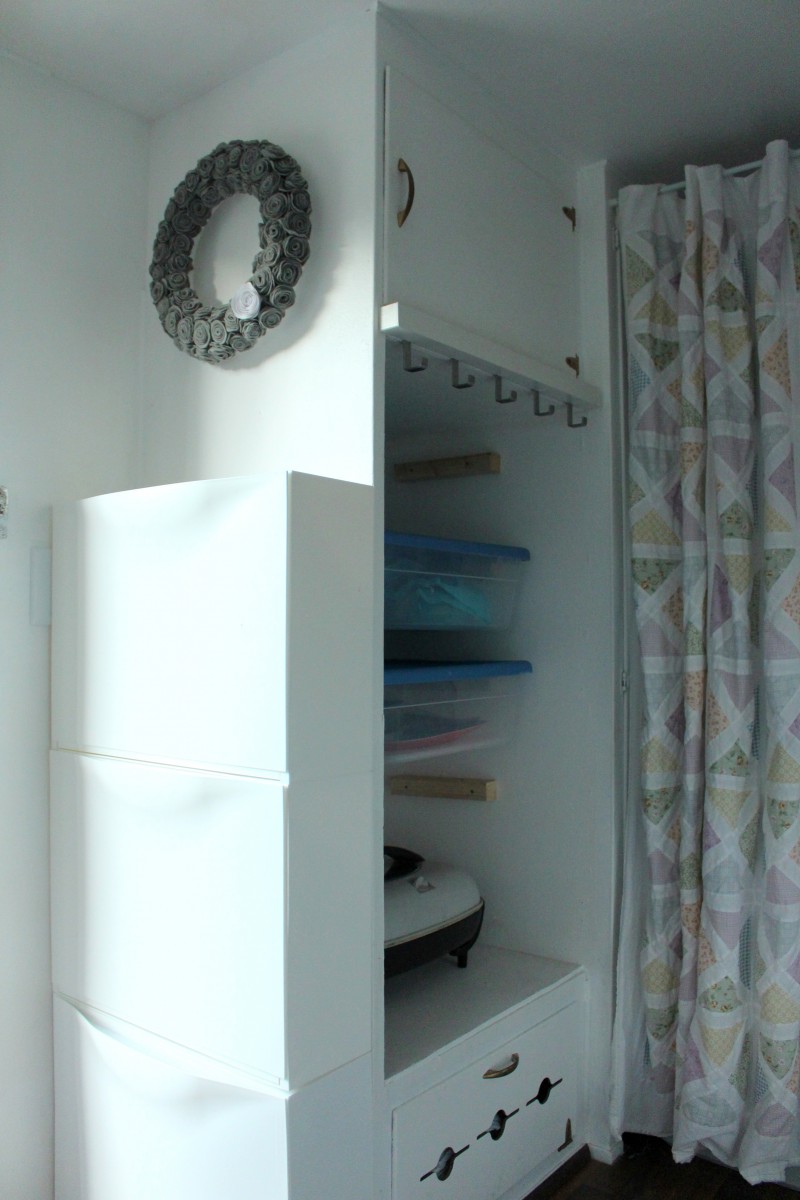
In this picture, you can kind of see how the fridge and microwave now sit where the stove used to be. To the left is where a fridge originally was. I never saw it with a fridge but know it must have been there because of the electrical wiring there and the fact that it would have originally been balanced over the axles on both sides. I now use this spot for storage and try my best to keep weight evenly distributed.
The white cabinet here is a perfect fit for storing shoes or other random things. It is from IKEA: Find it here.
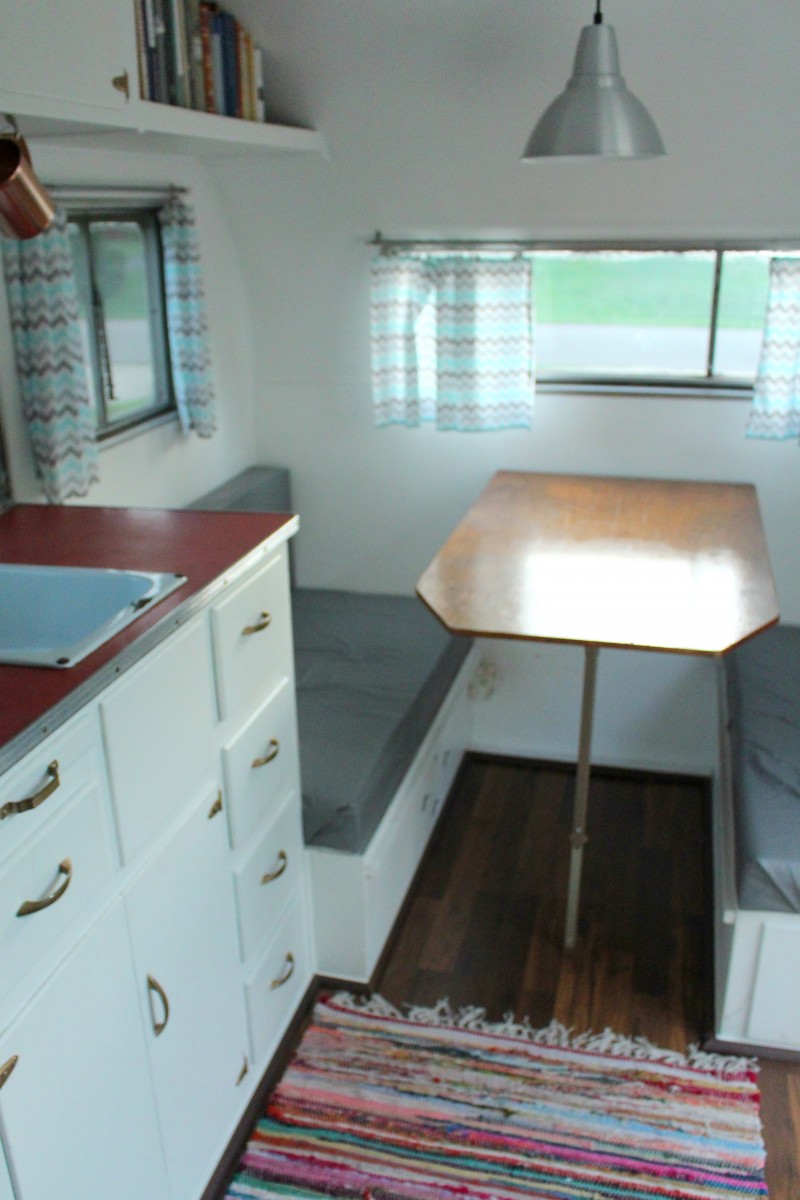
My antler door pulls are from Anthropologie and the lamp is from IKEA.
This was such a HUGE project, I am still trying to remember all the steps and things I learned along the way. Click here to see all the posts from this series: Gidget Goes Camping
Have another question?? Please ask!
I’ll add to this post as I remember things or am asked about them.
Follow my camping boards on Pinterest: Purposeblog on Pinterest
And instagram! Purposeblog on Instagram



Meghan
Hey Sarah. This looks fabulous. I’m looking into renovating a camper for myself and I wonder if you have a post that gives the timelines it has taken you to do some of your renovations?
Thanks.
Jennifer
Hi Sarah, you’ve done a great job with the trailer. Thank you for posting the process. One question, on the exterior door outside wall, you had vents – I’m assuming for the old propane fridge or stove. And in the new pictures the vents are gone. Did you buy a new skin for that side? I’m in the same boat. Previous owner actually covered ALL vents with metal plates. Looks ridiculous! Please advise.
Cheers, Jennifer, Ottawa Ontario Canada
Sarah Lemp
Hi Jennifer! This may not be what you want to hear – but I covered them with metal plates as well! LOL I bought square pieces of sheet metal from the Home Depot – they sell it already cut in 12″ x 12″ or 24″ x 24″ I believe. I used metal screws and sealant to create a water-tight barrier over the opening. The thing is, if you are planing on painting the exterior, you can get away with almost anything! As long as you paint over the patch jobs you have done, it all blends together and looks good. I had a friend who is an auto body mechanic come look at Gidget to tell me if there was something else I could have done. He agreed this was the cheapest and easiest thing to do rather than get really technical and make it into a bigger project. Hope that helps :)
Denette
Hi Sarah.. I just found your work on pinterest.. it is amazing. I just have a quick question we bought a 1975 chevy 30 19foot it has water damage on the ceiling so I started ripping it out the other day with a mask gloves and goggles on.. tonight my sister said I may be working with asbestos I am really scared how do you deal with this and have you ever replaced part of a ceiling that you didnt know if it had asbestos in it?