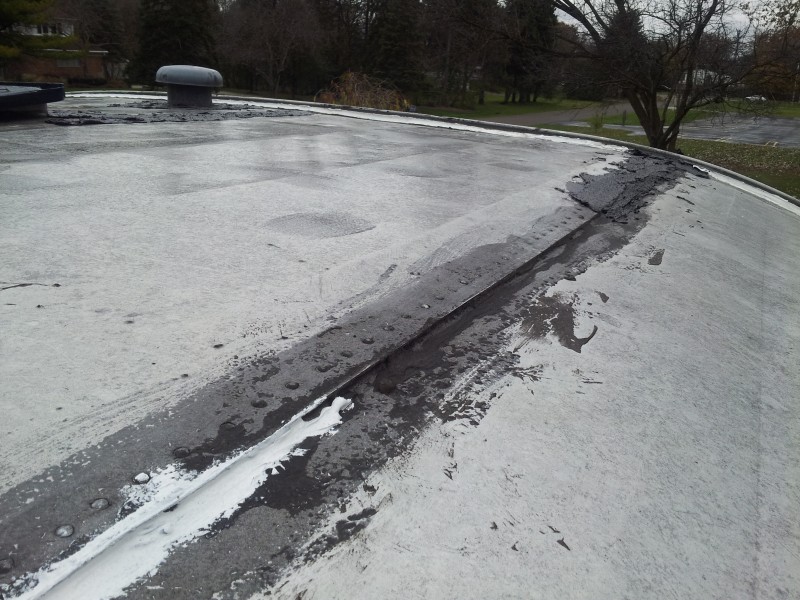
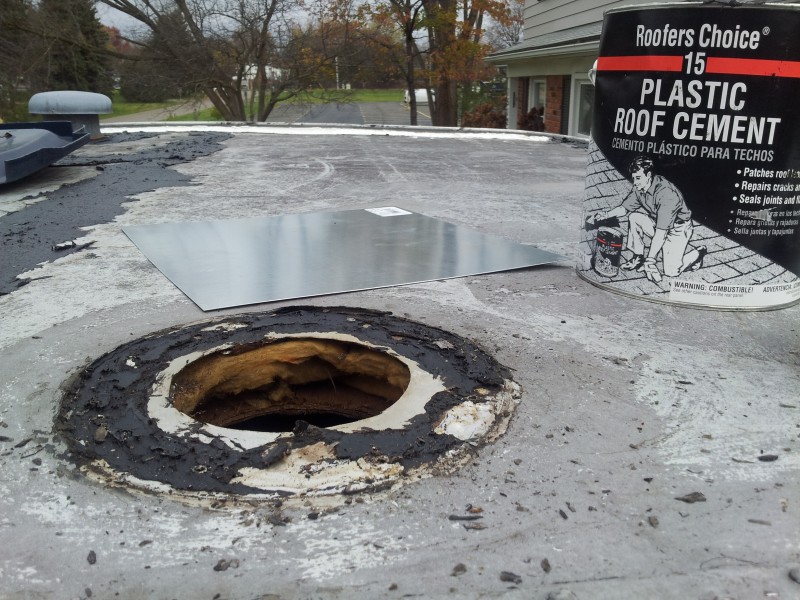
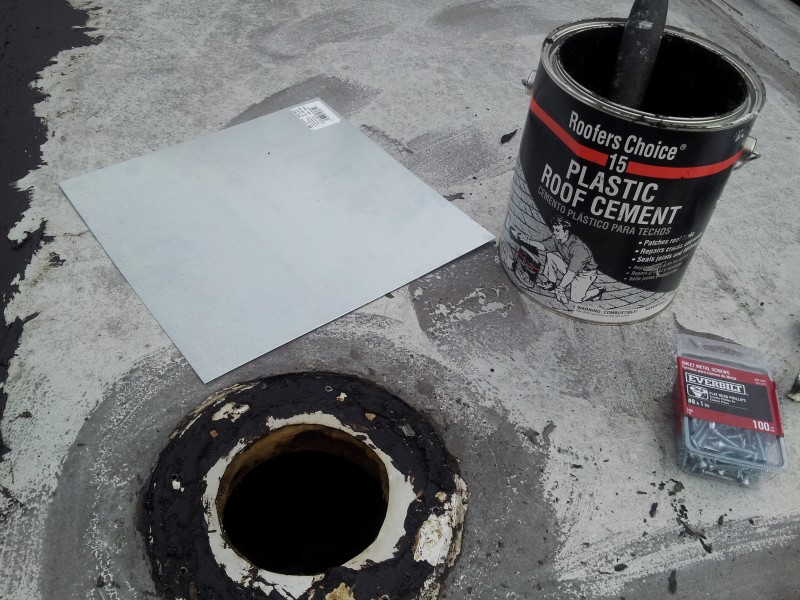
On days 2 and 3 of my vintage trailer renovation project, I began securing the outside from the Winter elements and critters! Like I have said before, the previous owners did a lot of funky patching jobs. There was serious water damage done on the inside of the trailer, for really stupid reasons. Some really simple things could have been done that would have stopped the leaking. For instance, not only were there plenty of large bullet holes (this was a hunting trailer mind you), there were other large holes stopped up with wads of cloth and a ceiling vent totally missing the cover.
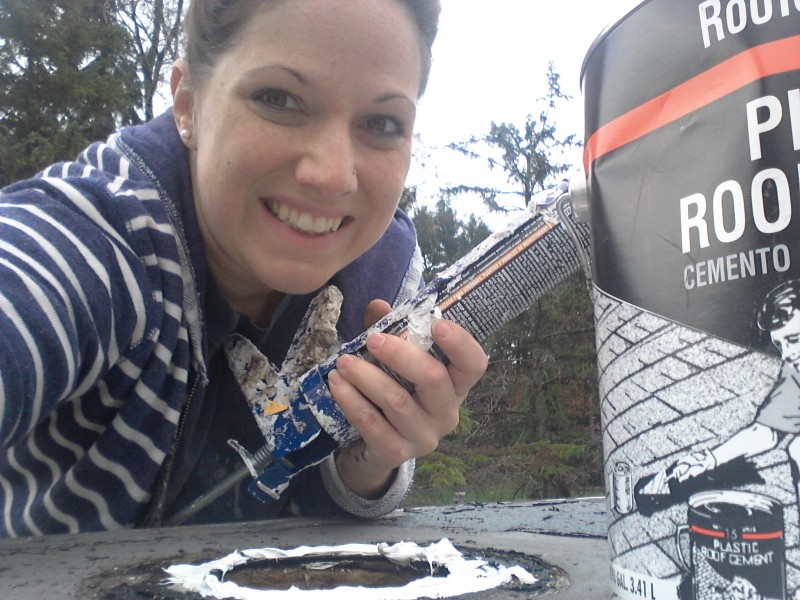
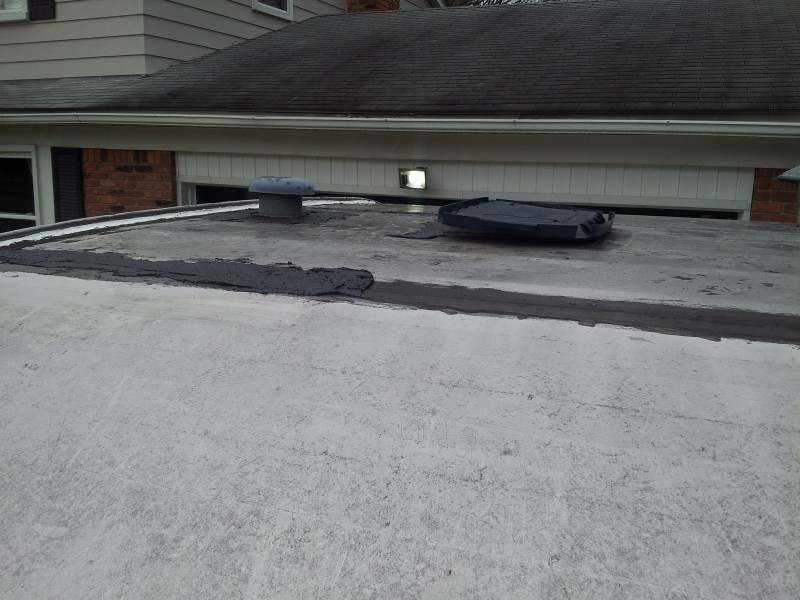
The picture above shows the bottom layer of patch that was there all ready. The white stuff on the left and the dark black tar on the right are the two things I used in various areas to seal up cracks. I was racing against the rain… no sooner had I got everything covered, that I had to tarp the whole thing before the rain started pouring.
In the picture above, you can see the lid that was rigged up to cover the ceiling vent!
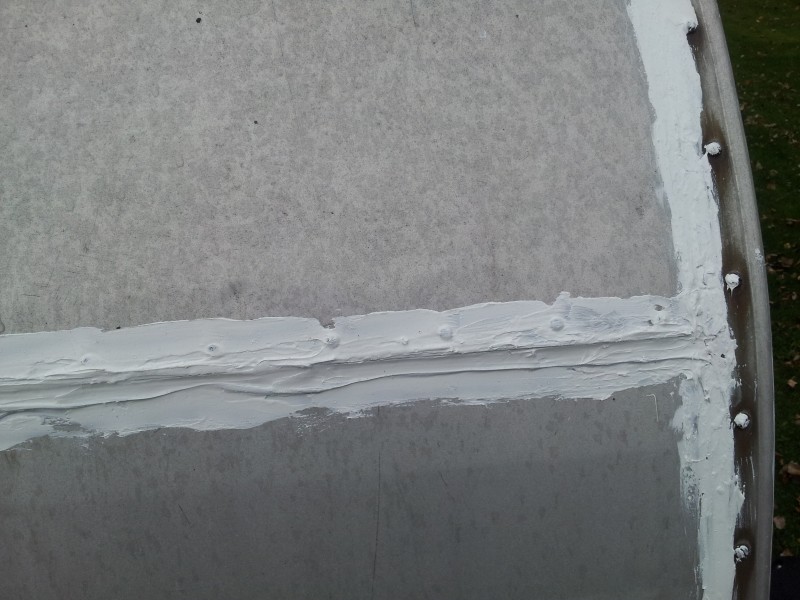
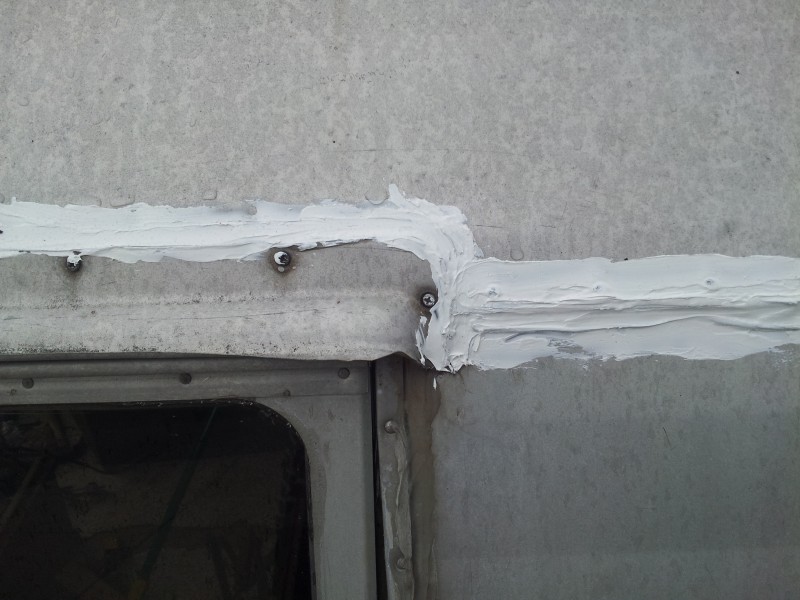
What I should have done…
Remove the j trim around the edges and window awnings to be polished or replaced. If the body it’s self was not so badly damaged and patched in such a funky way already, I would have cleaned everything up so it was nice and shiny like an Airstream!
What I did do…
Gave up on the idea of shining that baby up. It just wasn’t possible. I thought long and hard about removing the j trim at least, so that if I were to paint the body, the trim would remain shiny. The problem is, the previous owners had rigged that stuff up in such a crazy way, I think I would have done more damage to try and remove it. So, after I gave up the idea of a shiny, Airstream-like shine on the body, I also gave up on having a shiny trim on a painted body.
I guess paint it is! You would think I’d be happy. After all, I am the queen of paint. I paint everything in my path. I was a little sad at the idea of losing all the shiny trim, but it just seemed like the MUCH easier and cheaper option.
Want to see more? Start here: Before Pictures!

Tarma Vaughan
Hello. Loved seeing your camper. I have the same year and make but a 12 foot. Mine had some water damage but not serious. Same counter top and original floors.
Have a question about the windows. The seal around them is what is cracking and falling off. Did you have to replace yours? If so, how?
renee traynor
Hi Sarah, I’m just starting my renovation on a 1960’s ish Trailblazer and your photos look so similar to what I’ll be doing! I was wondering when you were doing your demo, did you remove the cabinets/sink area? If so, how did you remove them without destroying them? I’m assuming you’ll be doing some floor repair or possibly replacing some rotted beams. Any suggestions or words of encouragement? I’m 53 years young and will be tackling this by myself! My husband thinks I’m crazy for doing this, but I want to show him how great it will be when I’m done! Hope yours is going well, can’t wait to hear more about your progress!! Thanks, Renee T. from Wisconsin!
Lettie Greene
I’m just getting ready to start my reno project and was curious about the window seals. Did you pull any of your windows out to seal them from water? Or if you used something around them? BTW you are a huge inspiration!!
Sarah Lemp
Hi Lettie! I did not go to the trouble of pulling any windows out to caulk behind them. I love using DAP Extreme Stretch Caulk https://amzn.to/32qySiC I use that around all the windows before painting the exterior. If you don’t plan on painting, you can get a clear sealant, but clear sealants are such a pain to work with, be warned lol. Water can get in at the tiniest spot, so seal well and use your finger or a tool to press into the cracks and over screws.