Hey, there! This is Stacy from Flights of Delight, and I am always excited to be hanging out with all of you! At Flights of Delight, I blog about joyful & intentional living by God’s grace, which includes DIY, crafts, natural living, as well as thoughtful ideas on living with intention and joy. Today, I’m going to show you how to create a pretty piece of art for your home with a technique called Pixel Painting.
Pixel Painting is fun, and it really doesn’t take much artistic ability to complete. It’s also a great art project for kids to learn about how color and color mixing works.
Let’s get started!
Pixel Painting Tutorial
You only need a few simple things to make your own pixel painting:
– Digital Photo & Photoshop (or download the free templates below)
– Art paper or canvas
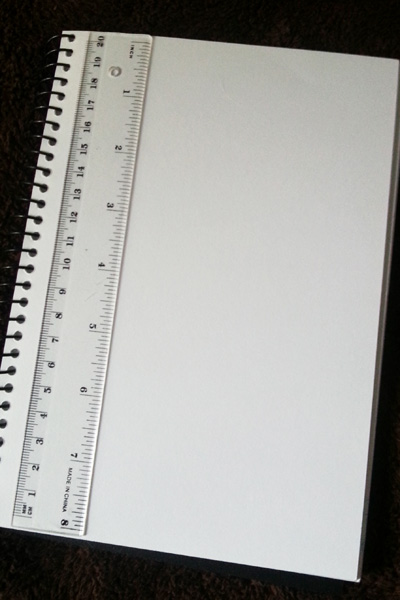
– Ruler
– Pencil
– Paint (I used watercolor)
– Brushes
To start, you’ll need to decide what you are painting on, and measure its dimensions. Then, decide what size you want your pixels (squares) to be. Remember, the smaller the pixel, the more time and effort it’ll take to complete the project. For example, let’s say you are using paper that is 11 x 14 inches and you want to paint 1 inch pixels. Your grid will be 11 x 14 1-inch squares.
Next, find a photo with beautiful color. Sunset and other nature photos work great for this. For my project, I used a section of the sky from this photo.
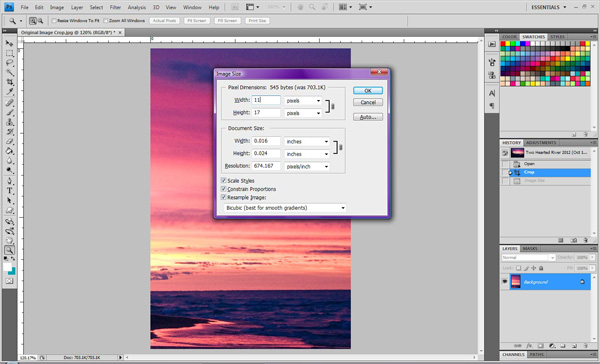
Then, in a photo editing program (I use Adobe Photoshop), open up a copy (or make a copy so you don’t destroy the original) of the photo and reduce the image to the number of pixels you wish to have. In Photoshop, you can do this in Image > Image Size (or Alt+Ctrl+I by keyboard shortcut).
Keep in mind that the proportion of your photo may not be the same as your painting surface. This is okay. Keep the original proportion of the photo, and reduce the dimensions of either the height or the width and be sure that your other photo dimension is greater than your other painting surface dimension. Does that make sense? If you are doing your painting as 11 x 14, you can reduce your photo to 11 pixels on one side, and the other side may come to 17 pixels. Great- just leave off 3 rows of pixels from your painting.
Your image will probably appear to be just a tiny dot, so you will need to zoom in really close to see your pixelated photo. Now you have your pixel painting template! If you aren’t sure how to accomplish this, then skip all of this and download the free pixel painting templates I have created for you. You’ll find the download at the end of this post, along with a photo gallery of them.
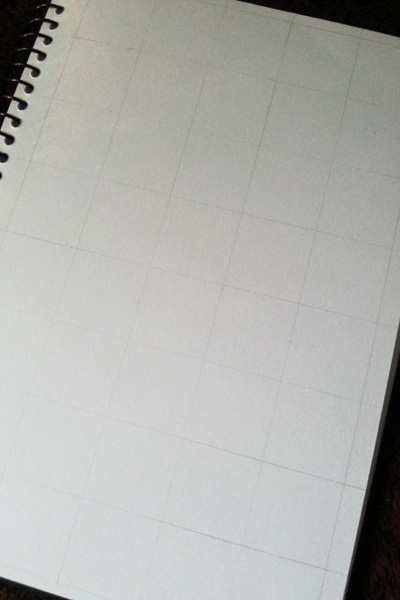
Now, use a ruler and a sharp pencil to lightly create your grid. Measure out your squares and mark them to create very light lines. You won’t want the grid to show up in your final product, but you will need to have them as a guide to make your squares uniform.
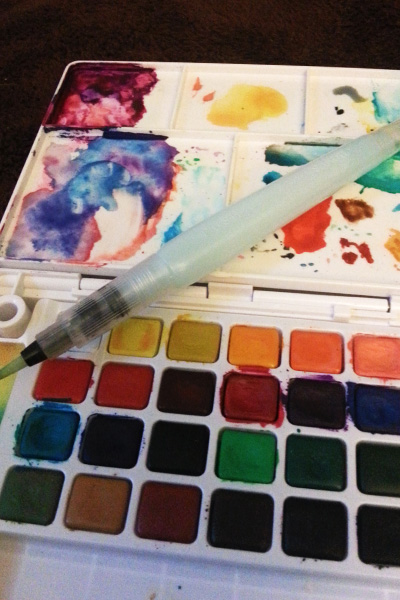
With your template nearby, grab your watercolors and have fun mixing colors! Paint square by square and try to match the color of your painting to the color in the template. You don’t need expensive paints. Even a basic kid’s set will work.
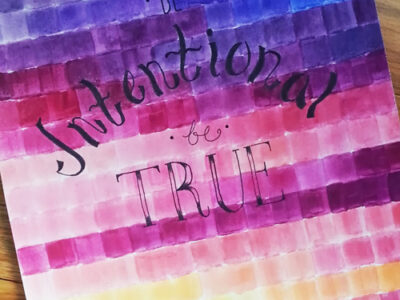
Once you have filled in all of the squares, step back and take a minute to admire your work. Beautiful! Now, you can frame it as-is, or use it as a background or piece of another project. When I finished my pixel painting, I grabbed some of my favorite pens and drew “Be Intentional Be True” in some fancy hand-lettering over the painting.
Pixel Painting Templates – Free Download
As promised, here is a bundle of some pre-pixelated templates for you to use. Download and enjoy!
[ddownload id=”10322″]



Leave a Reply