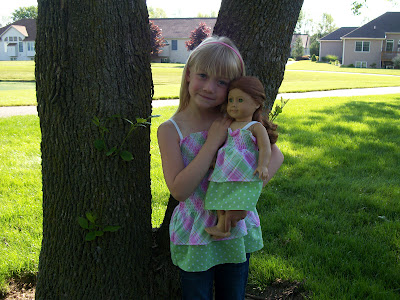
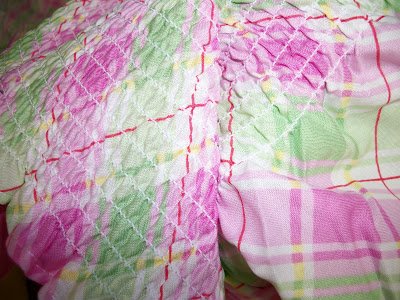
This fabric is available at JoAnn Fabric in various prints and lengths. Such an easy project to create an American Girl Doll matching outfit!!
To make the matching little girl’s shirt, click here: Matching Shirt Tutorial
Step One: Cut Fabric 12 and a half inches wide.
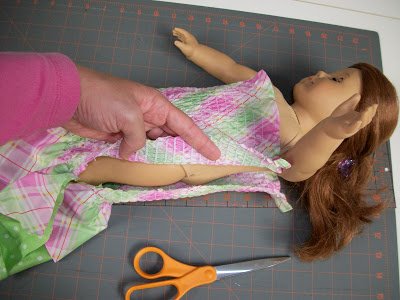
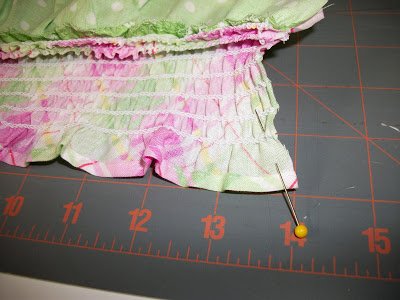
Step Two: Determine the length you want your dress. As shown, I left two and a half inches on the top or bodice. For the Bitty Baby Alternative make it a half-inch shorter.
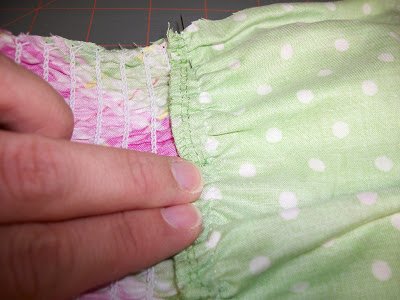
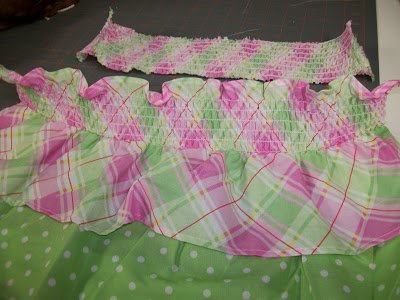
Step Three: Pin the desired length matching the elastic line to the top of the ruffle.
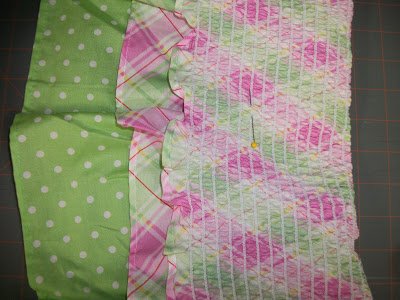
Step Three: Continued… The is what I mean by matching the lines on the right side.
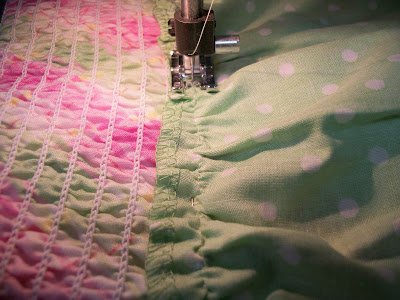
Step Four: Sew along the existing seam of the ruffle.
Step Four: Extra Picture: Sew along the existing seam of the ruffle.
Step Five: Cut off the excess fabric.
Step Six: With right sides together, sew a side seam making sure you match the ruffle edges.
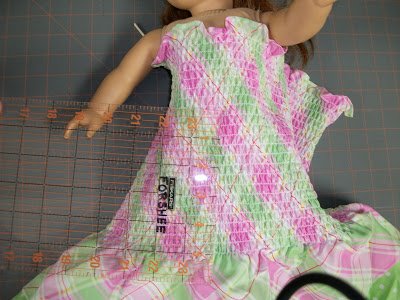
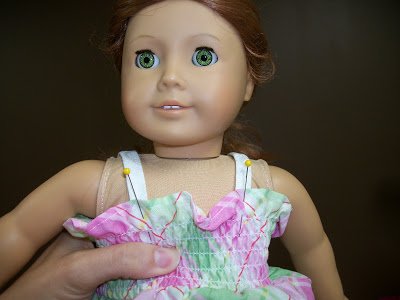
Step Eight: Try the dress on the doll. Place seam on the side. Look at your sewing to see what should be the front or the back :) Pin the straps on the front and back.
To make the matching little girl’s shirt,
click here: Matching Shirt Tutorial


Leave a Reply