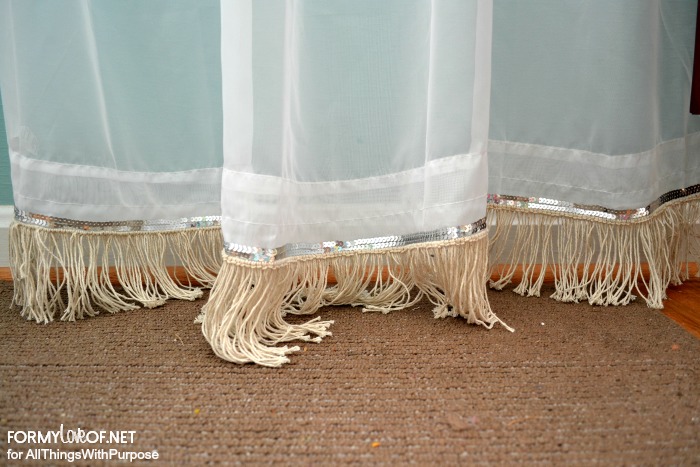
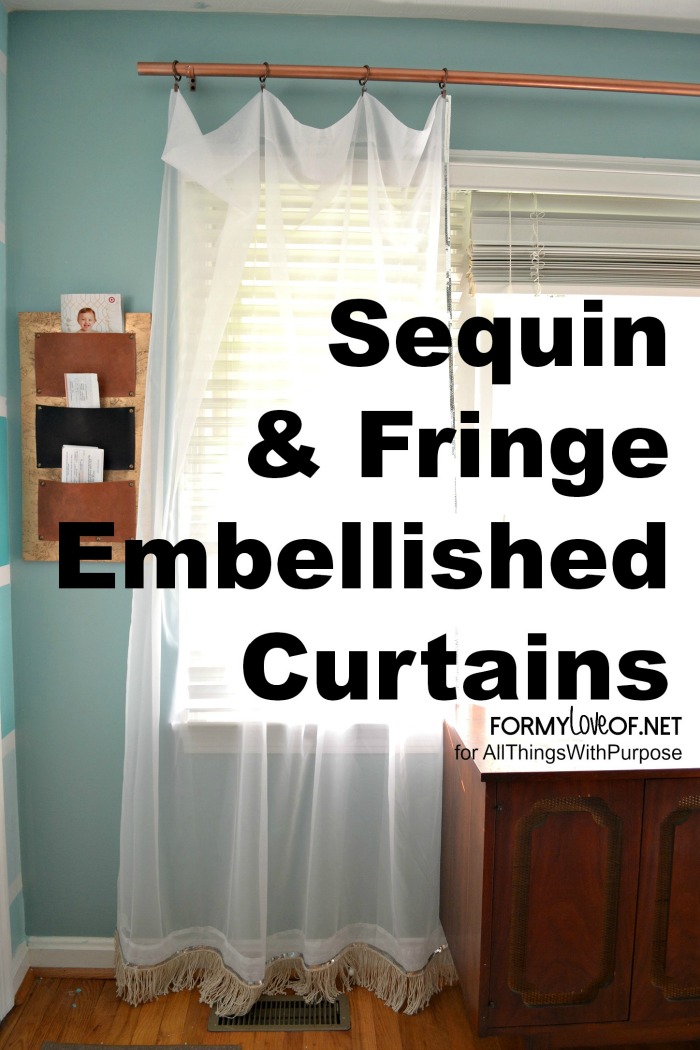
Hello Everyone! My name is Corinna, blogger behind For My Love Of, and I’m here today with a contributor post! I’m a Vintage-aholic, avid DIYer and aspiring Interior Designer. I’m here today to share a tutorial for these gorgeous sequin and fringe accented curtain panels.
What You’ll Need:
Sheer curtain panels, Washable glue (meaning it can be washed and will still hold), Sequin ribbon, Cotton rope, Scissors
The Process:
The most inexpensive option I could come up with in terms of fringe borders is DIY. This totally brings the price point on this project way down, so if you’re not strapped for time, I would go this route.
Take the cotton rope and cut a length that is the same length as the bottom of the curtain panel. Then, cut about 700 (yes, seven hundred) pieces that are 10 inch long. This length could vary based on how far you’re hanging the panel from your floor, so that’s something to consider if you’re hanging the panels pretty high up on the wall.
Fold one of the 10 inch pieces of rope in half and tie it onto the long piece using a larks head knot (You can check out this and 4 other beginners knots here). It’s tedious, but I find it didn’t take nearly as long as I expected. Once you find your groove, you could even catch up on shows while knotting. When nearing the end of the rope, start sliding them toward the end and work inward. It’ll be easier than trying to force knots onto a little sliver of rope.
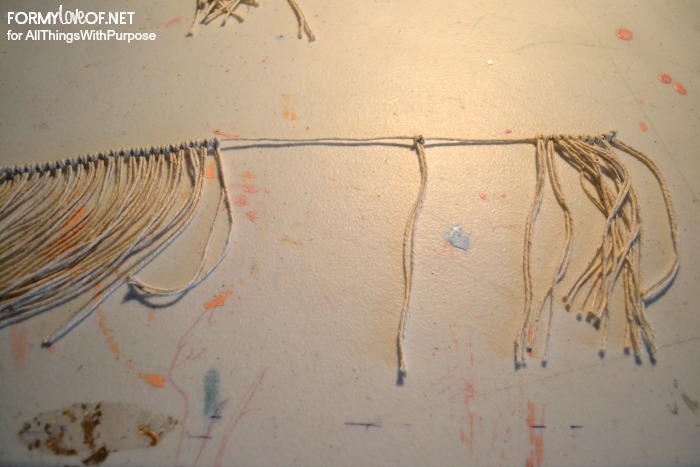
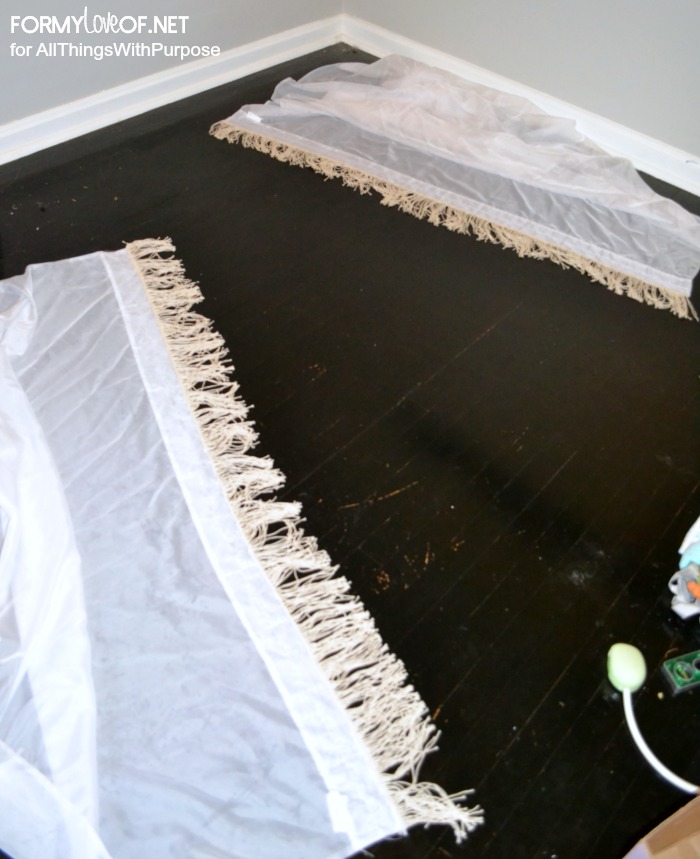
Once you’ve finished creating the fringe, put down a ribbon of glue along the bottom of the curtain panel.
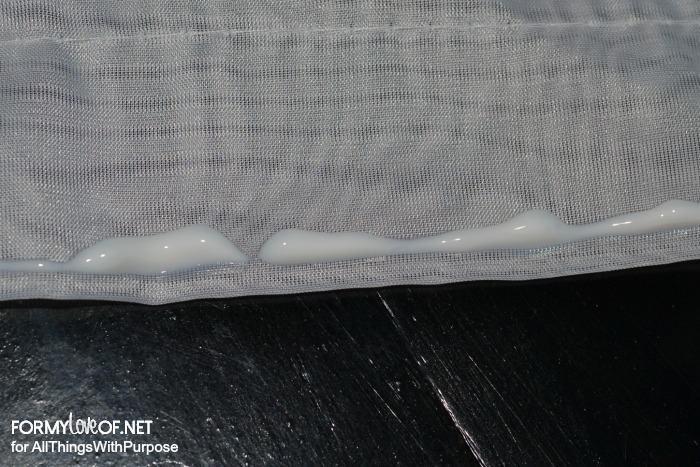
And press the fringe into it. The glue doesn’t dry very fast. In fact, my particular brand takes 24 hours to cure.
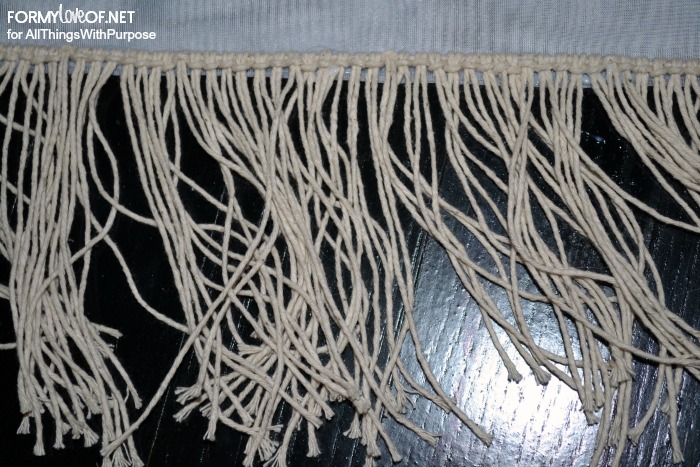
Make sure the panels are in a place they can sit for awhile so that the glue can fully dry. I chose to do mine in stages, first the fringe, then when I had more time without the little one, I pulled them out into the living room and did the sequins.
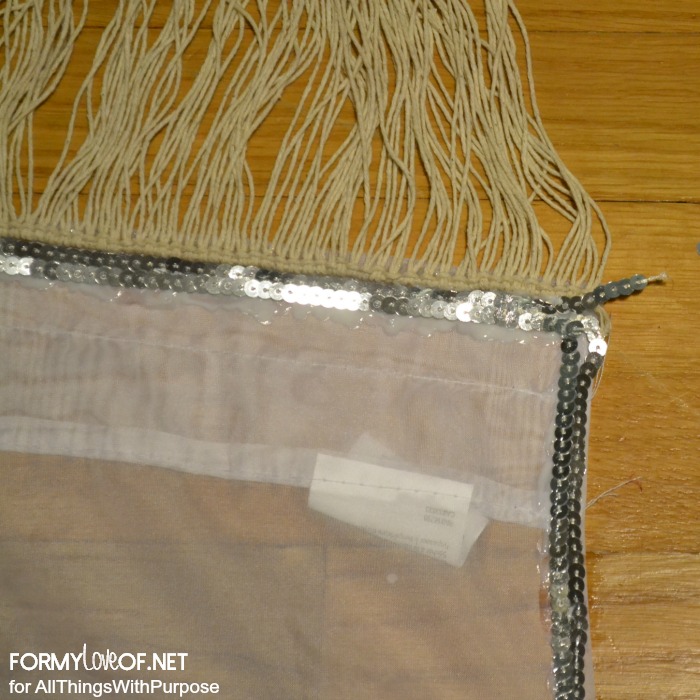
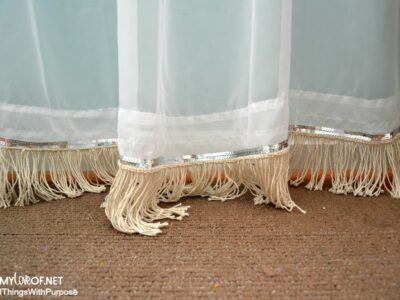
Put down more glue along the fringe and up the side of the panel. Press the sequin ribbon into the glue.
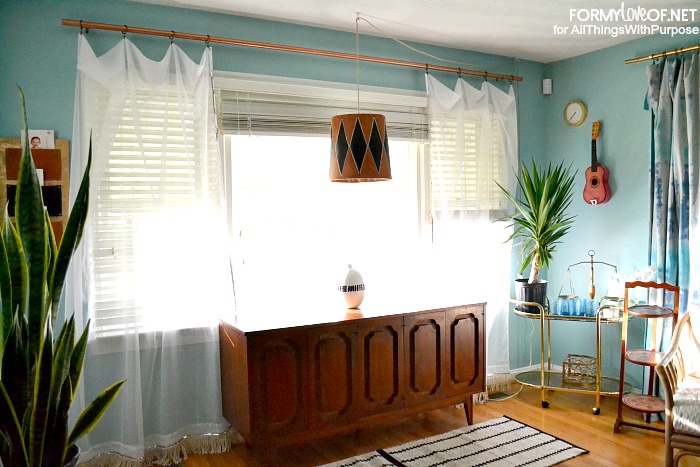
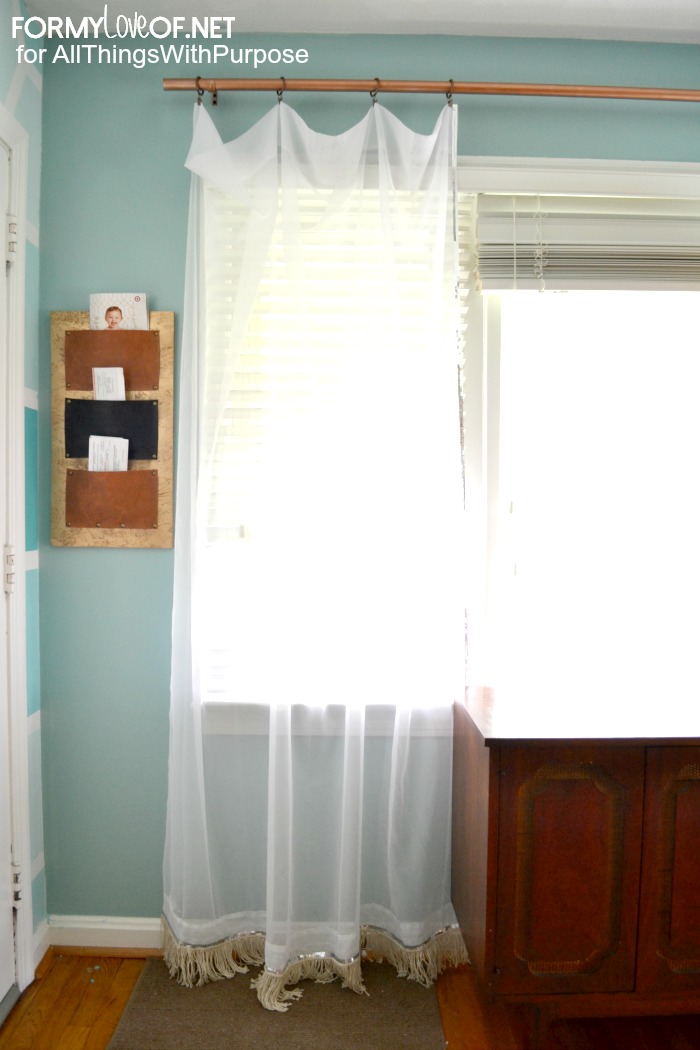
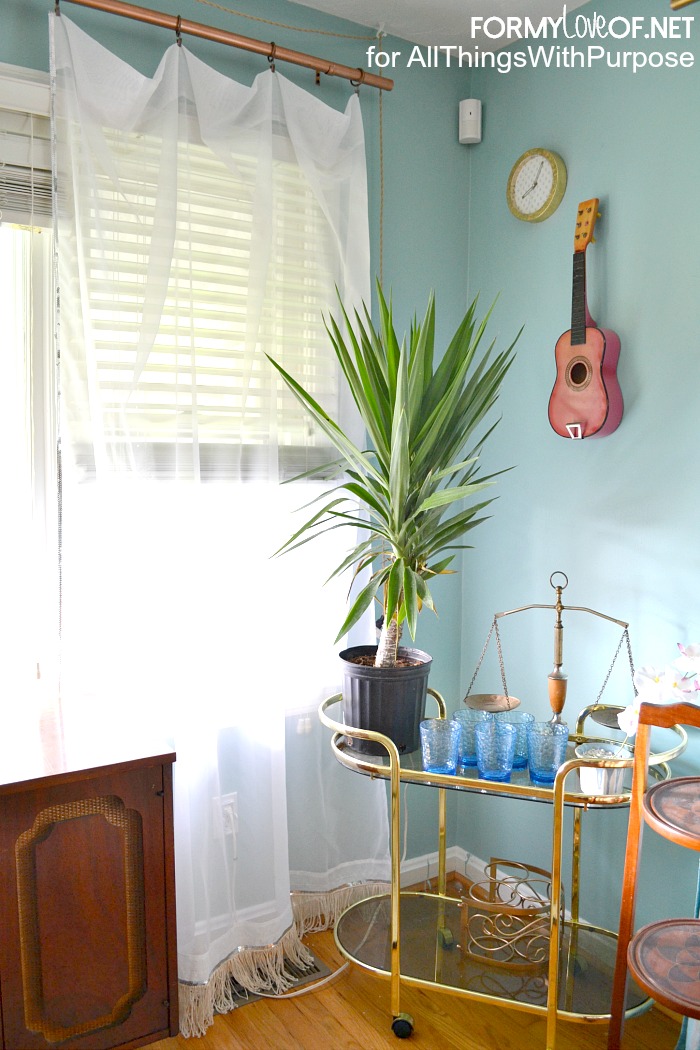
Once the dry time is complete, though, they’re ready to hang! I’ll go ahead and be the first to point out that they are extra gypsy with the lack of curtain rings. I assumed I had more rings on hand than I really did, and am awaiting for more to arrive.
But, they’re still very pretty and add a touch of femininity that my living room was lacking.
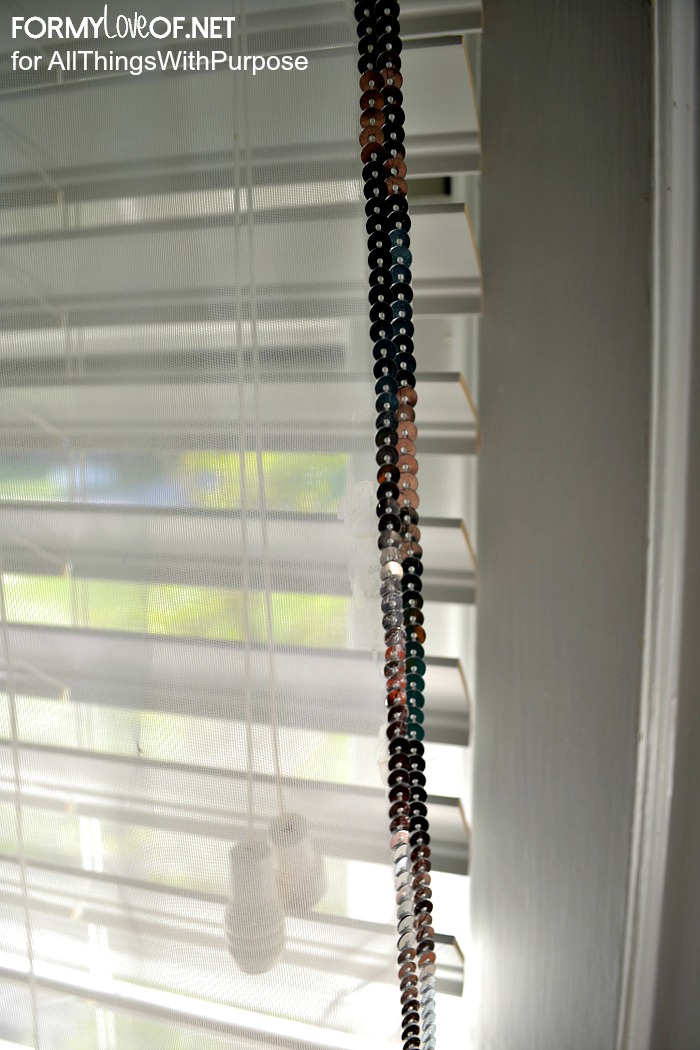
The sequins along the side are subtle, but catch the light and cast little rainbows on the walls throughout the day.

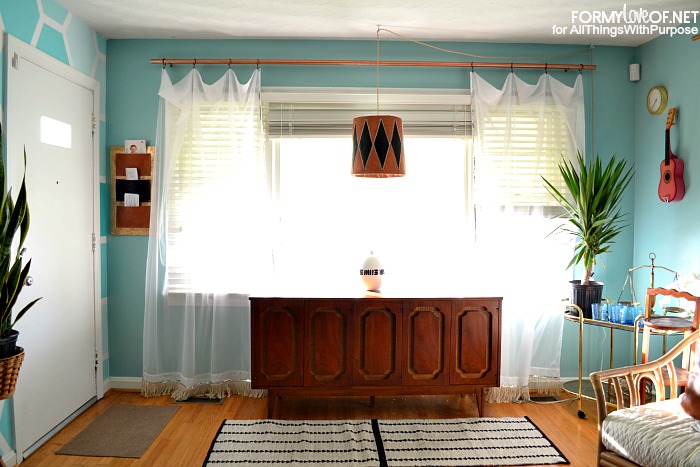
I hope you’ve found this tutorial helpful and inspiring! If you’re eyeing that cool leather pendant light fixture, it’s a DIY that I’ve already shared and you’re welcome to come and check it out along with all the other fantastic DIY’s and Vintage finds on my blog: For My Love Of.
Have a wonderful week!

Leave a Reply