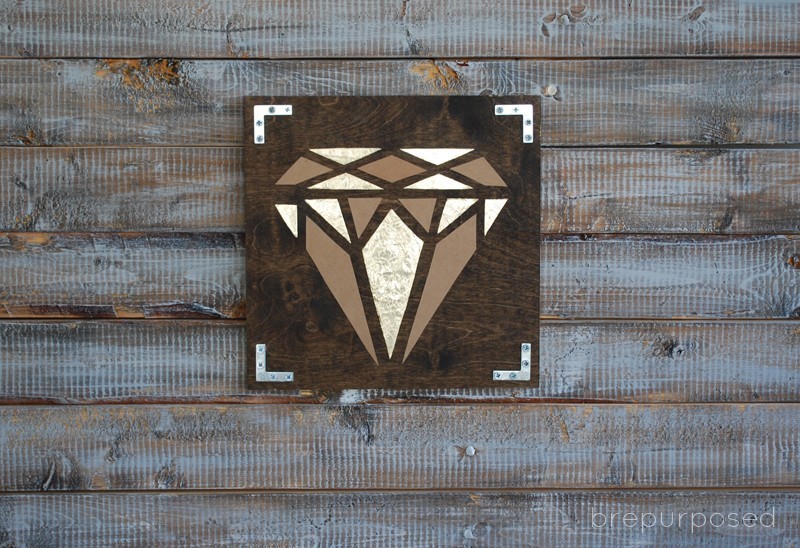
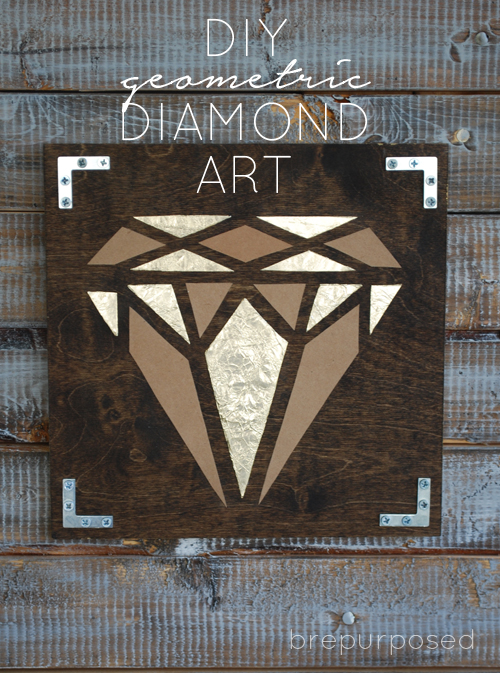
Hi everyone! It’s Bre from Brepurposed back with another contributor post! If you’re new here, you can find me posting on every second Monday of the month :) Although furniture makeovers are usually my go to, I can’t deny my love for all things DIY. Plus I needed some new art to use when staging my photos. So today I’m here to show you how to make this super easy DIY Geometric Diamond Art!
SUPPLIES
:: One 12×12 piece of Birch Plywood (found at Michael’s)
:: Stain in the color of your choice
:: Topcoat/Polyurethane
:: Gold Spray Paint
:: Frog Tape
:: Super Glue
:: Gold Tin Foil
:: Corner Braces
:: Picture Hanger
:: 1 Sheet of Brown Kraft Paper
:: Diamond Template (print out here)
STEP ONE
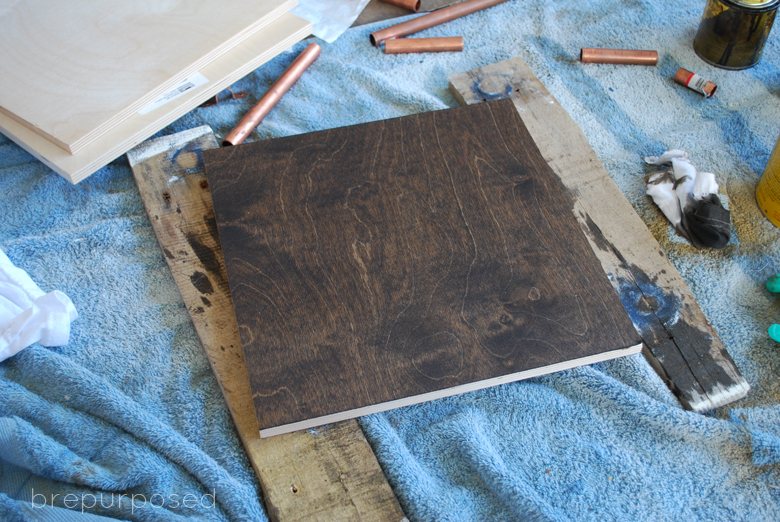
Stain your wood. I used two coats of my favorite color, Dark Walnut.
STEP TWO
Once dry, apply your top coat. I love General Finishes Flat Topcoat, but you could also use a Polyurethane.
STEP THREE
Spray paint the edges gold. Once your topcoat is dry, tape your board so you leave the edges exposed. I covered the entire top surface, just to make sure the spray paint didn’t seep through.
STEP FOUR
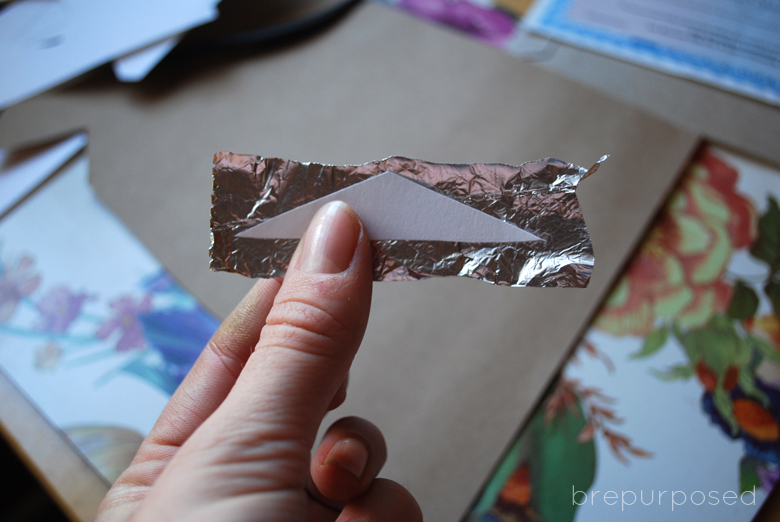
Cut out your shapes. I labeled mine so I knew which ones were going to be gold and which were going to be brown. You can print out the diamond template here. I then cut out the pieces and traced them onto the brown Kraft paper and some plain card stock.
STEP FIVE
Wrap your gold pieces in the gold tin foil.
STEP SIX
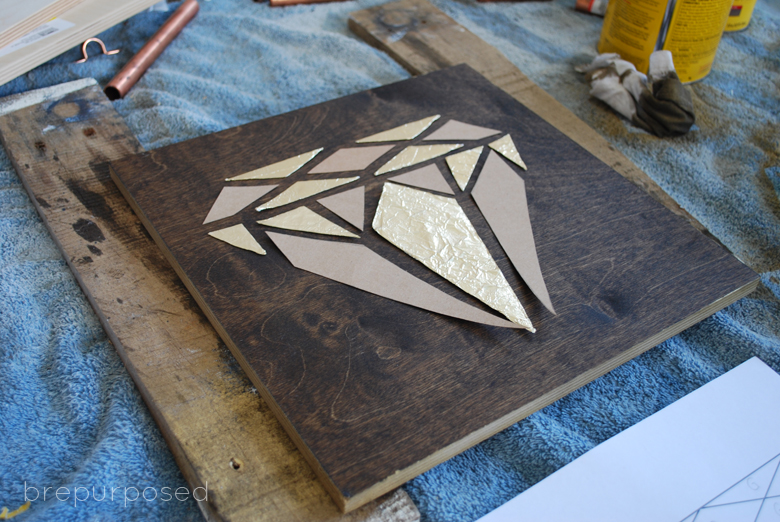
Lay out your pieces on your board and attach them using super glue.
STEP SEVEN
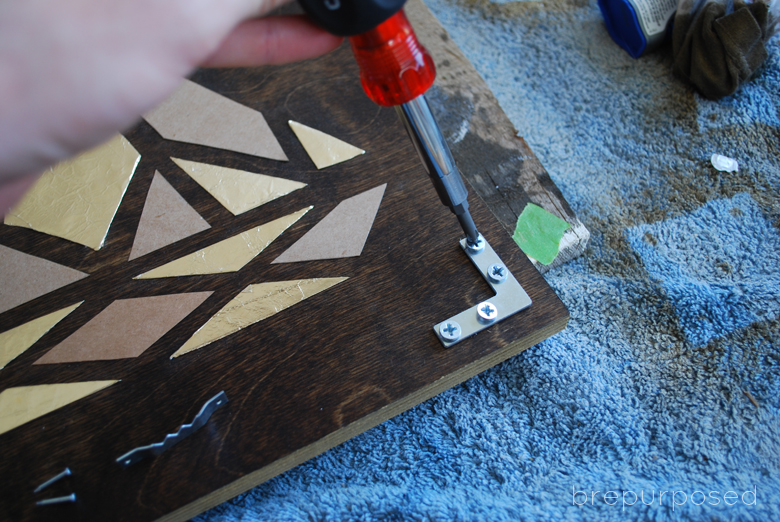
Screw in your corner braces. I thought about spray painting these gold but I liked the contrast of the silver.
STEP EIGHT
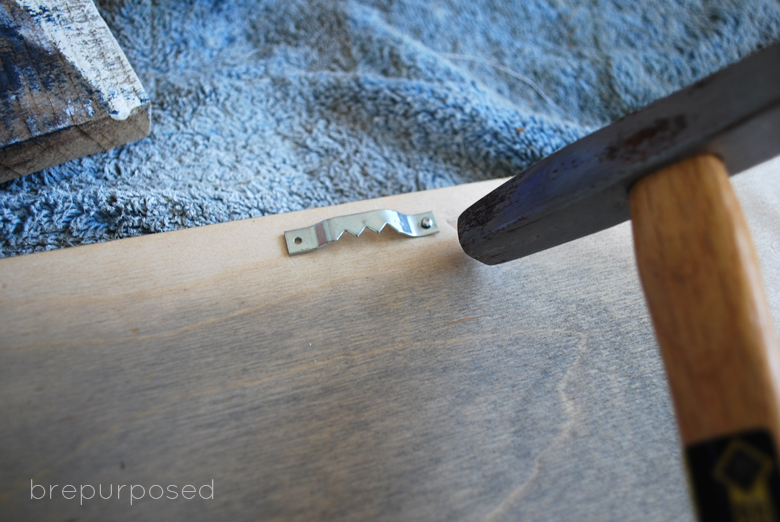
Attach your frame hanger.
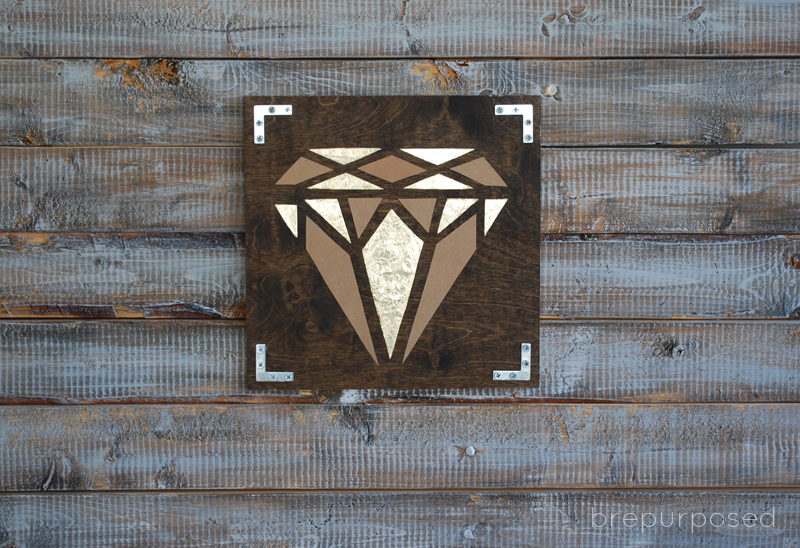
And that’s it! You now have a beautiful piece of art that you can hang anywhere :) I thought about just spray painting the gold pieces, but I love the texture that the tin foil adds.
I hope you guys enjoyed this tutorial! If you want to see more of my DIY Home Decor projects be sure to swing by Brepurposed and check them out!
Have a fabulous day everyone!





Elisha @ Pneumatic Addict Furniture
This is freaking fabulous! Love everything about it! You should come share it at the Outside [The Box] Link party!
Breanna
haha thank you Elisha!! I definitely will :)
Anam ( delicious and diy)
OMG so cute…Love it!
Breanna
Thank you so much Anam!!
Erlene
This is so AWESOME! You’ve got me thinking of what shape I can make and where I can put it…lol.
Breanna Bertolini
Thank you so much! The possibilities are endless :) I almost did a heart at first!
Kristi
LOVE it! You are just so crazy creative! SO cool!
Breanna Bertolini
Aw thanks girl!! Glad you like it :)