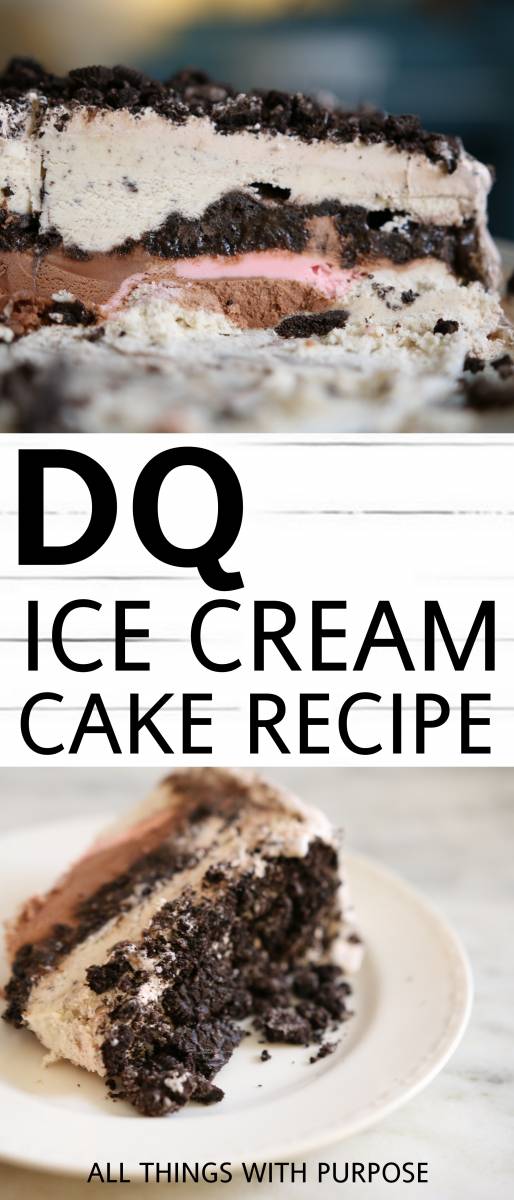
I’m sharing all the inside secrets to creating your very own Dairy Queen Ice Cream Cake that is every bit as yummy as the original. You’ll be shocked by how easy and inexpensive it is to make your own!
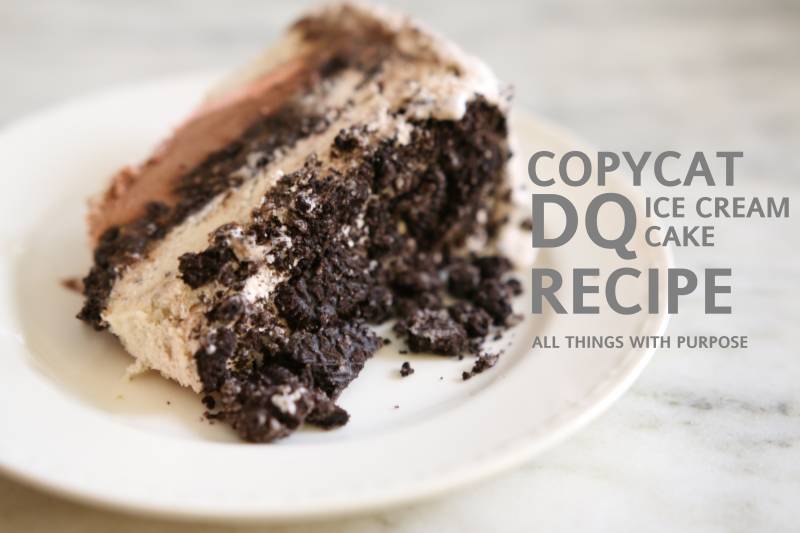
Copycat DQ Ice Cream Cake
I Love Dairy Queen Ice Cream Cake! The problem is, it’s fairly expensive and not everyone lives near a Dairy Queen. I’ve perfected the way to create it at home using this copycat DQ Ice Cream Cake recipe. I’ve picked up a few tips along the way from former DQ employees who were willing to share their secrets. Here is the recipe I’ve used quite a few times, to recreate the goodness!

What You Need
Here’s what you need to get started, creating a totally awesome ice cream cake at home:
- 1 Regular Size Package Oreo Cookies or Store Brand Chocolate Cookies
- 1 Quart Container Vanilla Ice Cream (or flavor of your choice)
- 1 Quart Container Chocolate Ice Cream (or flavor of your choice)
- 1 Cup Chocolate Syrup, Hot Fudge or Magic Shell (enough to coat crumbs and turn into a thick “goo” that is easily spreadable) *Try this: Smucker’s Magic Shell Chocolate Topping
- 1 – 8 Oz Container Frozen Whipped Topping
- 1 Spring Form Pan (like this one!)
- 1 Tablespoon Butter

Read: Create this GIANT ice cream sundae for your next party or family reunion!
Video Instruction
I created a video of the process to help you visualize how this works!
Click play on the video below to see what I mean.
Instructions
Once you’ve gathered the appropriate supplies and ingredients, here is what you do:
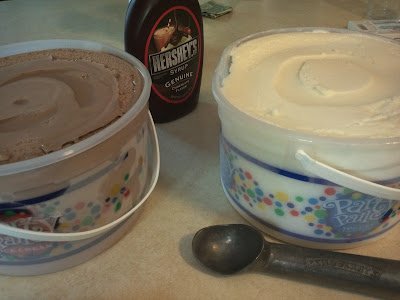
- I started with vanilla and chocolate ice cream,
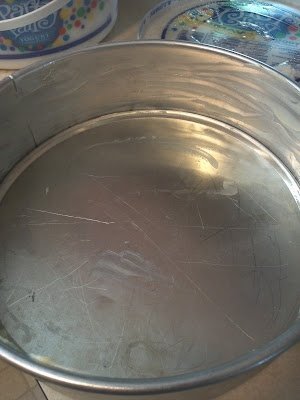
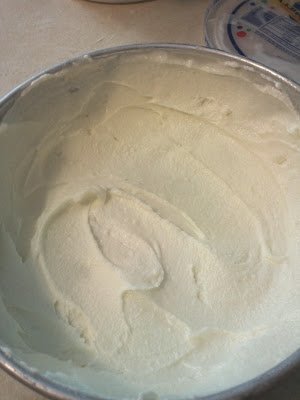
but it’s up to you to use whatever flavors you like! - Begin by letting the ice cream soften just a tad so it is workable but not soupy and melted (it’s an art to achieve the best consistency). Butter the bottom and sides of your pan, then spread a thin layer of vanilla ice cream on the bottom and sides, all the way to the top. Refreeze for a few minutes to harden this layer before moving onto the next.
- Spread a layer of chocolate ice cream to fill the pan half way up, then refreeze.
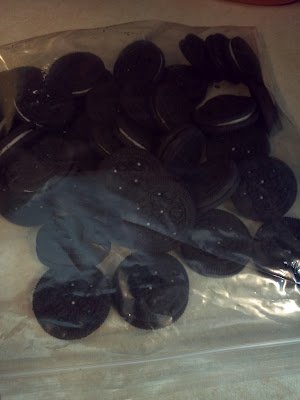
- Fill a plastic bag with Oreo cookies (or store brand), and use a rolling pin to crush them into fine crumbs. You may also try putting them in a food grater or blender. The smaller the crumbs the better! Mix the crumbs with chocolate syrup and spread over chocolate ice cream.
- Spread a layer of vanilla ice cream over the crumbs, then cover and freeze.
- Let set out for a few minutes then scrape the sides with a rippled or ridged spatula to create a lined look. Put back in the freezer to refreeze.
- Mix equal parts whipped topping and ice cream and spread over top. Cover and put back in freezer. Let thaw for approximately 10 minutes before attempting to cut.
- I used the remaining Oreos to sprinkle on top. If you want to write anything on top, I would suggest waiting until ready to serve and use a tube of cream decorators icing, not a jell.

- 1 Reg Size Package Oreo Cookies or Store Brand Chocolate Cookies
- 1 Quart Container Vanilla Ice Cream (or flavor of your choice)
- 1 Quart Container Chocolate Ice Cream (or flavor of your choice)
- 1 Cup Chocolate Syrup, Hot Fudge or Magic Shell enough to coat crumbs and turn into a thick “goo” that is easily spreadable
- 1 8 Oz Container Frozen Whipped Topping
- 1 Spring Form Pan
- 1 Tablespoon Butter
-
I started with a vanilla and chocolate ice cream, but it’s up to you to use whatever flavors you like! Begin by letting the ice cream soften just a tad so it is workable but not soupy and melted (it’s an art to achieve the best consistency).
-
Butter the bottom and sides of your pan, then spread a thin layer of vanilla ice cream on the bottom and sides, all the way to the top. Refreeze for a few minutes to harden this layer before moving onto the next.
-
Spread a layer of chocolate ice cream to fill the pan half way up, then refreeze.
-
Fill a plastic bag with Oreo cookies (or store brand), and use a rolling pin to crush them into fine crumbs. You may also try putting them in a food grater or blender. The smaller the crumbs the better! Mix the crumbs with chocolate syrup and spread over chocolate ice cream.
-
Spread a layer of vanilla ice cream over the crumbs, then cover and freeze.
-
Let set out for a few minutes then scrape the sides with a rippled or ridged spatula to create a lined look. Put back in the freezer to refreeze.
-
Mix equal parts whipped topping and ice cream and spread over top. Cover and put back in freezer. Let thaw for approximately 10 minutes before attempting to cut.
-
I used the remaining Oreos to sprinkle on top. If you want to write anything on top, I would suggest waiting until ready to serve and use a tube of cream decorators icing, not a jell.
Pin This Post for Later!
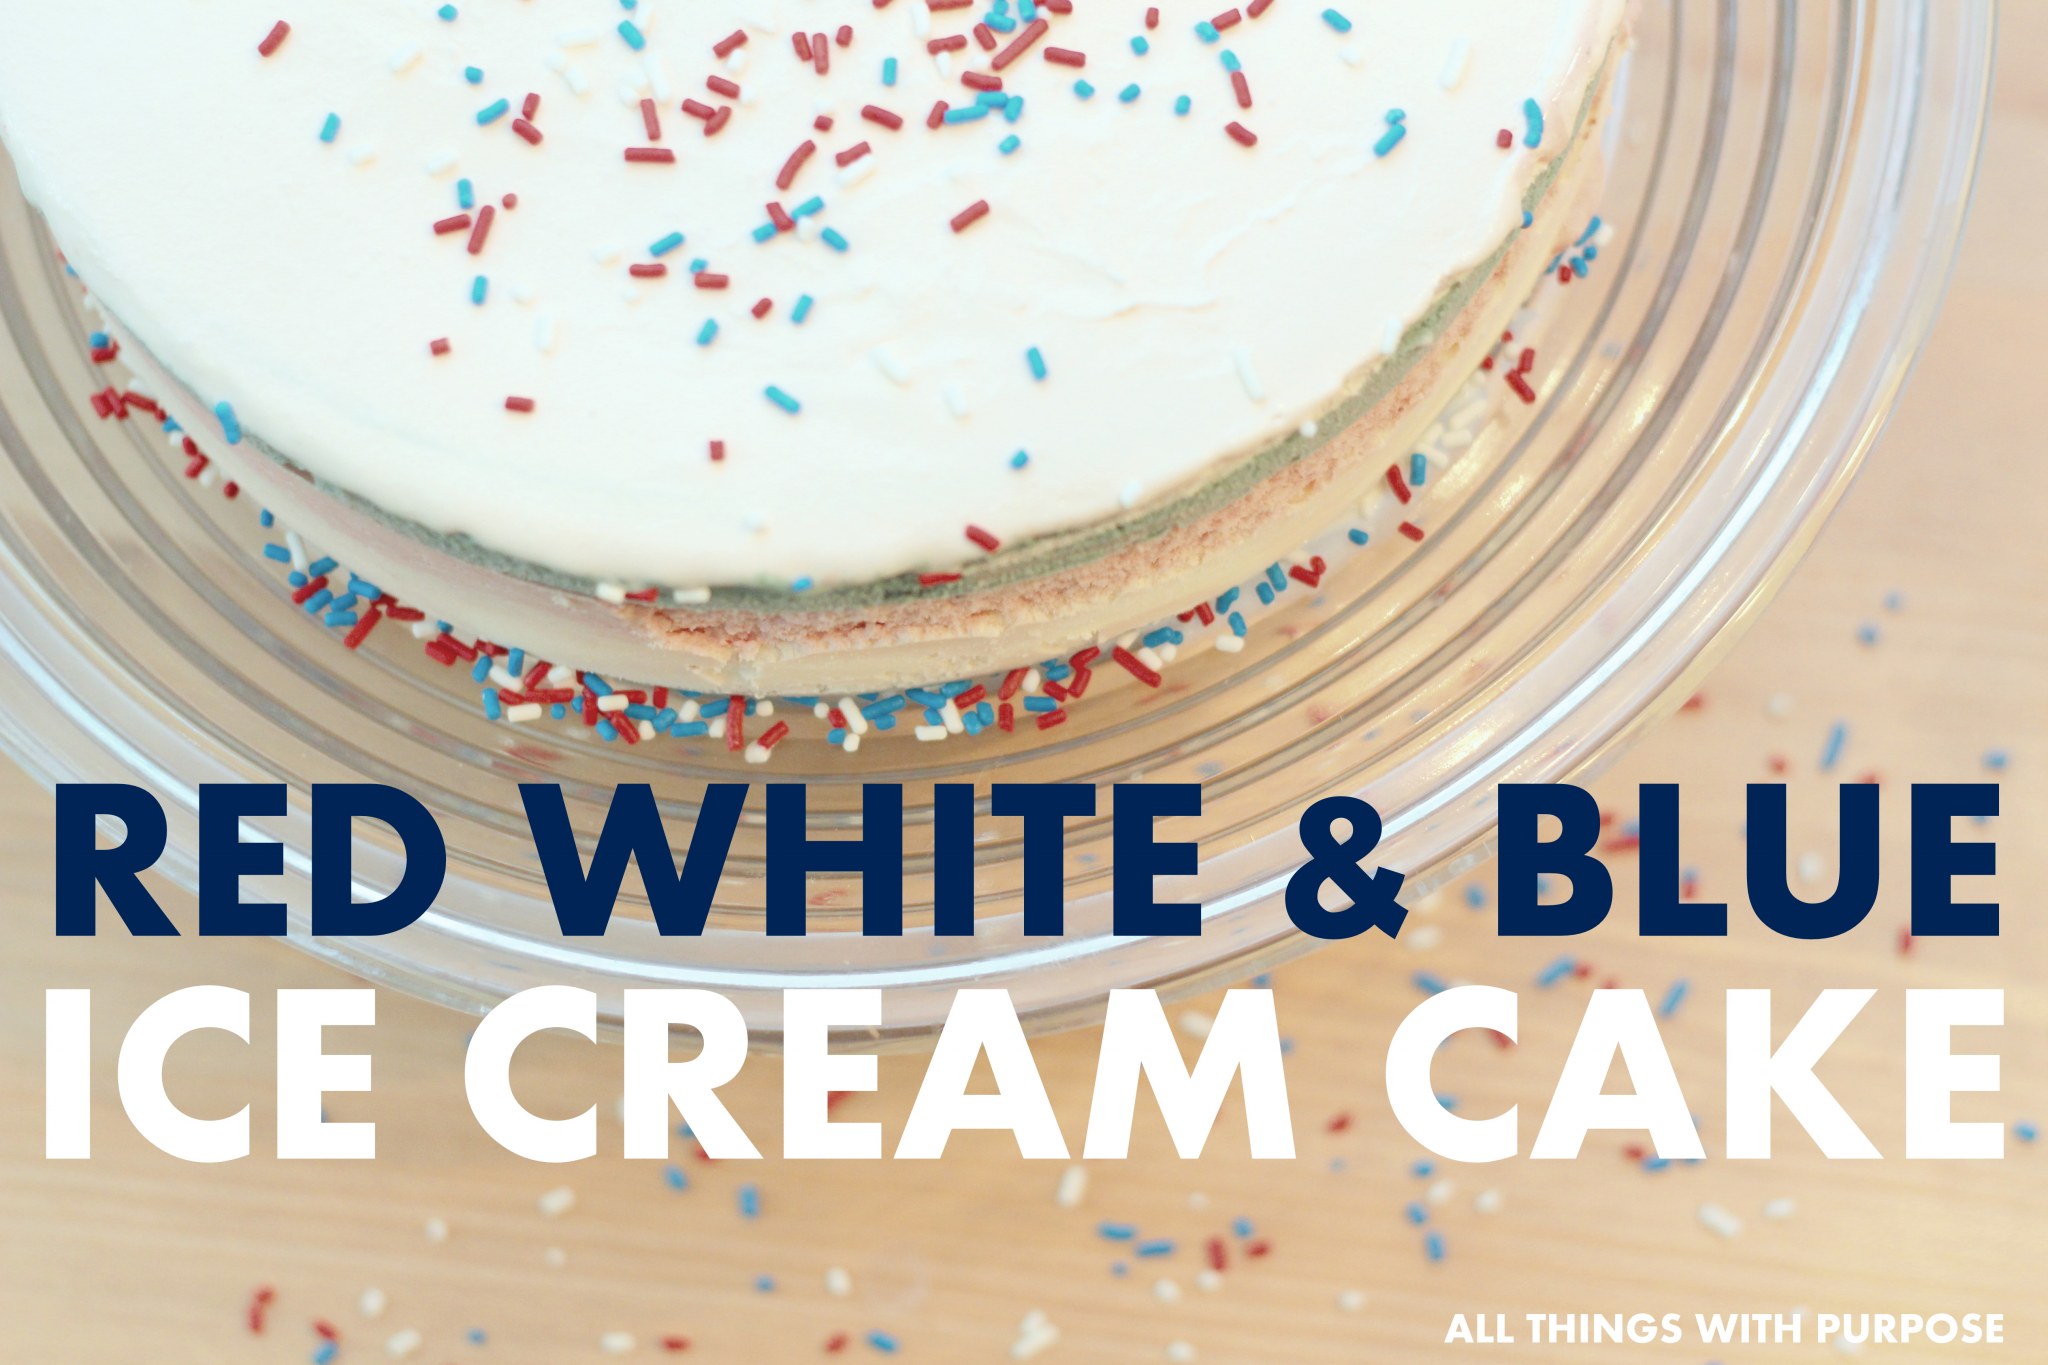
You might also like my Red White and Blue version of this cake!
Red White and Blue Ice Cream Cake

Gerty Shipmaker
I am making the recipe as we speak and doubt it can go wrong. It’s ice cream. One question I have is that you don’t list any amounts. How big a package of cookies, how much ice cream, etc. I realize it’s quite simple and basic, but that would be helpful?
Nikki
This is my family’s number one request for their birthday. I do use the food processor on the Oreos and then mix in regular chocolate syrup and hot fudge with the Oreos. It makes a really good fudge/cookie layer in the middle. I’ve done it with chocolate/vanilla ice cream layers and cookies and cream/vanilla ice cream layers. It’s better than Dairy Queen to me. For the other reviewers that say it melted, move faster and get it to the freezer faster. Don’t let your ice cream sit out too long if it’s warm in your house. This is too easy and too good to give up on.
Daveswife
I’ve made this multiple times since November 2014. Ten children and everyone wants one for their birthday. Just made it again today. I find using Breyers Extra Creamy ice cream works excellent. It is soft to work with without having to thaw it. Also I use real whipping cream instead of cool whip. It works just fine. Thanks for the recipe.
Sarah Lemp
Wow! Thanks so much for sharing and I am so glad to hear it has been a hit!!!
Harley
I just finished making this cake and I was and am very DISSAPOINTED.
You need to soften the ice cream (like you said) so you’re able to work with it, but mine turned into soup. Then I added the chocolate layer, also soup. The cookie crumbs disappeared into the soup and didn’t stay on the chocolate layer. Vanilla top layer, also soup. Since it is soup, it started to leak through my spring form pan.. This was for my sons party tonight, and he will be crushed that this didn’t turn out.
I’m an avid baker and dessert maker, never had such difficulties with a recipe before.
Would I ever attempt to make this again? NO
I hardly believe that you made this cake without difficulties or multiple tries.
Sarah Lemp
Harley,
I am so sorry you had a disappointing experience :(
Ice cream can be tricky to work with and the variables that may affect your experience are: how cold your freezer is and how warm or cold your house may be at the time. I’m not going to lie, it is a skill to get it to the right consistency, and it’s nothing like baking a regular cake. I made one the other day that quickly became soupy and seeped through the spring form pan… the good news is, once I refroze it – it was fine! It didn’t look quite as pretty but it still tasted good. I’d recommend refreezing, then adding a fresh layer of ice cream and whipped topping to the top and/or outsides!
Barbara
At what point do you take it out of t g e springform pan? Also, how do you store it after you’ve started eating it?
Sarah Lemp
Barbara,
After the whole cake is put together and refrozen I let it sit out for a few minutes so it softens just enough that the springform comes off easily. I also just cover it in Saran wrap and refreeze – I have one in the freezer now and am experimenting to see how long it stays good!! :)
Kimberly L
This is my favorite cake for my birthday but there is sadly no DQ near me since I moved about 3 years ago. So thank you so much! I used to work at DQ and this is pretty spot on to how they make the cakes, except they have the ice cream come out from the maker and they turn it on a lazy daisy type wheel as they smooth it out. Cool whip mixed with hot chocolate powder from a packet tastes almost like DQ chocolate soft serve, if anyone misses that ice cream. Love your blog.
Sarah Lemp
Thanks so much Kimberly!! I’m always excited to hear insider tips on how to make it the real way! So the big difference is that DQ uses soft serve for the cake?? Going to have to try the hot chocolate tip too!! :)
Chels
Can i make this the day before my party or should I wait til the day of?
Thanks for the recipe, I’m looking forward to trying it out with buttering error candy bars…
Sarah Lemp
I think you could definitely make it the day before!
Erin
I made this last night for my husbands birthday today. Definitely a hit! Our 2 year old was so excited for cake, then even more so when he realised it was ice cream! Thanks for the SIMPLE recipe! :)
Anonymous
Looks amazing! I’m in charge of making dessert this year for thanksgiving, I think I’ve found my “non-traditional” item to bring. Just a couple of questions, how long does it take to freeze on step 5? And is a 9″ pan suitable?
Anonymous
I made the cakes at Dairy Queen for many years. They do not use Oreo cookies. They use the cookies from the ice cream sandwiches. They get boxes of crushed cookies and then coat them with the ice cream cone coating. The coating enrobes the cookie crumbs and keeps them crunchy. The build was as follows: Vanilla ice cream on bottom and side, cold fudge (which is different than hot fudge because it stays thick and gooey, coated cookie crumbs and then finished off with either chocolate or vanilla ice cream. The pan had a hole right in the center and a pan liner was put down. After the cake is frozen, quickly dip the pan in hot water, being careful to not get it on the ice cream. Turn the pan over and blow into the hole and the cake pops right out. Ice it like a regular cake with vanilla ice cream and then refreeze it. Decorate and enjoy.
Anonymous
A thousand thank yous! I haven’t had a chance to follow your receipe yet, but it looks delish! I live near alot of ice cream stores/parlors–Haagan-Daaz, Carvel, Friendly’s, Cold Stone Creamery, Ben & Jerry’s and I’m about a 30-minute drive away from a Dairy Queen, but in these tough economic times, I’m always looking for ways to save money. Thanks again!
inksandthinks
Now I know what my daughter’s getting for dessert at her birthday party! Thanks for sharing.
VMG206
This looks sooo yummy! I love the DQ cake. I’ve pinned this and def gonna try it (summer?)
I found you at the All Things Thursday Link Up. I hope you can stop by my blog and leave a comment, too!
~ Megin of VMG206
http://www.vmg206.blogspot.com
Brenda @ChattingOverChocolate.blogspot.com
Y U M !!! Thanks for sharing!! Pinned ;*)
heather walter
Oh my goodness. This.. this looks so delicious. I found you through the “All Things With Purpose” linky party!
terrief sarno
Thanks for the tip on mafic shell. I take a can of choc frosting try double choc. I melt it in microwave. Its good because it is easy to spread when it is melted then when the frosting cools down it is solid. I use coolwhip because it freezes better
Anonymous
I worked with a girl that worked at dairy queen. She told me to use magic shell with the oreo’s that is what they do. And put a layer of Hot Fudge also.
Anonymous
Wouldn’t it much more authentic to swap out the bitter chocolate syrup for hot fudge?
Anonymous
Made this for my husband’s Birthday since we are no longer in close proximity to a Dairy Queen. Who knew it could be so easy?? Thank you so much for the recipe. Everyone loved it!
Sarah Lemp
I am so glad to hear that you enjoyed this!!